
“A sizzling delight in a hot pan can turn any busy evening into a celebratory feast!” That’s the magic of my Garlic Butter Baked Chicken Thighs; they’re not just dinner—they’re a piece of home. This dish brings together the comforting richness of garlic and butter with juicy, crispy-skinned chicken thighs, making it a family favorite in our kitchen. Ready in just 45 minutes, these baked chicken thighs are perfect for those hectic weeknights when you want a delicious meal without the fuss. They’re budget-friendly too, allowing you to feed the whole family without breaking the bank. So, are you ready to discover why this easy recipe is a go-to for home chefs like us?
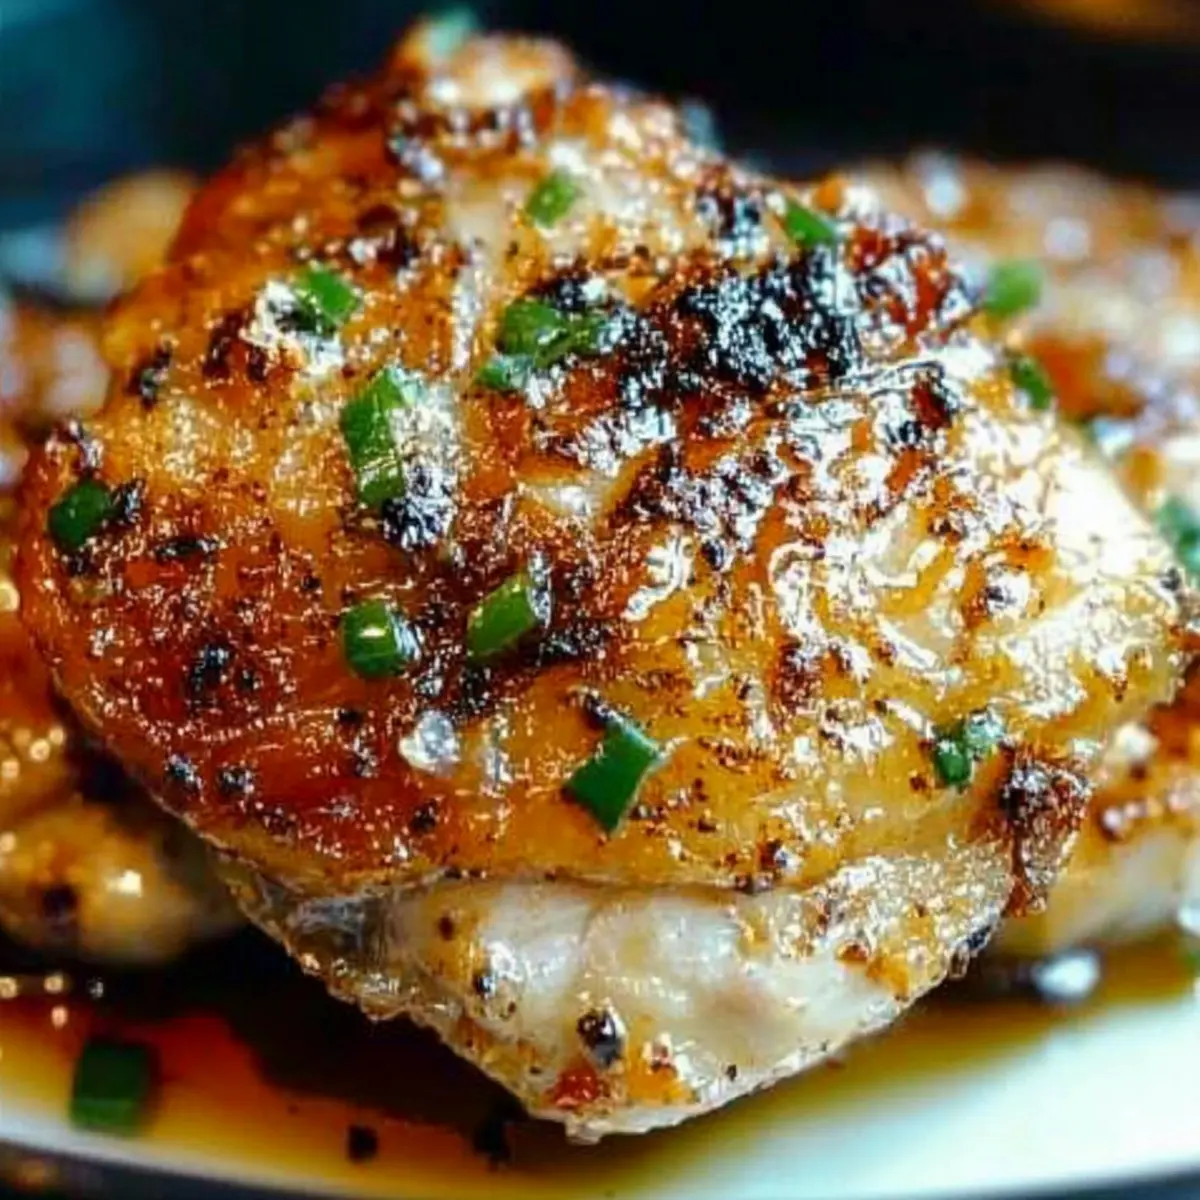
Why Are Garlic Butter Baked Chicken Thighs Incredible?
Flavor Explosion: Each bite is bursting with rich, garlicky goodness due to the buttery sauce, elevating your weeknight meals to new heights.
Quick and Easy: In just 45 minutes, you can whip up a mouthwatering dish that doesn’t require complex techniques—perfect for busy evenings!
Budget-Friendly: Enjoy a lavish meal without spending a fortune. These chicken thighs are not only affordable but also satisfying, catering to larger families.
Versatile Options: Mix it up by substituting with boneless thighs or even breasts, adapting the recipe to suit your palate or dietary needs.
Crowd-Pleaser: With crispy skin and juicy meat, this recipe is sure to impress family and friends, making it a fantastic choice for gatherings or casual dinners.
Pair these delectable thighs with creamy mashed potatoes or roasted veggies for a complete meal, just like my recipe for Greek Chicken Stuffed Peppers!
Baked Chicken Thighs Ingredients
Discover the essentials for creating delicious baked chicken thighs that will impress your family and friends!
For the Chicken
• Bone-in, Skin-on Chicken Thighs – These provide maximum flavor and juiciness; feel free to swap them for boneless thighs, reducing baking time.
For the Seasoning
• Salt – Essential for enhancing the natural flavors of the chicken; don’t hold back!
• Black Pepper – Adds a delightful kick; freshly cracked pepper works best for more aroma.
For the Cooking
• Olive Oil – Use for searing; it helps achieve that irresistible crispy skin!
• Unsalted Butter – Controls the saltiness while creating that rich, buttery garlic sauce.
For the Flavor
• Fresh Garlic – Freshly crushed garlic brings vibrant and fragrant flavor; avoid the pre-minced versions that can taste bitter.
• Fresh Parsley – A sprinkle of parsley adds color and a touch of freshness as a garnish.
Feel free to customize your baked chicken thighs with additional herbs or serve with your favorite sides, transforming a simple weeknight dinner into a delightful feast!
Step‑by‑Step Instructions for Garlic Butter Baked Chicken Thighs
Step 1: Prep Chicken
Preheat your oven to 400°F (200°C) to ensure it’s hot and ready for baking. While the oven heats up, pat the bone-in, skin-on chicken thighs dry with paper towels to remove excess moisture, which helps achieve that crispy skin. Generously season both sides with salt and black pepper, enhancing the flavors of the baked chicken thighs.
Step 2: Sear Chicken
In a cast iron skillet, heat 2 tablespoons of olive oil over medium-high heat. Once the oil shimmers, carefully place the seasoned chicken thighs skin-side down in the skillet. Sear them for about 5 minutes, or until the skin is golden brown and crispy. Flip the thighs to sear the other side for an additional 3 minutes, ensuring that they’re well browned.
Step 3: Add Garlic Butter
After achieving a beautiful sear, if there’s excess fat in the pan, spoon some out to avoid greasiness. Add 3 tablespoons of unsalted butter along with 4 cloves of freshly crushed garlic to the skillet. Sauté for 30 seconds until the garlic is fragrant, making sure not to burn it. This buttery garlic mixture will infuse the baked chicken thighs with delicious flavor.
Step 4: Bake
Carefully transfer the entire skillet to the preheated oven and bake the chicken thighs for about 30 minutes. You’re looking for an internal temperature of 165°F (74°C) when checked with a meat thermometer. The chicken should be juicy and the skin crispy, creating the perfect base for a mouthwatering meal.
Step 5: Finish & Serve
Once the chicken thighs reach the desired temperature, remove the skillet from the oven. Spoon the buttery garlic sauce generously over the thighs for added flavor. Allow the baked chicken thighs to rest for about 5 minutes to let the juices settle. Garnish with freshly chopped parsley for a pop of color and serve alongside your favorite sides for a delightful dinner.
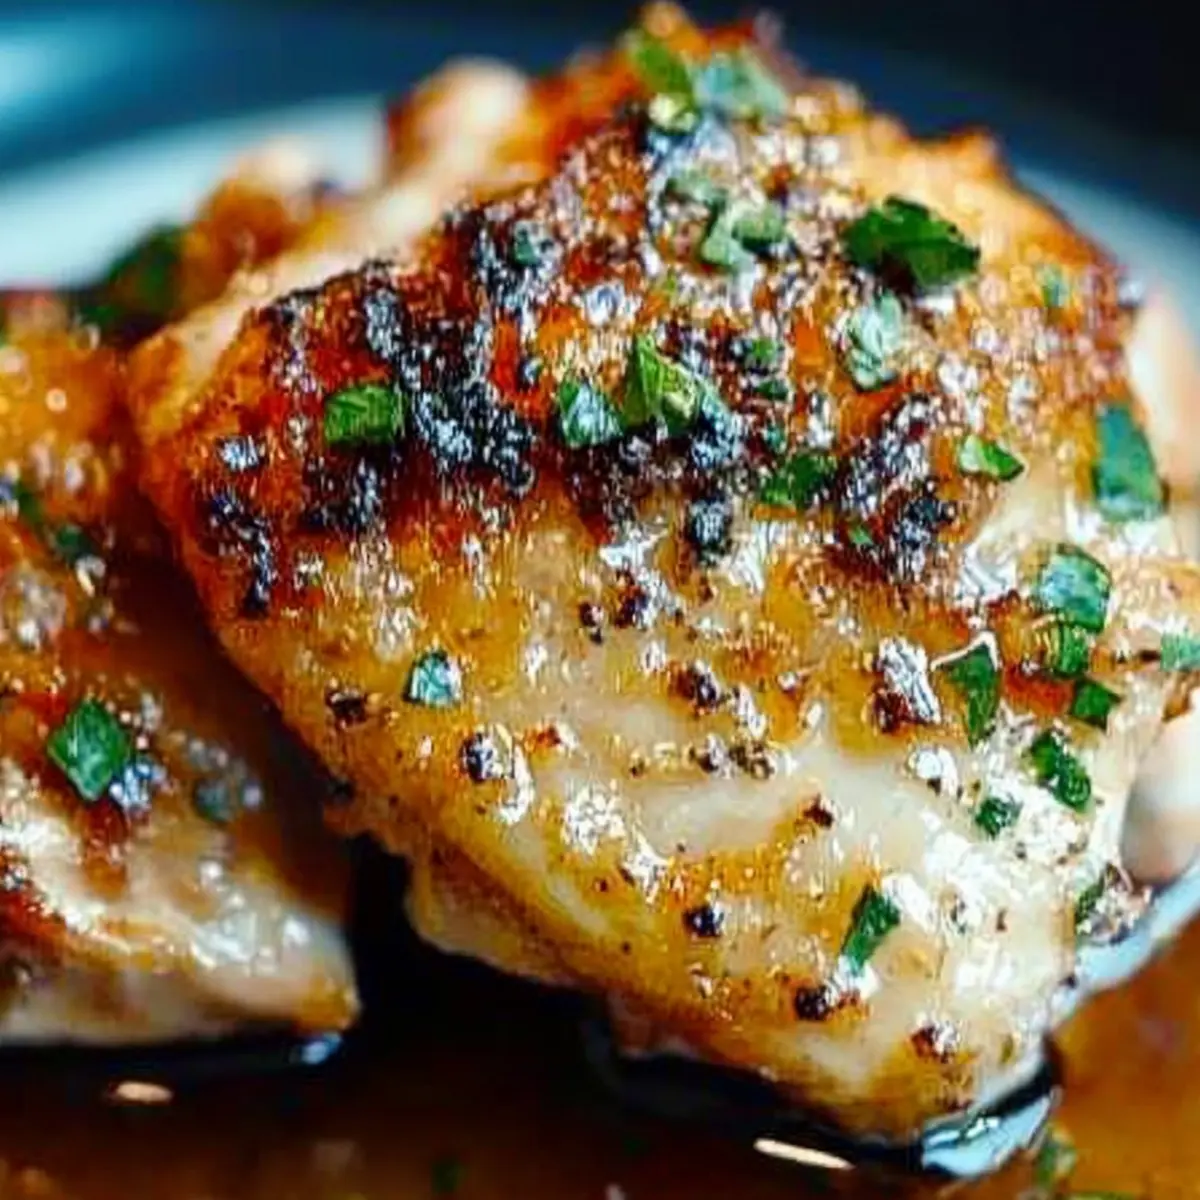
How to Store and Freeze Baked Chicken Thighs
-
Fridge: Store in an airtight container for up to 4 days to keep your baked chicken thighs fresh and delicious.
-
Freezer: Freeze in a suitable container or heavy-duty freezer bag for up to 3 months. Remember to label with the date for easy tracking!
-
Reheating: For best results, reheat in the oven at 350°F for about 15 minutes to restore that crispy skin and juicy flavor.
Expert Tips for Baked Chicken Thighs
-
Dry Thoroughly: Pat the chicken thighs dry before seasoning to ensure that the skin gets crispy during baking—moisture is the enemy!
-
Searing is Key: Don’t skip the searing step! It caramelizes the skin, creating a delightful texture and depth of flavor for your baked chicken thighs.
-
Butter vs. Oil: Use unsalted butter for the garlic sauce to maintain control over the seasoning. This balances richness without becoming overly salty.
-
Rest for Juiciness: Allow your chicken to rest after baking; this step redistributes the juices, ensuring every bite of your baked chicken thighs is juicy and flavorful.
-
Check Temperature: Always use a meat thermometer to ensure safety and perfect doneness; aim for an internal temperature of 165°F for best results.
Variations for Baked Chicken Thighs
Feel free to experiment and personalize this recipe to make it your own. Your kitchen will love these delightful twists!
-
Boneless Option: Substitute chicken thighs with boneless, skinless thighs. Remember to reduce baking time to 20-25 minutes to keep them juicy.
-
Herb-Infused: Add fresh herbs like thyme or rosemary to the garlic butter. This delivers a beautiful aroma and deepens the flavor profile, creating an herbaceous delight.
-
Spicy Kick: Mix in red pepper flakes to the garlic butter for a bit of heat. This addition transforms a comforting classic into something fiery and exciting!
-
Lemon Burst: Squeeze some fresh lemon juice over the baked chicken thighs just before serving. The citrus brightens the dish, balancing the richness of the butter.
-
Asian Twist: Incorporate soy sauce and ginger into the garlic butter for an Asian-inspired flavor. This combination gives a wonderful depth that’ll have everyone asking for more!
-
Smoky Flavor: For a unique twist, sprinkle smoked paprika onto the chicken thighs before searing. The smokiness will add an unexpected, yet delicious, depth.
-
Creamy Finish: Drizzle some cream or a splash of heavy cream into the garlic butter sauce during the last few minutes of baking. This enriches the sauce, creating a velvety coating for your chicken.
-
Serve with Style: Pair these savory baked chicken thighs with side dishes such as Almond Croissant Baked Oats or smothered chicken for a hearty meal.
Make Ahead Options
These Garlic Butter Baked Chicken Thighs are perfect for meal prep enthusiasts looking to save time! You can season the chicken thighs and refrigerate them for up to 24 hours before cooking, allowing the flavors to penetrate the meat beautifully. Additionally, you can prepare the garlic butter mixture in advance and store it in the refrigerator, which keeps the garlic fresh and flavorful. When you’re ready to enjoy your dish, simply sear the chicken as directed and bake it for about 30 minutes, ensuring you still achieve that delicious crispy skin and juicy interior. This preparation not only makes your weeknight dinners easier but also delivers spectacular results just as delightful as if you made them on the spot!
What to Serve with Garlic Butter Baked Chicken Thighs
Elevate your dinner table with complementary sides that enhance the flavors of this succulent dish, making every meal a celebration.
-
Creamy Mashed Potatoes: These buttery potatoes act like a delicious sponge for the rich garlic sauce, creating comfort in every bite. The smooth texture pairs perfectly with the crispy chicken skin.
-
Garlic Roasted Green Beans: Their fresh, crisp bite and mild flavor balance the richness of the baked chicken thighs, offering a refreshing contrast. Toss them with a little olive oil and garlic for a harmonious blend.
-
Savory Rice Pilaf: The earthy flavors of rice pilaf absorb the luscious sauce beautifully and provide a hearty base for your meal, making it filling and satisfying.
-
Roasted Brussels Sprouts: These caramelized veggies add a slightly nutty flavor that complements the garlic butter, bringing an earthy note. When roasted to perfection, their crisp edges and tender centers create a delightful textural balance.
-
Crisp Salad with Vinaigrette: A light, tangy salad with mixed greens and a zesty vinaigrette refreshes the palate, cutting through the richness of the chicken.
-
Homemade Garlic Bread: Serve this alongside your chicken for an indulgent, buttery treat. The crusty bite adds extra satisfaction and can scoop up all that savory garlic sauce.
-
Chilled White Wine: A glass of chilled Sauvignon Blanc or Chardonnay brings out the garlic’s herbaceous notes, rounding out the meal beautifully while adding a touch of elegance.
With these pairings, your Garlic Butter Baked Chicken Thighs will shine as the star of a wonderful, homemade dinner!
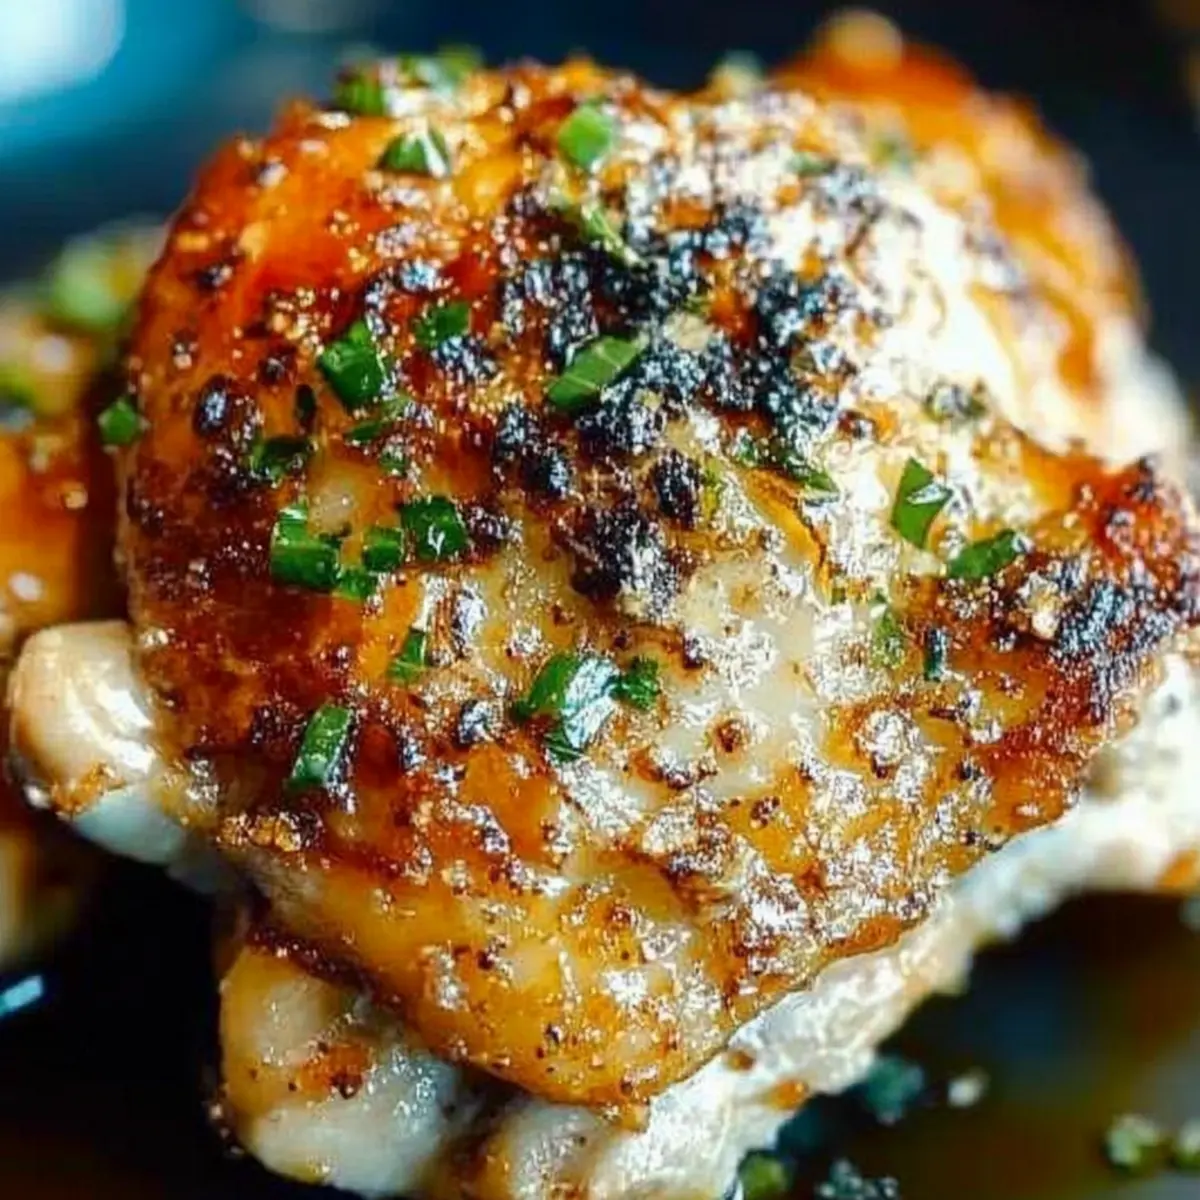
Garlic Butter Baked Chicken Thighs Recipe FAQs
What type of chicken thighs should I use?
For the best flavor and juiciness, I recommend using bone-in, skin-on chicken thighs. They hold moisture well and develop a crispy skin when baked. If you prefer, boneless thighs or chicken breasts can be used; just be aware they’ll require less baking time (about 20-25 minutes).
How should I store leftover baked chicken thighs?
Absolutely! Store your baked chicken thighs in an airtight container in the refrigerator for up to 4 days. This helps keep them fresh and ready for your subsequent meals, making it easy to enjoy delicious leftovers without hassle.
Can baked chicken thighs be frozen?
Very! To freeze your baked chicken thighs, place them in a heavy-duty freezer bag or airtight container, and they’ll last for up to 3 months. Make sure to label the bag with the date for easy tracking. When you’re ready to enjoy them again, thaw overnight in the fridge before reheating.
What should I do if my chicken thighs aren’t crispy?
If your chicken thighs aren’t crispy, it’s essential to ensure they were dried thoroughly before cooking. Moisture prevents crispiness! Another tip is to double-check that you’re using high enough heat when searing—aim for a medium-high setting. Finally, searing them adequately will help you achieve that irresistible golden brown skin!
Can I modify this recipe for dietary allergies or preferences?
Of course! For those with allergies, you can simply substitute olive oil and butter with alternatives like coconut oil or dairy-free margarine. This recipe is also low-carb, making it suitable for those following ketogenic or low-carb diets. If you’re cooking for someone with specific dietary needs, you can adapt the recipe to fit their preferences while still keeping it delicious!
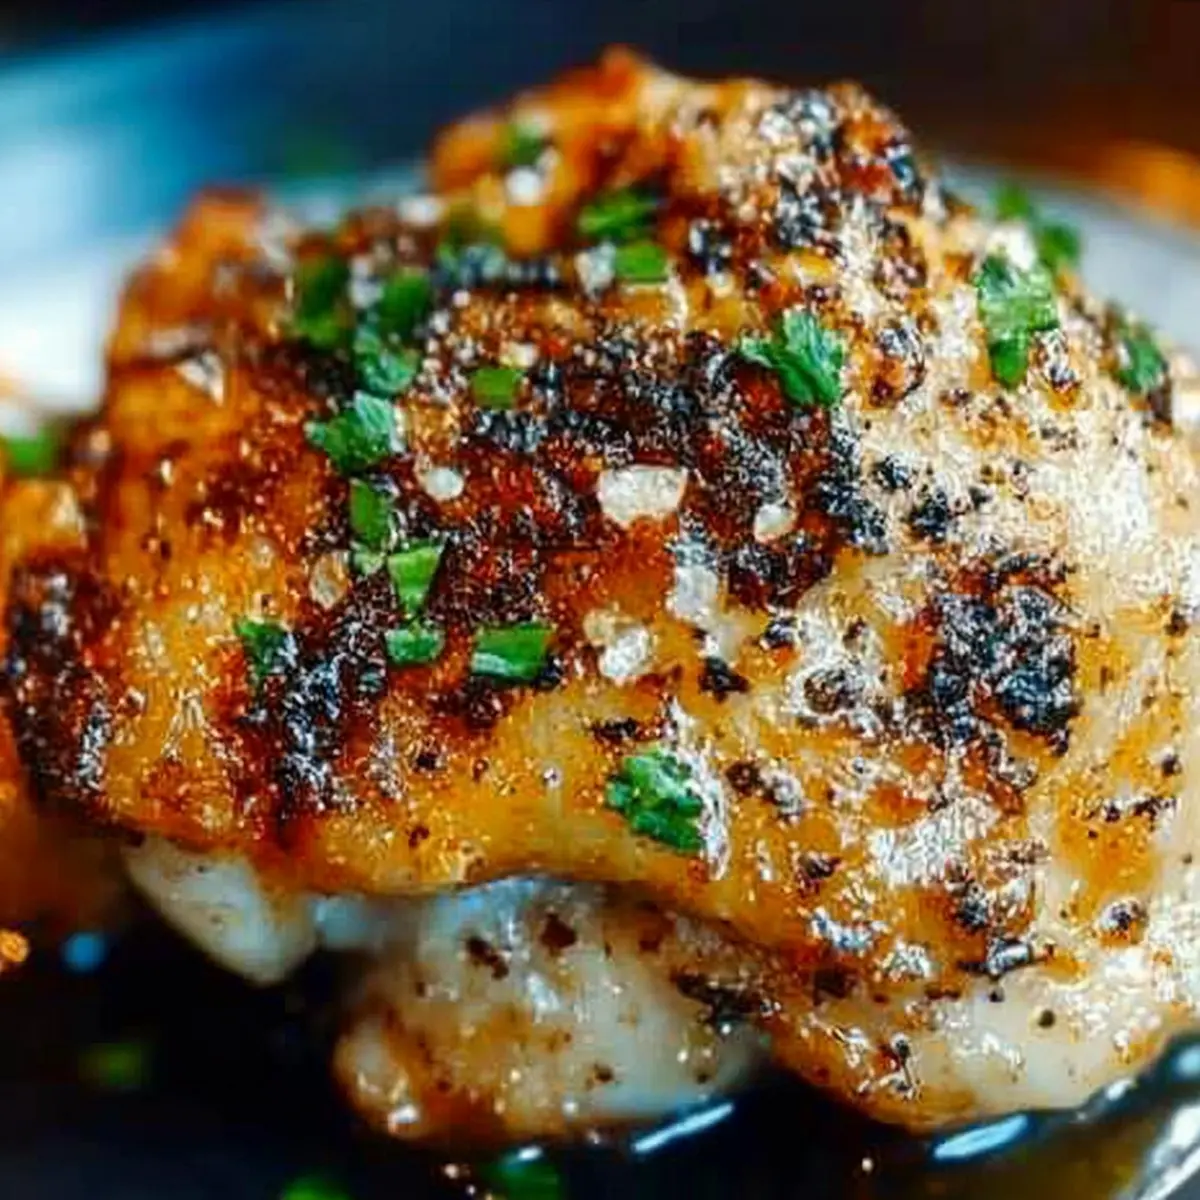
Garlic Butter Baked Chicken Thighs – Crispy and Juicy Delight
Ingredients
Equipment
Method
- Preheat your oven to 400°F (200°C). Pat the chicken thighs dry with paper towels and season with salt and black pepper.
- In a cast iron skillet, heat olive oil over medium-high heat. Sear the chicken thighs skin-side down for about 5 minutes until golden brown.
- Flip the chicken and sear the other side for 3 minutes. Drain excess fat, then add butter and garlic to the skillet, sautéing for 30 seconds.
- Transfer the skillet to the oven and bake the chicken for about 30 minutes until it reaches an internal temperature of 165°F (74°C).
- Remove from the oven, spoon the sauce over the thighs, let rest for 5 minutes, and garnish with parsley before serving.
Leave a Reply