
As the aroma of ginger and garlic fills the kitchen, I can’t help but feel a comforting wave of nostalgia. These Sticky Chicken Rice Bowls are my go-to for those busy nights when I crave something hearty without the hassle. This dish beautifully combines tender chicken, fluffy rice, and roasted veggies, drizzled in a sweet-savory sauce that elevates clean eating to another level. Not only is this recipe quick to whip up, but it’s also customizable to suit any palate—which means it’s always a hit at the dinner table. Whether you’re looking to satisfy a family or meal prep for the week, these bowls offer endless possibilities. Ready to turn your kitchen into a cozy haven? Let’s dive into the delightful world of Sticky Chicken Rice Bowls!
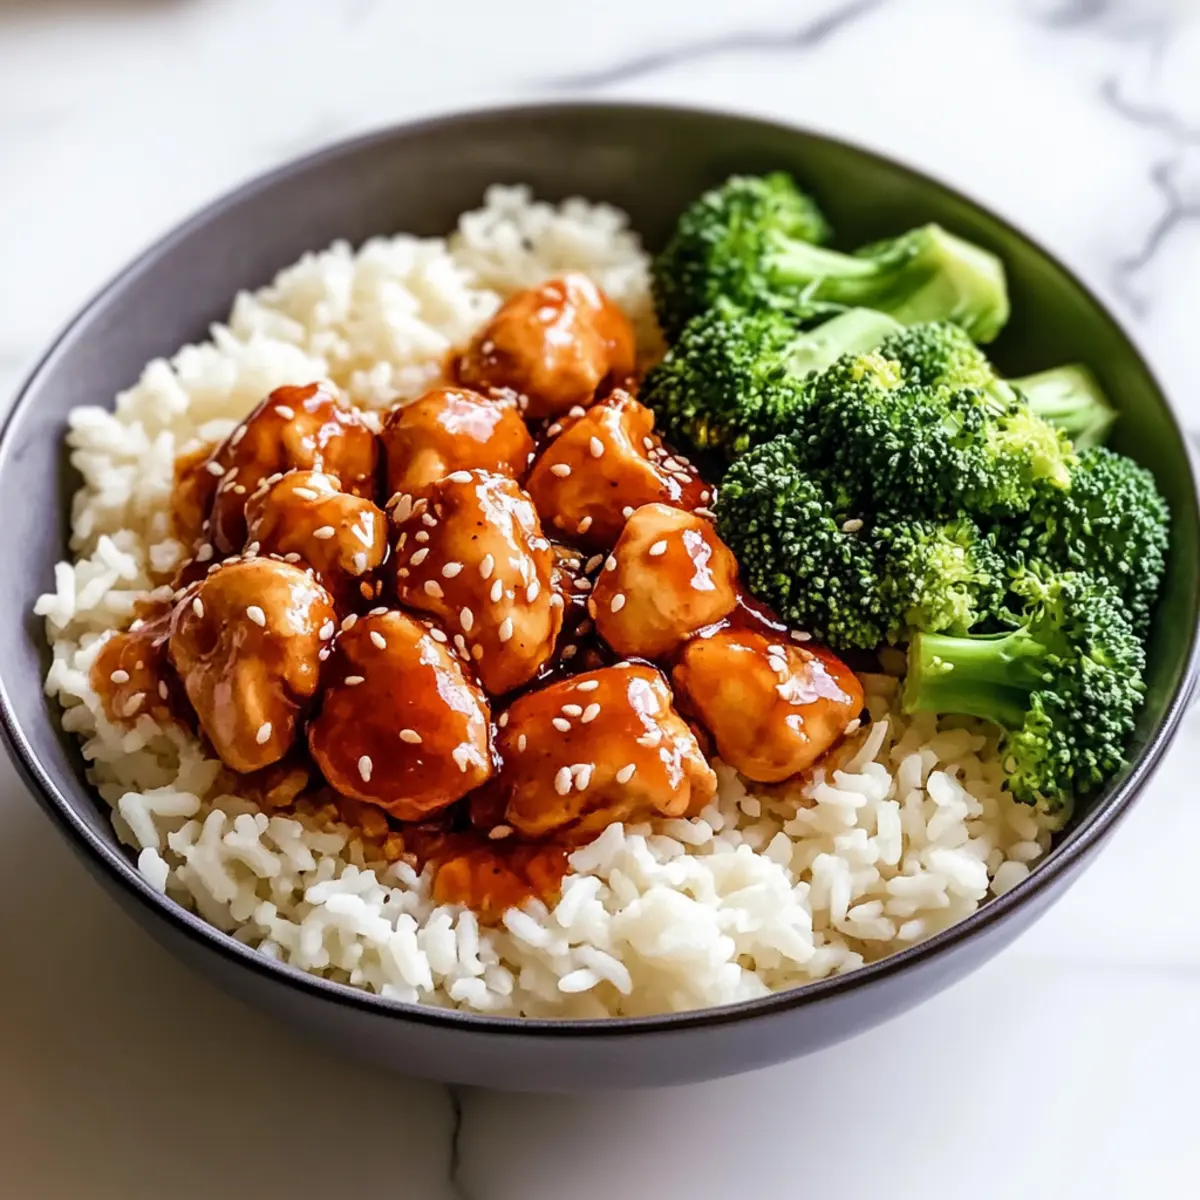
Why are Sticky Chicken Rice Bowls a must-try?
Flavor Explosion: These bowls combine sweet and savory notes in a way that delights the palate. The sticky sauce beautifully coats the chicken, creating a mouthwatering experience.
Meal Prep Wonder: Perfect for busy weeknights, you can prepare a big batch to enjoy throughout the week, thriving on flavorful, wholesome ingredients.
Customizable Delight: With options to add toppings like grilled pineapple or swap in your favorite veggies, your creativity can shine—no two bowls need to be the same!
Crowd-Pleaser: Whether you’re entertaining or feeding the family, these bowls guarantee smiles all around, just like when you try out our Greek Chicken Stuffed Peppers or Smothered Chicken Rice.
Ease of Cooking: Quick and simple to prepare, making it ideal for those who want deliciousness without complexity.
Ingredients for Sticky Chicken Rice Bowls
For the Rice
• Rice – the base of the dish providing texture; you can substitute with coconut jasmine rice or quinoa for added flavor.
For the Chicken
• Chicken Breasts – main protein source; for juiciness, use chicken thighs which soak up sauce better.
• Olive Oil – for sautéing chicken, adds fat and flavor.
• Salt and Pepper – basic seasoning to enhance flavors.
• Chili Powder, Smoked Paprika, Onion Powder, Oregano – spice blend for seasoning chicken; use chili flakes for more heat.
For the Sauce
• Soy Sauce – essential for the sticky sauce’s umami flavor; can substitute with tamari for gluten-free.
• Honey – sweetness component of the sauce; maple syrup can be a vegan alternative.
• Rice Vinegar – adds tanginess to the sauce.
• Garlic – aromatic for flavor enhancement.
• Sriracha – provides heat; adjust to taste or use gochujang for deeper spice.
• Sesame Oil – adds depth and nutty flavor to the sauce.
• Ground Ginger – for flavor complexity in the sauce.
• Arrowroot Powder – thickens the sauce to achieve a sticky consistency; substitute with cornstarch if unavailable.
For the Drizzle
• Mayonnaise – base for spicy drizzle; dairy-free options available.
Garnish
• Sesame Seeds – for top texture and flavor.
Enjoy creating your very own Sticky Chicken Rice Bowls filled with personalization and comfort!
Step‑by‑Step Instructions for Sticky Chicken Rice Bowls
Step 1: Prepare Rice
Begin by cooking your rice according to the package instructions, usually about 18–20 minutes in boiling water. Use a rice cooker or a saucepan with a lid for best results. Once cooked, fluff the rice with a fork and set it aside, allowing it to steam gently while you prepare the rest of your Sticky Chicken Rice Bowls.
Step 2: Cook Chicken
Cut your chicken breasts into uniform 1½-inch pieces to ensure even cooking. Heat a tablespoon of olive oil in a large skillet over medium-high heat. Season the chicken with salt, pepper, chili powder, smoked paprika, onion powder, and oregano. Sauté the chicken for about 6–8 minutes, or until golden brown and cooked through, achieving a nice caramelization.
Step 3: Make Sticky Sauce
While the chicken is cooking, grab a mixing bowl. Whisk together soy sauce, honey, rice vinegar, minced garlic, sriracha, sesame oil, and ground ginger until smooth. Once the chicken is ready, pour this fragrant sticky sauce over the sautéed chicken, stirring it well. Let it simmer for 3–4 minutes, allowing the flavors to meld beautifully.
Step 4: Thicken Sauce
In a small bowl, mix arrowroot powder with a few tablespoons of water to create a slurry. Gradually add this mixture to the skillet with the chicken and sauce, stirring constantly. Cook for an additional 2–3 minutes until the sauce thickens and becomes sticky, beautifully coating the chicken in a glossy layer.
Step 5: Cook Broccoli
While the sauce thickens, prepare your broccoli by either steaming or roasting it. If steaming, allow it about 5–7 minutes until just tender. If you prefer roasting, toss the broccoli with olive oil, salt, and pepper, then roast it in a preheated oven at 400°F for about 15 minutes. The broccoli should be bright green and slightly charred for added flavor.
Step 6: Prepare Spicy Mayo
In a small bowl, combine mayonnaise with sriracha to taste. Whisk in a splash of water until you achieve a smooth, drizzle-able consistency. This creamy sauce will add a delightful kick to your Sticky Chicken Rice Bowls, so set it aside for topping just before serving.
Step 7: Assemble Bowls
Now it’s time to put everything together! Start with a generous layer of fluffy rice in each bowl. Top the rice with the sticky chicken and spoon over some velvety sauce, followed by the tender broccoli. Drizzle on the spicy mayo and finish with a sprinkle of sesame seeds for a touch of crunch and flavor. Serve your Sticky Chicken Rice Bowls hot for a comforting meal!
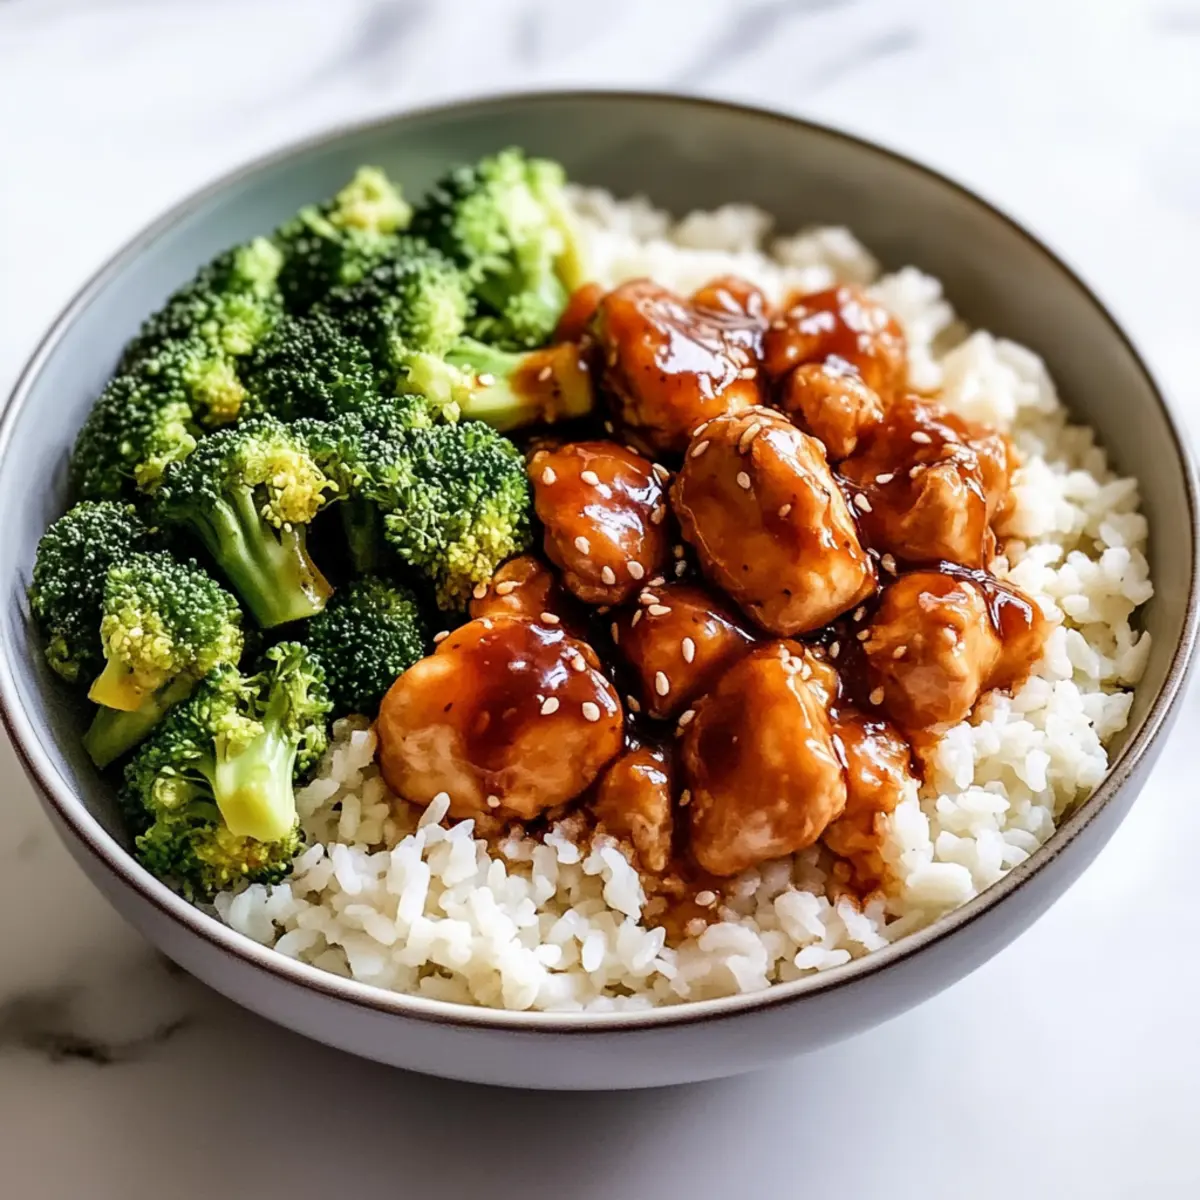
Sticky Chicken Rice Bowls Variations
Feel free to let your culinary imagination run wild with these tasty variations to personalize your Sticky Chicken Rice Bowls!
-
Dairy-Free: Swap out regular mayonnaise for a vegan alternative, like cashew cream, for a smooth drizzle without the dairy.
-
Add More Veggies: Toss in snap peas, bell peppers, or carrots to your stir-fry for a vibrant, nutritious twist. Adding colorful veggies not only enhances the dish’s texture but also its nutritional value, making every bite worthwhile!
-
Sweet and Savory Boost: Top with grilled pineapple or sliced mango for a delightful fruity contrast that complements the savory chicken beautifully.
-
Low-Carb Option: Transform your bowls into lettuce wraps by using large romaine or butter lettuce leaves instead of rice. It’s a fresh, crunchy alternative that’s equally satisfying!
-
Quinoa Swap: Replace rice with fluffy quinoa for a protein-packed base. The nutty flavor of quinoa pairs well with the sticky sauce and adds a nice lightness.
-
Extra Heat: Like it spicy? Incorporate sliced jalapeños or sprinkle crushed red pepper flakes on top for an extra kick. Spice lovers will appreciate the boldness it brings!
-
Asian Flare: Garnish with fresh cilantro or sliced green onions for an herbaceous finish that enhances the overall flavor profile. Fresh herbs do wonders to elevate Asian-inspired dishes.
-
Crunch Factor: Add roasted peanuts or sliced almonds for a delightful crunch that contrasts with the tender chicken and creamy mayo drizzle. The nutty flavor will elevate your bowl to new heights.
Remember, cooking is all about exploration and having fun! If you love savory dishes, you might also enjoy our flavorful Smothered Chicken Rice or the comforting blend of our Chicken Avocado Rice!
Make Ahead Options
These Sticky Chicken Rice Bowls are perfect for meal prep, allowing you to enjoy a delicious homemade meal with minimal fuss during the week. You can cook the chicken and prepare the sticky sauce up to 3 days in advance; just store them separately in airtight containers in the refrigerator to maintain freshness. The rice can also be cooked ahead of time, whether you choose to refrigerate it overnight or keep it for a few days. When you’re ready to serve, simply reheat the chicken and sauce in a skillet, warm the rice in the microwave, and assemble your bowls with freshly steamed broccoli for the best texture. This way, you can savor all the delightful flavors without sacrificing quality!
How to Store and Freeze Sticky Chicken Rice Bowls
Fridge: Keep Sticky Chicken Rice Bowls in an airtight container for up to 3–4 days. For best results, store sauce and rice separately to maintain freshness.
Freezer: You can freeze portions of the Sticky Chicken Rice Bowls for up to 3 months. Allow the components to cool completely before packing them in freezer-safe containers or bags.
Reheating: Thaw overnight in the fridge before reheating. Heat in a skillet over medium heat or microwave until heated through—add a splash of water to rehydrate if needed.
Serving Freshness: To revitalize flavors, sprinkle freshly chopped herbs or a squeeze of lime before serving your reheated Sticky Chicken Rice Bowls.
Expert Tips for Sticky Chicken Rice Bowls
-
Cook Evenly: Ensure the chicken pieces are uniform in size to guarantee even cooking and maximum flavor absorption from the sticky sauce.
-
Thickness Matters: Don’t skip the arrowroot slurry; it’s essential for achieving that perfect sticky texture. If you use too much water, the sauce might turn runny.
-
Flavor Boost: For added depth, let the chicken develop a golden crust before adding the sauce. This caramelization really enhances the overall flavor of your Sticky Chicken Rice Bowls.
-
Customize Wisely: When adding toppings, consider both texture and flavor; crunchy elements like peanuts or different veggies can elevate the dish without overwhelming the base flavors.
-
Storage Savvy: If meal prepping, store the sauce separately to prevent soggy rice and chicken when reheating your Sticky Chicken Rice Bowls.
-
Heat Adjustment: Feel free to tweak the sriracha for your family’s spice tolerance; start with a small amount, taste, and add more if you like a kick!
What to Serve with Sticky Chicken Rice Bowls?
A vibrant, satisfying meal awaits when you pair it with delicious sides that enhance every bite!
-
Cucumber Tomato Salad: A refreshing mix of cucumber and tomato with a zesty dressing brightens the meal, complementing the sticky sauce perfectly. This crunchy salad adds a cool element that offsets the warmth of the rice bowls.
-
Iced Tea Lemonade: This sweet and tangy drink balances the richness of the dish, ensuring a refreshing sip between flavorful bites. The combination of iced tea and lemonade offers a light contrast, making every moment enjoyable.
-
Garlic Roasted Brussels Sprouts: Tender Brussels sprouts with crispy edges create a delightful texture contrast. The earthy flavors beautifully complement the chicken, enhancing your dining experience.
-
Sesame Green Beans: Lightly sautéed green beans with sesame oil and garlic add a nutty crunch. They mirror the Asian-inspired theme and add a pop of color to the plate.
-
Fried Rice: Serve it alongside a portion of vegetable fried rice for a hearty companion, blending seamlessly into an Asian feast. The fried rice can soak up extra sauce while introducing lovely textures.
-
Mango or Pineapple Salsa: This sweet and tangy salsa elevates the meal with its fresh flavors. The fruity addition serves to brighten up the sticky richness and adds a lovely tropical flair.
-
Steamed Edamame: Simple and nutritious, edamame offers a fun finger food option that keeps the meal light. Toss some sea salt on them for an extra layer of flavor.
-
Coconut Coconut Macaroons: For dessert, try chewy coconut macaroons that provide a sweet ending to your meal. Their coconut flavor harmonizes beautifully with the tropical notes already present in the bowl.
Bringing these vibrant sides together with your Sticky Chicken Rice Bowls will create an unforgettable meal experience!
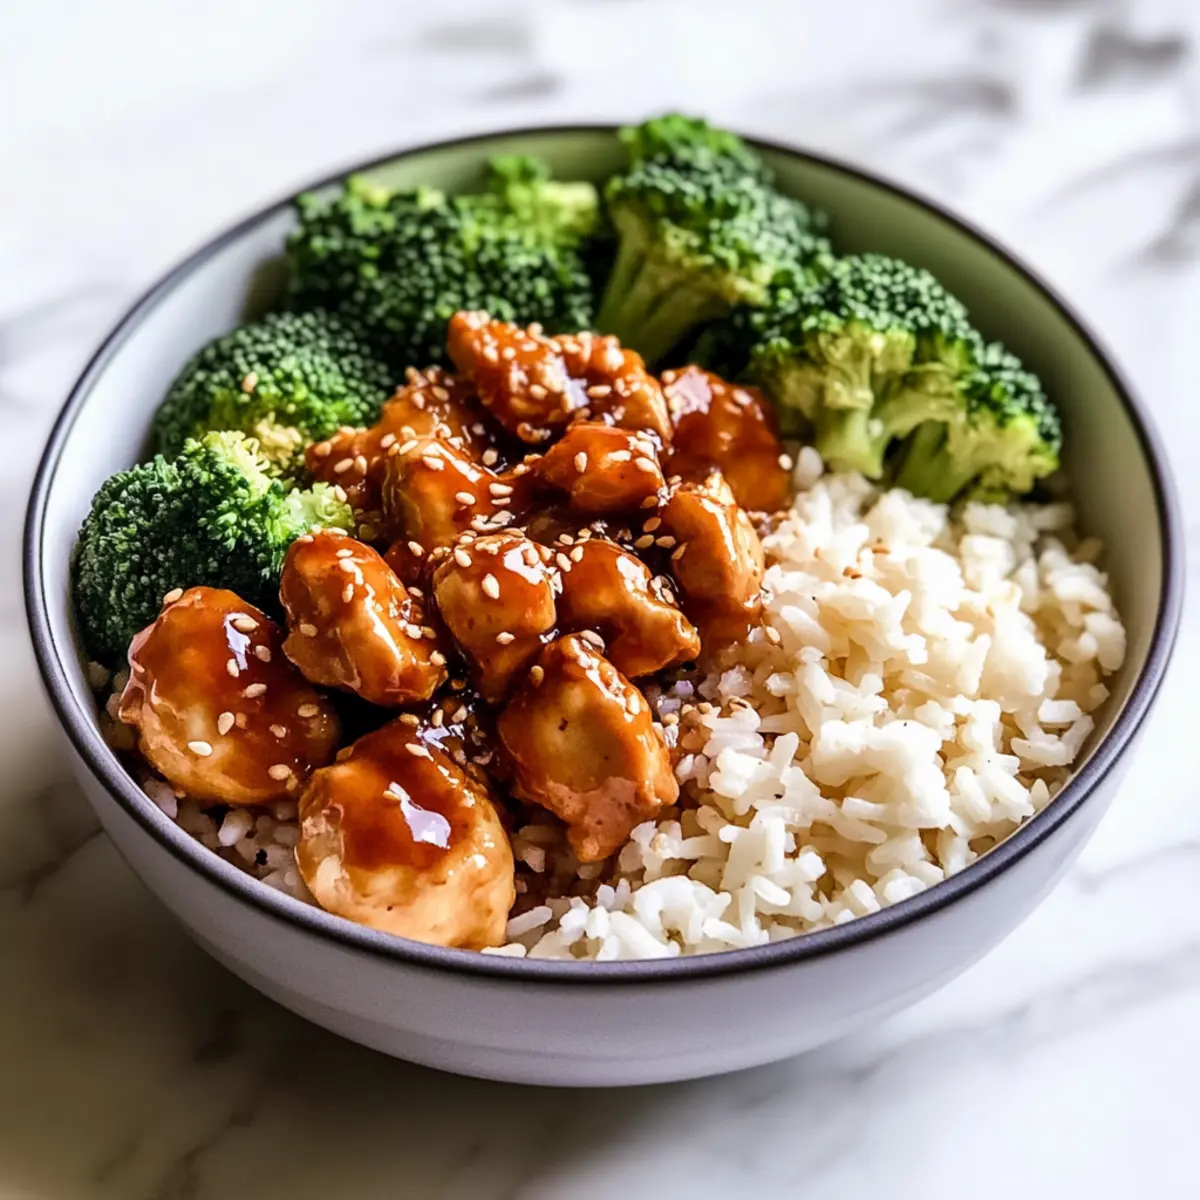
Sticky Chicken Rice Bowls Recipe FAQs
How can I choose the right chicken for Sticky Chicken Rice Bowls?
Absolutely! For the juiciest and most flavorful result, I recommend using chicken thighs instead of chicken breasts. Chicken thighs absorb the sweet-savory sauce beautifully due to their higher fat content. If you prefer chicken breasts, just be sure not to overcook them to keep them tender.
What’s the best way to store leftover Sticky Chicken Rice Bowls?
To keep your Sticky Chicken Rice Bowls fresh, store them in an airtight container in the fridge for up to 3-4 days. For optimal flavor and texture, try to keep the sauce and rice separate when storing to avoid sogginess when reheating.
Can I freeze Sticky Chicken Rice Bowls, and if so, how?
Absolutely! You can freeze portions of your Sticky Chicken Rice Bowls for up to 3 months. After cooking, allow all components to cool completely. Then, divide the chicken, rice, and veggies into freezer-safe containers. Wrap tightly to avoid freezer burn. When ready to enjoy, thaw overnight in the fridge, and reheat in a skillet or microwave—adding a splash of water can help retain moisture.
What should I do if my sauce isn’t thickening properly?
If your sticky sauce isn’t thickening as expected, you can create a simple arrowroot slurry. Mix 1-2 tablespoons of arrowroot powder with equal parts water to form a paste. Slowly pour this into the simmering sauce while stirring. Cook for an additional 2-3 minutes until the sauce reaches the desired consistency. Remember, patience is key!
Is sriracha necessary, and can I adjust the spiciness?
Very! Sriracha adds a lovely kick, but it’s completely customizable. If you’re sensitive to spice, start with a teaspoon or leave it out altogether. Alternatively, you can use a milder chili sauce or even gochujang for a different flavor profile. The goal is to enjoy your Sticky Chicken Rice Bowls to the fullest!
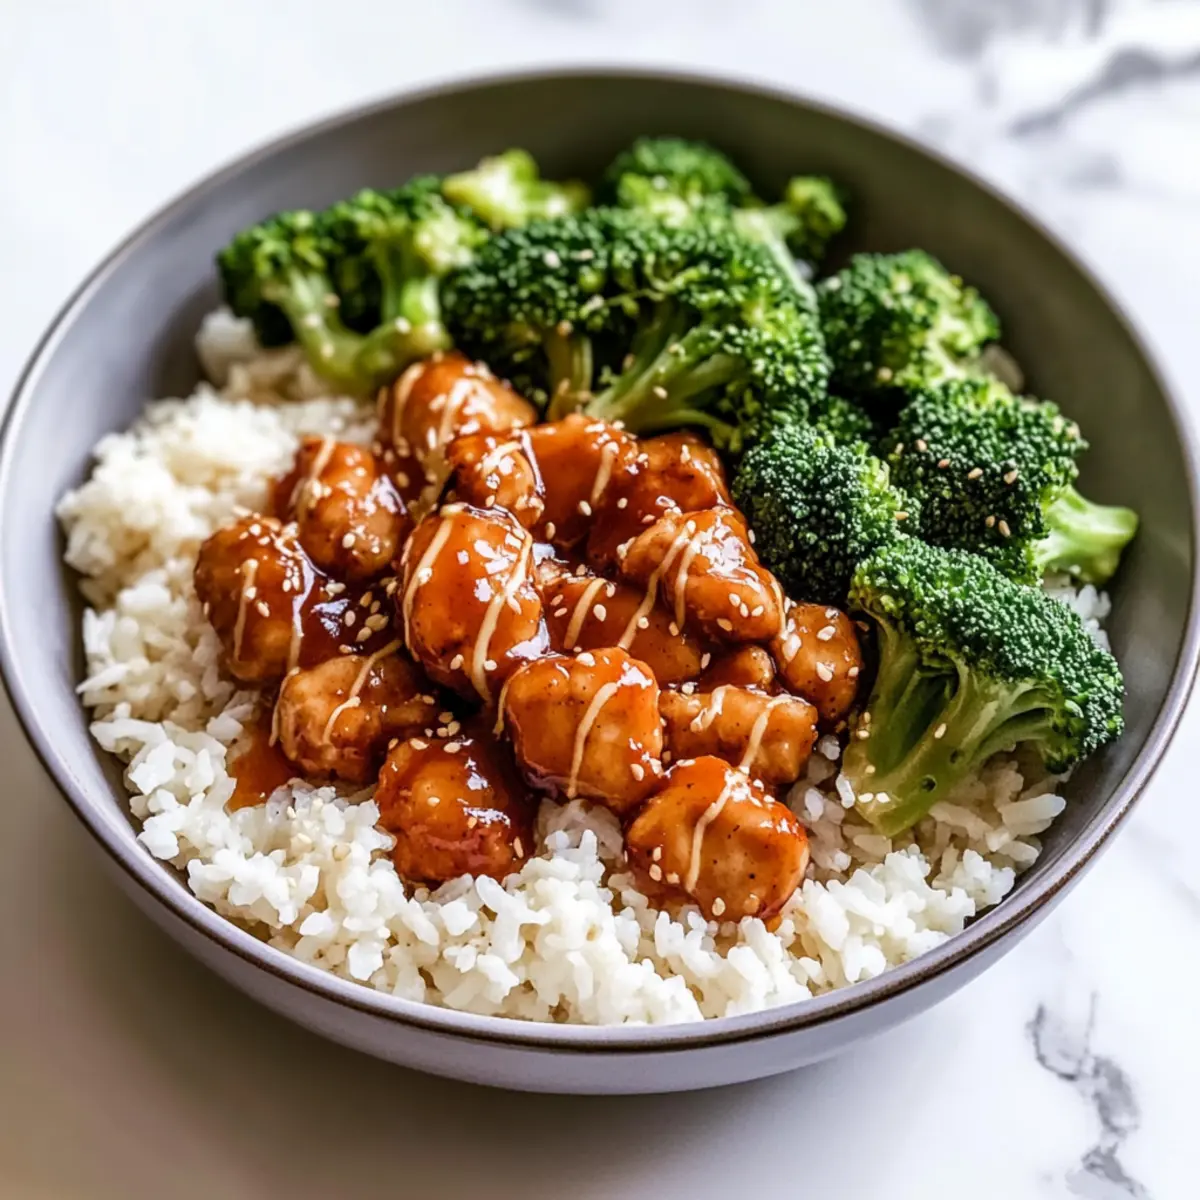
Irresistibly Sticky Chicken Rice Bowls You'll Love Tonight
Ingredients
Equipment
Method
- Cook the rice according to package instructions, usually about 18-20 minutes in boiling water. Fluff the rice and set aside.
- Cut chicken into 1½-inch pieces. Heat olive oil in a skillet, season chicken with salt, pepper, chili powder, smoked paprika, onion powder, and oregano, and sauté for 6-8 minutes until golden brown.
- In a bowl, whisk together soy sauce, honey, rice vinegar, minced garlic, sriracha, sesame oil, and ground ginger until smooth. Pour over the chicken and simmer for 3-4 minutes.
- Mix arrowroot powder with water to create a slurry. Gradually add to the skillet, stirring constantly for 2-3 minutes until sauce thickens.
- Steam or roast broccoli until tender (5-7 minutes for steaming; 15 minutes at 400°F for roasting).
- Combine mayonnaise with sriracha and a splash of water to achieve drizzle-able consistency.
- Assemble bowls with rice, sticky chicken, broccoli, spicy mayo, and a sprinkle of sesame seeds.
Leave a Reply