
As I stood in my kitchen, the aromas of vinegar and toasty sesame oil danced around me, whisking me back to my favorite sushi bar with each whiff. Today, I’m excited to share my Spicy Salmon Sushi Bake, a dish that’s practically a warm hug in a bowl. This recipe effortlessly merges the beloved flavors of sushi with a cozy, homey twist, making it perfect for cozy evenings or lively gatherings with friends. Not only is this bake quick to assemble, but it also caters to a crowd—allowing all your guests to dig in with delight. And if you’re feeling adventurous, don’t hesitate to swap out the salmon for tuna or shrimp, unlocking even more possibilities. Are you ready to discover your new favorite comfort food?
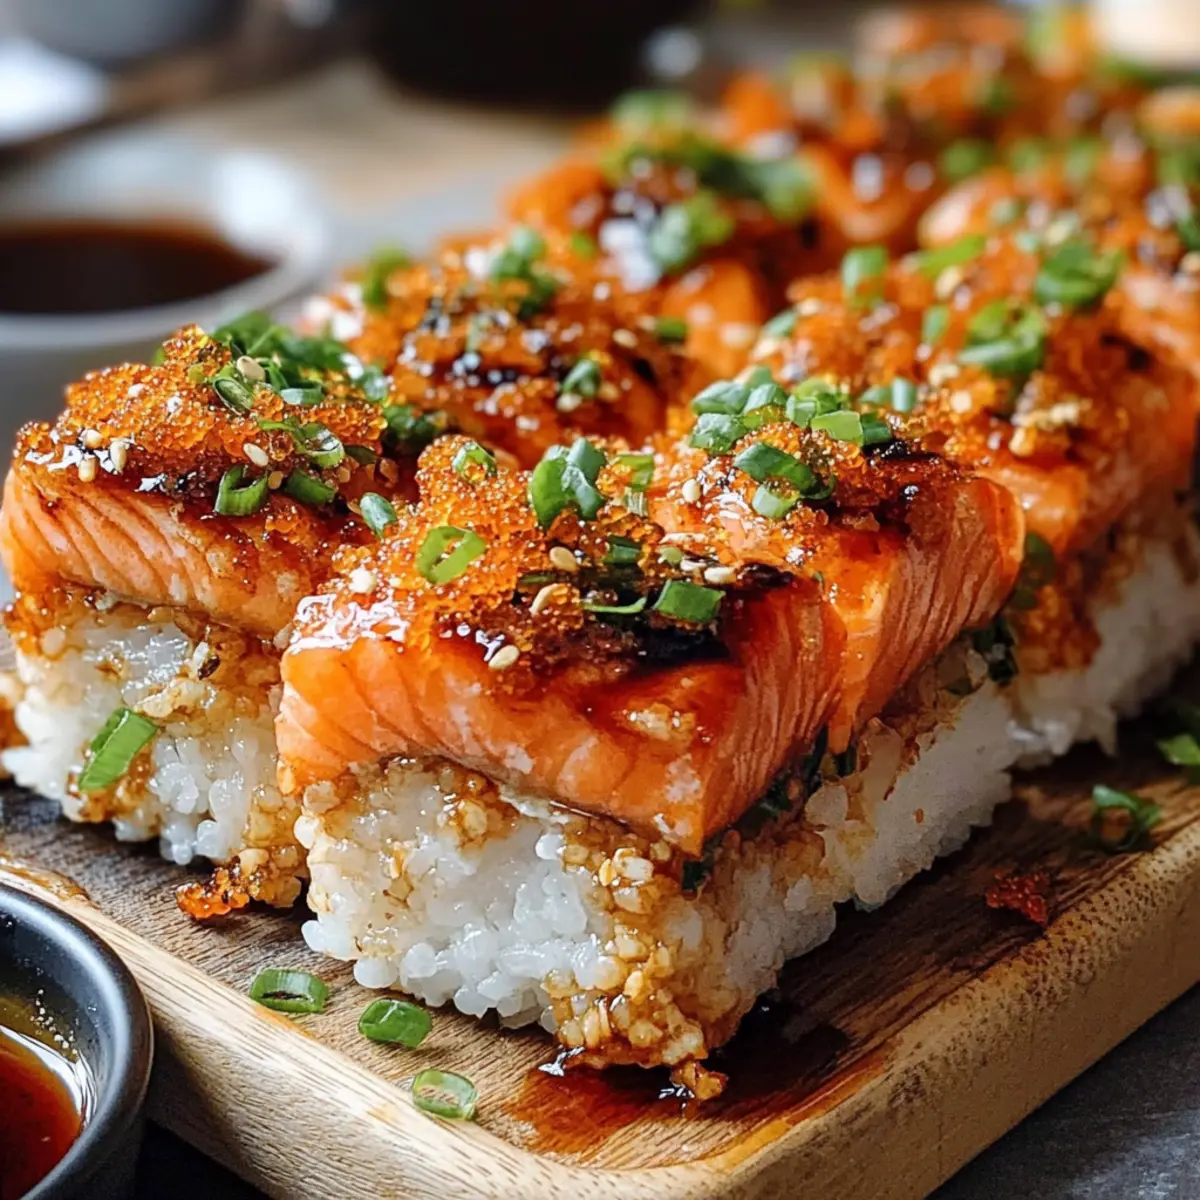
Why You’ll Crave This Sushi Bake?
Unforgettable Flavor: The creamy sriracha mayo combined with rich salmon creates a taste explosion that will leave your taste buds dancing.
Easy to Make: With just a few simple steps, this dish is approachable for any home cook, making it perfect for a laid-back evening or gathering.
Crowd-Pleaser: Whether you’re serving family or friends, everyone will adore this twist on sushi and it’s guaranteed to spark joy around the dinner table.
Customizable Options: Feel free to tailor it to your preferences—swap salmon for cooked shrimp or tuna, or adjust the sriracha for your desired spice level. It’s like having endless sushi options in one dish!
Perfect for Leftovers: Any extras can be effortlessly transformed into sushi roll bowls with fresh veggies, ensuring nothing goes to waste.
Get ready to impress with this Spicy Salmon Sushi Bake that brings the sushi bar experience right into your home!
Spicy Salmon Sushi Bake Ingredients
• Dive into a world of flavors with your very own Spicy Salmon Sushi Bake!
For the Rice
- Sushi Rice – This creates the perfect base; rinsing well keeps it from getting gummy.
- Water – Use the right amount for tender, fluffy rice.
- Rice Vinegar – Essential for that classic sushi tang.
- Sugar – Balances the vinegar’s acidity for a harmonious flavor.
- Salt – Boosts the overall flavor of the dish.
For the Salmon Mixture
- Fresh Salmon Fillet (skinless, diced) – The star of the show; offers rich, buttery flavor and texture. Swap with tuna or shrimp if desired.
- Mayonnaise – Adds creaminess to the topping; a must for integrating flavors.
- Sriracha Sauce – Brings the heat; adjust for your spice preference.
- Sesame Oil – Infuses a delightful nutty taste.
- Green Onions (chopped) – Adds a fresh touch and garnishing appeal.
For Topping and Garnish
- Nori (cut into strips) – Provides added texture and umami flavor.
- Tobiko (optional) – For a pop of brininess that enhances the sushi experience.
Gather these ingredients, and you’re on your way to creating a Spicy Salmon Sushi Bake that everyone will love!
Step‑by‑Step Instructions for Spicy Salmon Sushi Bake
Step 1: Prepare the Sushi Rice
Begin by rinsing the sushi rice in cold water until the water runs clear. This helps eliminate excess starch for fluffy rice. Next, combine the rinsed rice with the appropriate amount of water in a pot. Bring it to a boil, then reduce the heat to low, covering the pot. Cook for about 18-20 minutes until the rice is tender and has absorbed the water. Remove from heat and let it sit covered for 10 minutes to steam.
Step 2: Mix the Vinegar Dressing
While the rice is resting, prepare the vinegar dressing. In a small bowl, combine rice vinegar, sugar, and salt. Stir until the sugar dissolves completely. Once the sushi rice has finished steaming, transfer it to a large bowl and gently fold in the vinegar mixture using a wooden spatula. Let the seasoned rice cool to room temperature, which will enhance the overall flavor of the Spicy Salmon Sushi Bake.
Step 3: Create the Salmon Mixture
In a separate mixing bowl, gather your diced fresh salmon and add mayonnaise, sriracha, sesame oil, and chopped green onions. Mix thoroughly until all the ingredients are well incorporated and the salmon is evenly coated. Taste the mixture and adjust the sriracha according to your desired spice level. This savory salmon combination is the heart of your Spicy Salmon Sushi Bake, providing a perfect blend of creaminess and flavor.
Step 4: Assemble the Dish
Preheat your oven to 375°F (190°C). In a baking dish, evenly spread the seasoned sushi rice, pressing it down gently to create a firm base. Next, layer the salmon mixture evenly over the rice, ensuring it covers the entire surface. This will help the salmon cook evenly and provide that delicious creamy topping you’re looking for in the Spicy Salmon Sushi Bake.
Step 5: Bake to Perfection
Place your assembled dish in the preheated oven and bake for 25-30 minutes. Keep an eye on it towards the end; the top should become beautifully golden and slightly crispy. This indicates that the salmon is cooked through, and the flavors have melded beautifully. Baking creates that comforting warmth you associate with a homemade Spicy Salmon Sushi Bake.
Step 6: Garnish and Serve
Remove the sushi bake from the oven and allow it to cool for a few minutes. To serve, garnish with additional chopped green onions and nori strips for an extra flair. This adds both flavor and texture to your dish. Serve warm directly from the baking dish, and enjoy this comforting, delicious Spicy Salmon Sushi Bake with family and friends!
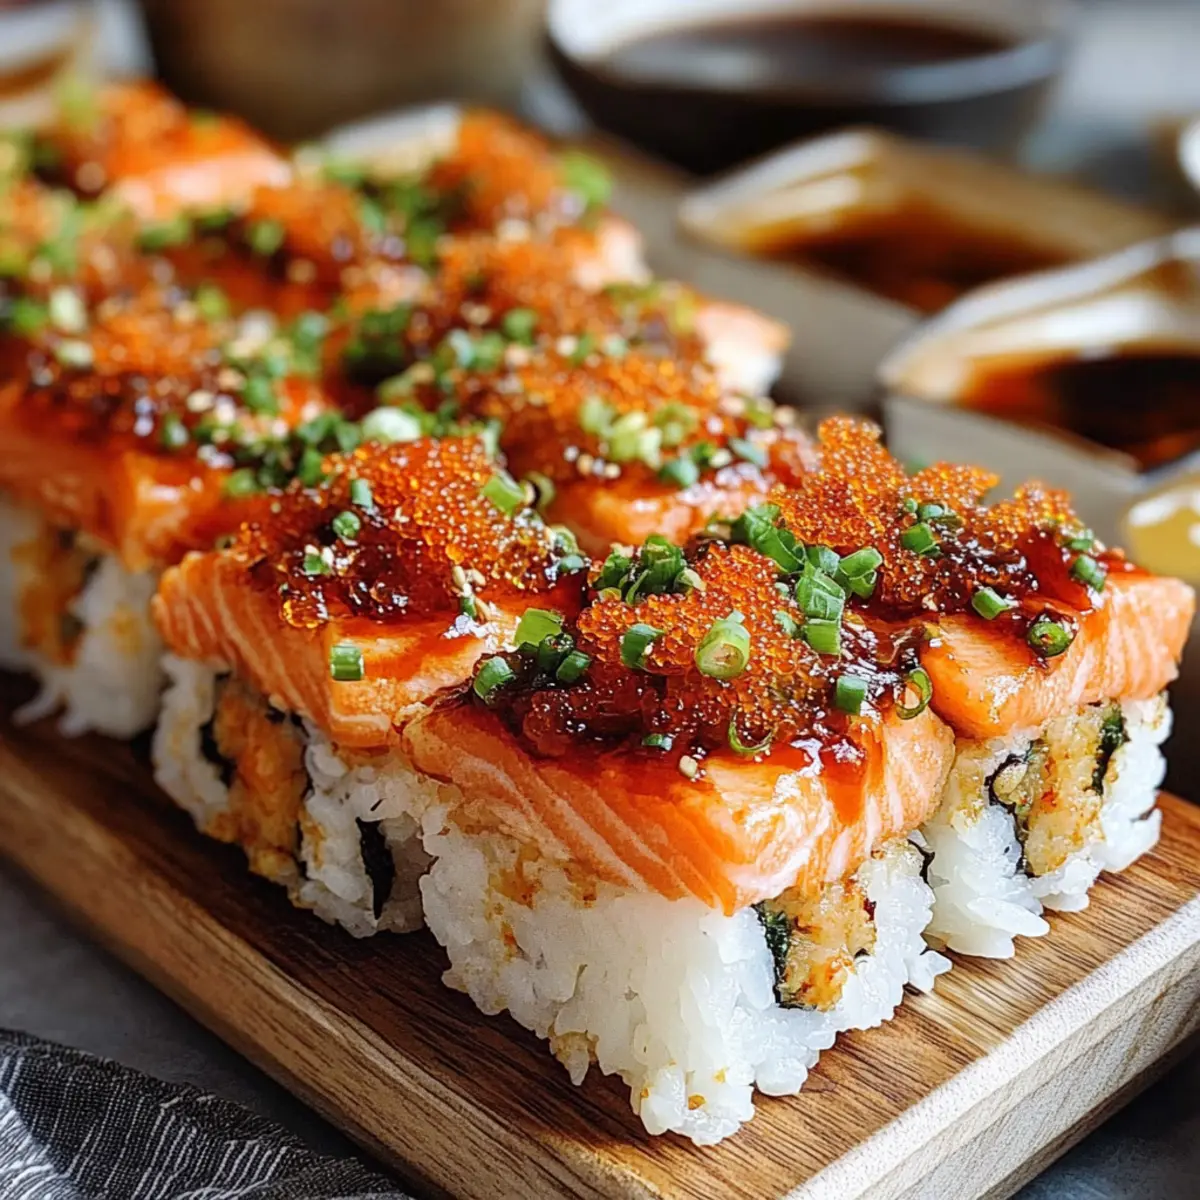
Spicy Salmon Sushi Bake Variations
Feel free to let your creativity shine as you adapt this already delightful dish!
-
Tuna Twist: Substitute salmon with fresh diced tuna for a unique flavor profile that sushi lovers will adore.
A simple swap that still packs a punch! It brings a fresh taste that’s sure to excite your palate. -
Shrimp Delight: Replace salmon with cooked shrimp, offering a delightful seafood option.
This variation brings a satisfying bite and is perfect for those who prefer a milder flavor. -
Veggie Medley: Try adding chopped bell peppers or carrots to the salmon mixture for a crunchy texture boost.
This not only enhances flavor but also adds vibrant colors, making it more visually appealing! -
Spicy Kick: Adjust the amount of sriracha according to your heat preference or incorporate a dash of chili oil for an extra kick.
Each bite can be tailored, making it a personal favorite depending on your spice tolerance! -
Herb Infusion: Incorporate fresh herbs like cilantro or basil for a fresh flavor twist that complements the creamy salmon.
This addition brightens the dish, making each bite feel like a breath of fresh air! -
Leftover Surprise: Transform any leftovers into sushi roll bowls by mixing with fresh veggies and serving over greens or rice.
This creative twist ensures nothing goes to waste and you get a refreshing new meal!
For more delicious ideas, you may enjoy these Bang Bang Salmon or the comforting Cheesy Broccoli Bake. Let your culinary journey begin with these variations!
Make Ahead Options
These Spicy Salmon Sushi Bake components are perfect for busy meal prep enthusiasts! You can prepare the sushi rice and the salmon mixture up to 24 hours in advance. To do this, cool the seasoned rice after mixing in the vinegar dressing and store it in an airtight container in the fridge. The salmon mixture can also be prepped ahead and kept in a separate container, ensuring you use fresh diced salmon to maintain quality. When it’s time to enjoy the dish, layer the rice and salmon mix in a baking dish, then bake straight from the fridge for 25-30 minutes, achieving that delightful, cheesy goodness just as if you’d made it fresh!
Expert Tips for Spicy Salmon Sushi Bake
Pat the Salmon Dry: Ensure the salmon is dry before combining it with the other ingredients; excess moisture can prevent browning.
Rest the Rice: After cooking, let the rice sit covered for 10 minutes. This step helps achieve the proper texture, essential for the Spicy Salmon Sushi Bake.
Watch the Broiler: If you use the broiler for crispiness, keep a close eye on the dish to avoid over-browning; checking often is key.
Adjust Spiciness: Tailor the amount of sriracha according to your heat preference; start with a little and add more as desired.
Use Fresh Ingredients: Opt for fresh ingredients whenever possible; they significantly enhance flavor and overall quality of your Spicy Salmon Sushi Bake.
What to Serve with Spicy Salmon Sushi Bake?
Create a delightful dining experience with these complementary dishes that elevate your sushi bake to new heights.
-
Edamame Beans: Steamed and lightly salted, these bright green pods add a fresh, crunchy element that contrasts the richness of the bake.
-
Cucumber Salad: Crisp, cool cucumbers tossed in a simple vinaigrette brighten the palate and provide a refreshing balance to the dish.
-
Miso Soup: This warm, savory soup offers a comforting umami flavor that beautifully complements the sushi bake’s richness; perfect for slurping alongside.
-
Pickled Ginger: A traditional side, pickled ginger enhances the flavors and serves as a palate cleanser, ensuring a refreshing experience with each bite.
-
Seaweed Salad: Chewy and tangy, seaweed salad brings in earthy flavors that pair wonderfully with the spiced salmon, deepening the sushi vibes.
-
Japanese Beer or Sake: A cold, crisp beer or a smooth sake acts as the perfect drink to wash down the rich flavors, enhancing your meal’s overall enjoyment.
-
Mochi Ice Cream: For dessert, these sweet, chewy treats filled with ice cream provide a delightful finish; the unique texture and flavors are sure to impress guests.
Each of these pairings enhances the warmth and flavors of the Spicy Salmon Sushi Bake, making for a cozy, satisfying meal.
How to Store and Freeze Spicy Salmon Sushi Bake
Fridge: Store any leftovers in an airtight container for up to 3 days to maintain freshness. Make sure to let it cool completely before sealing.
Freezer: For longer storage, freeze the cooled sushi bake in a freezer-safe container for up to 3 months. Thaw overnight in the fridge before reheating.
Reheating: Reheat leftovers in the oven at 350°F (175°C) for about 15-20 minutes until warmed through. This will help retain that delightful creamy texture of the Spicy Salmon Sushi Bake.
Tips: If freezing, avoid adding garnishes like green onions or nori until after reheating to keep them fresh and vibrant.
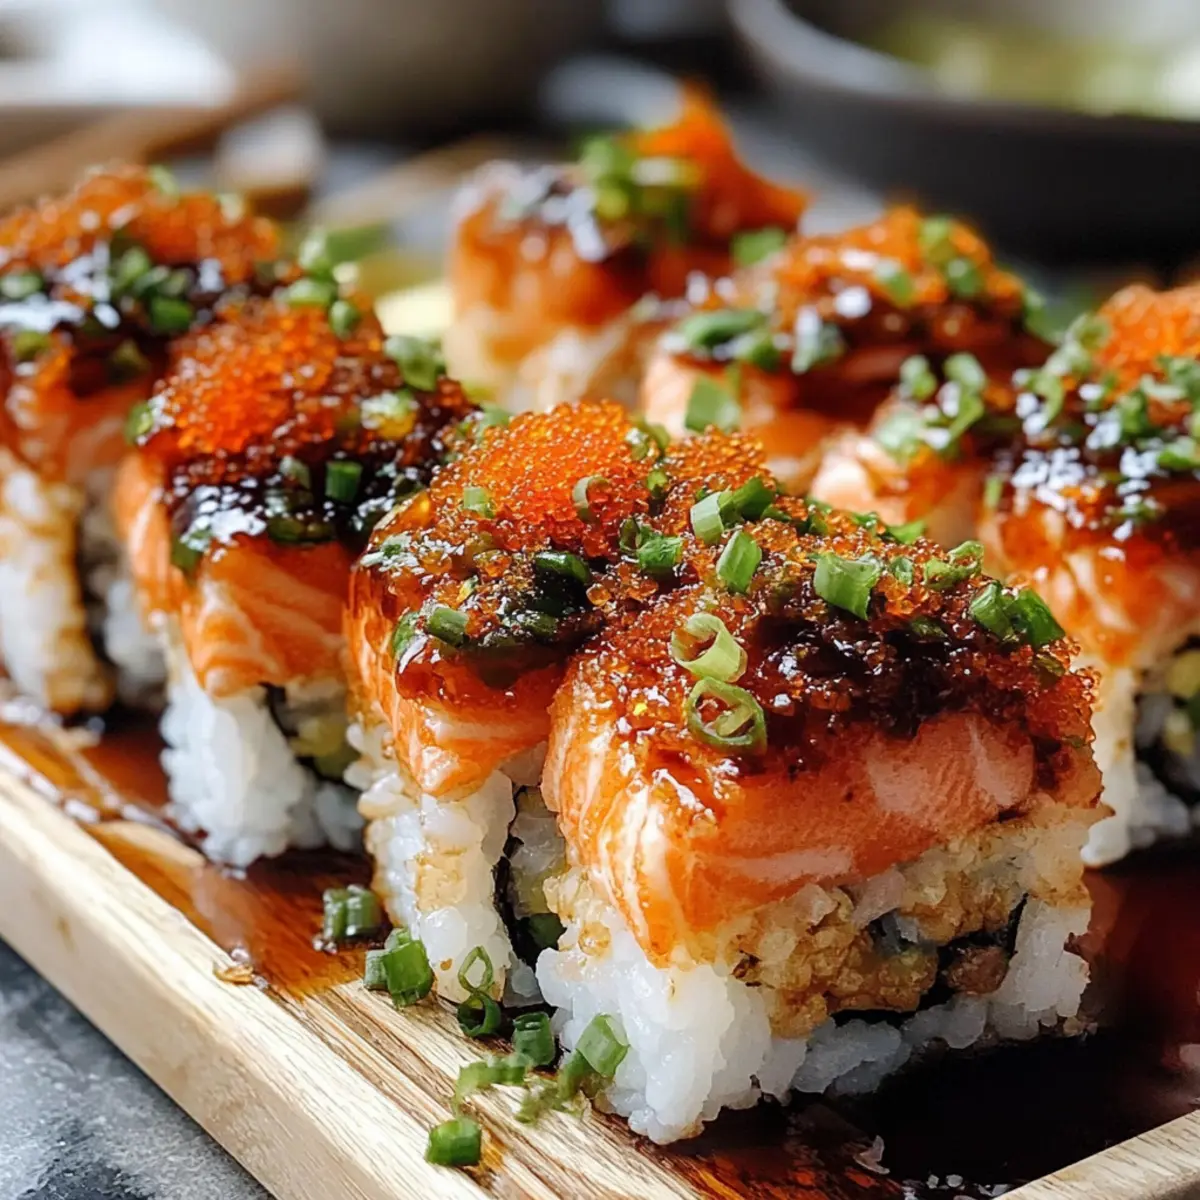
Spicy Salmon Sushi Bake Recipe FAQs
What type of sushi rice should I use?
Absolutely, for the best results, use short-grain sushi rice. It’s key to achieving that sticky texture that holds everything together. Look for packaging labeled “sushi rice” or “short-grain rice” at your local store.
How do I store leftovers?
Leftovers can be stored in an airtight container in the fridge for up to 3 days. It’s best to let the Spicy Salmon Sushi Bake cool completely before sealing it up; this helps prevent condensation and maintains its deliciousness!
Can I freeze the Spicy Salmon Sushi Bake?
Yes, you can freeze the sushi bake! Let it cool down entirely, then transfer it to a freezer-safe container. It can be frozen for up to 3 months. When you’re ready to enjoy it, thaw it overnight in the fridge before reheating.
What should I do if my sushi rice is too sticky?
If the sushi rice turns out too sticky, you may have rinsed it insufficiently before cooking. Rinse it in cold water until the water runs clear to remove excess starch. If you’re in a pinch, adding a splash of rice vinegar after cooking can help balance the texture.
Are there any dietary considerations with this recipe?
Definitely! If cooking for someone with seafood allergies, feel free to substitute salmon with cooked chicken or tofu. For those avoiding gluten, ensure that your mayonnaise and any sauce used are gluten-free. Always check the ingredient labels to be safe.
How can I alter the spiciness level in the bake?
You can adjust the spiciness by varying the amount of sriracha used in the salmon mixture. For mild flavors, start with just a teaspoon, mixing it in and tasting as you go. You can always add more heat if it needs a little extra kick!
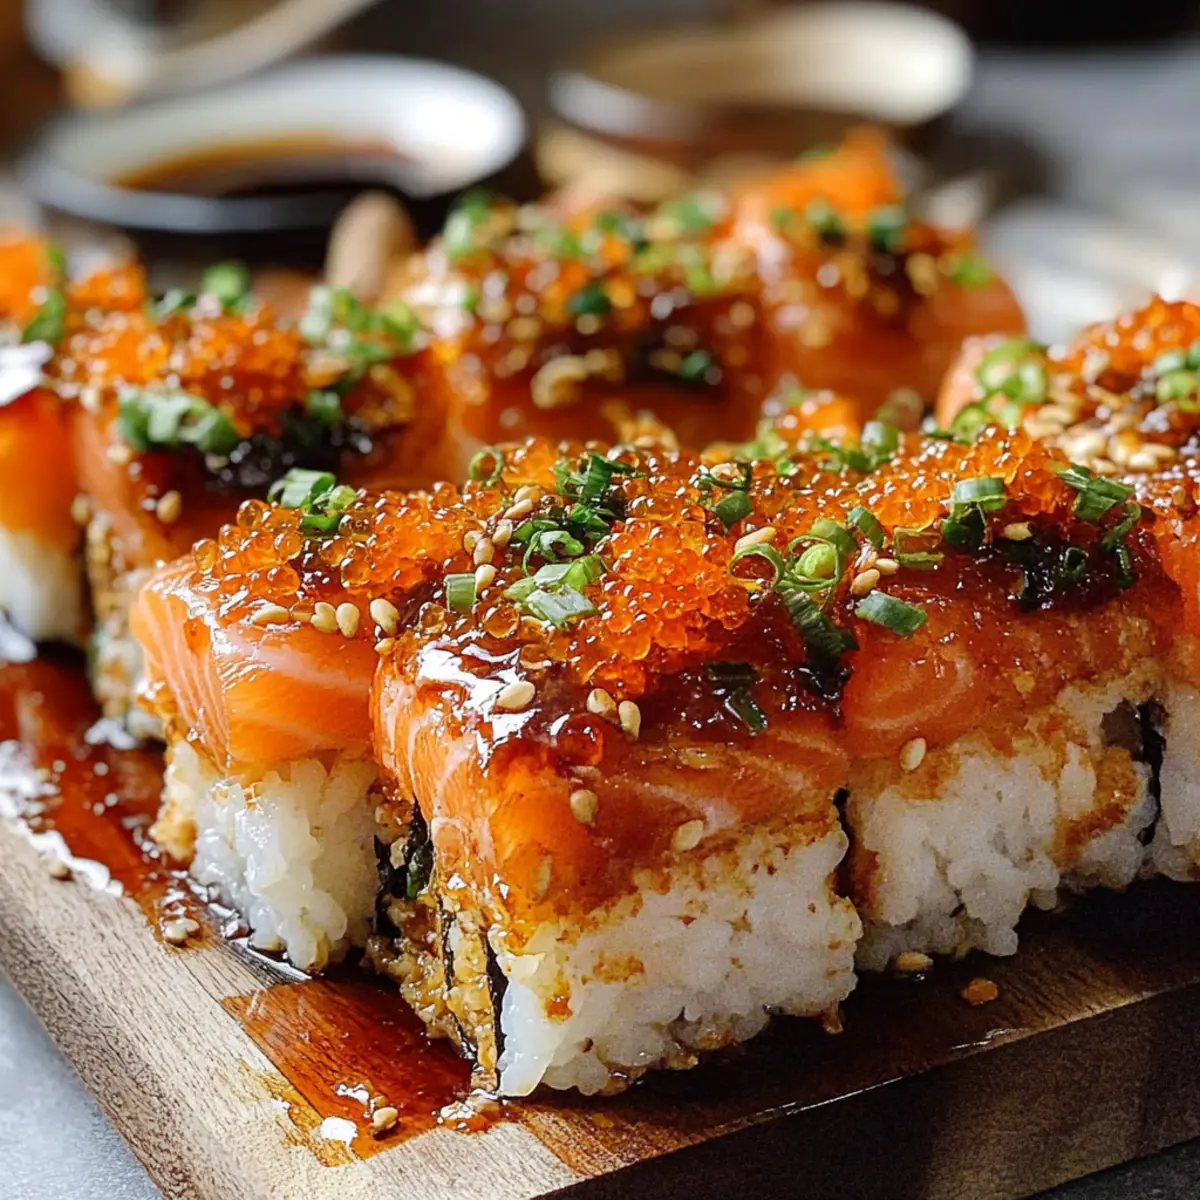
Irresistible Spicy Salmon Sushi Bake That Everyone Will Love
Ingredients
Equipment
Method
- Rinse the sushi rice until water runs clear, then cook with water for 18-20 minutes.
- Mix rice vinegar, sugar, and salt in a bowl until dissolved, then fold into cooked rice.
- In a bowl, mix diced salmon, mayonnaise, sriracha, sesame oil, and green onions until combined.
- Preheat oven to 375°F (190°C). Spread seasoned rice in a baking dish and layer salmon mixture on top.
- Bake for 25-30 minutes until golden and crispy on top.
- Garnish with additional green onions and nori strips before serving.
Leave a Reply