
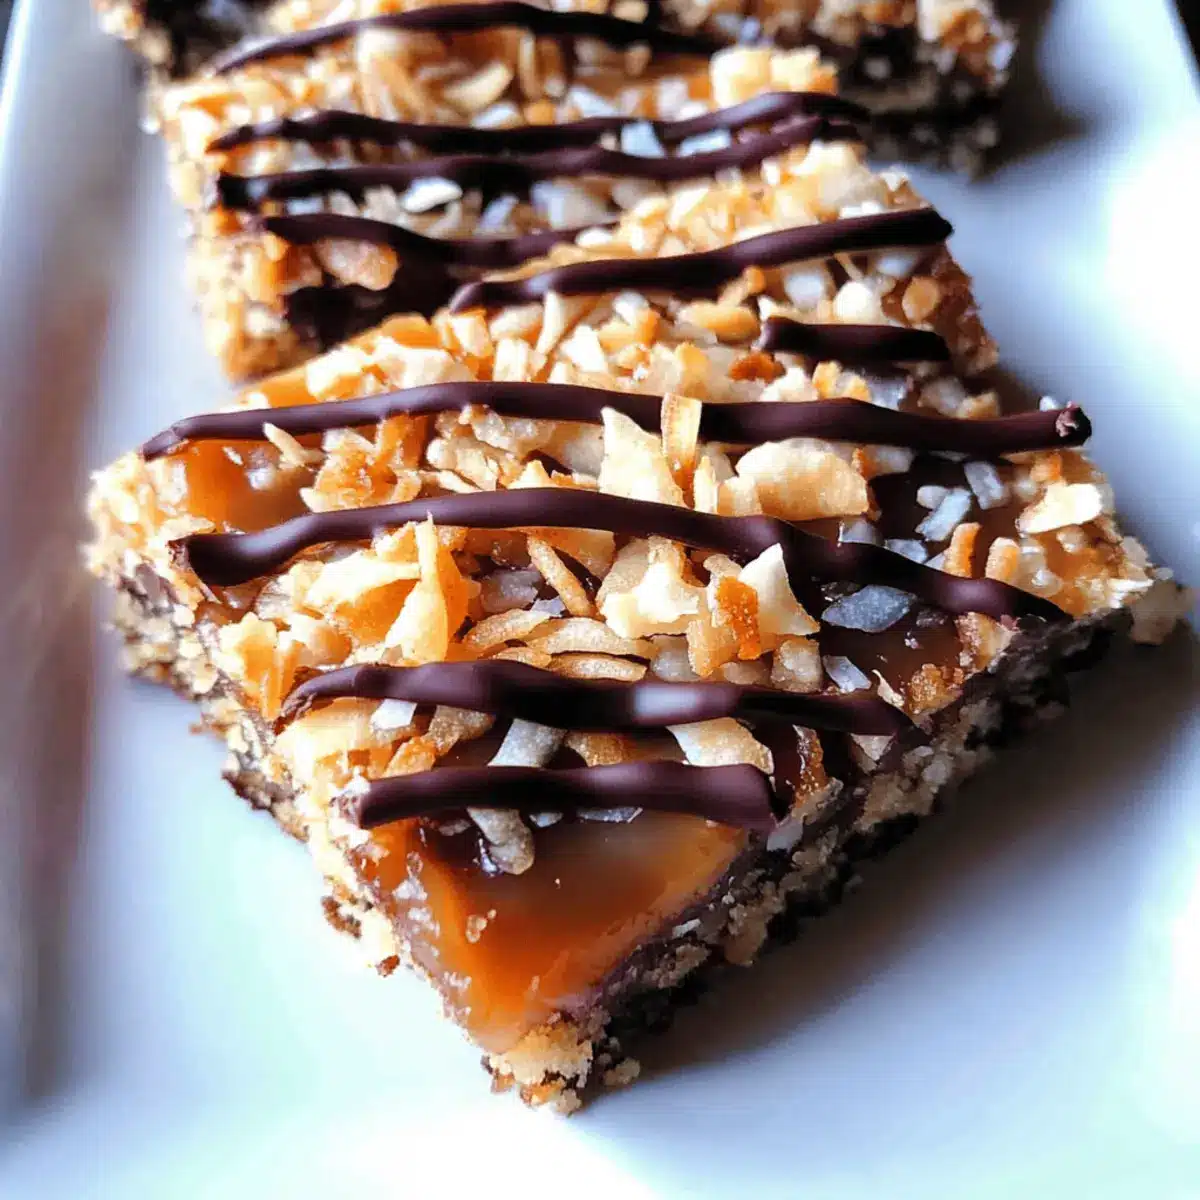
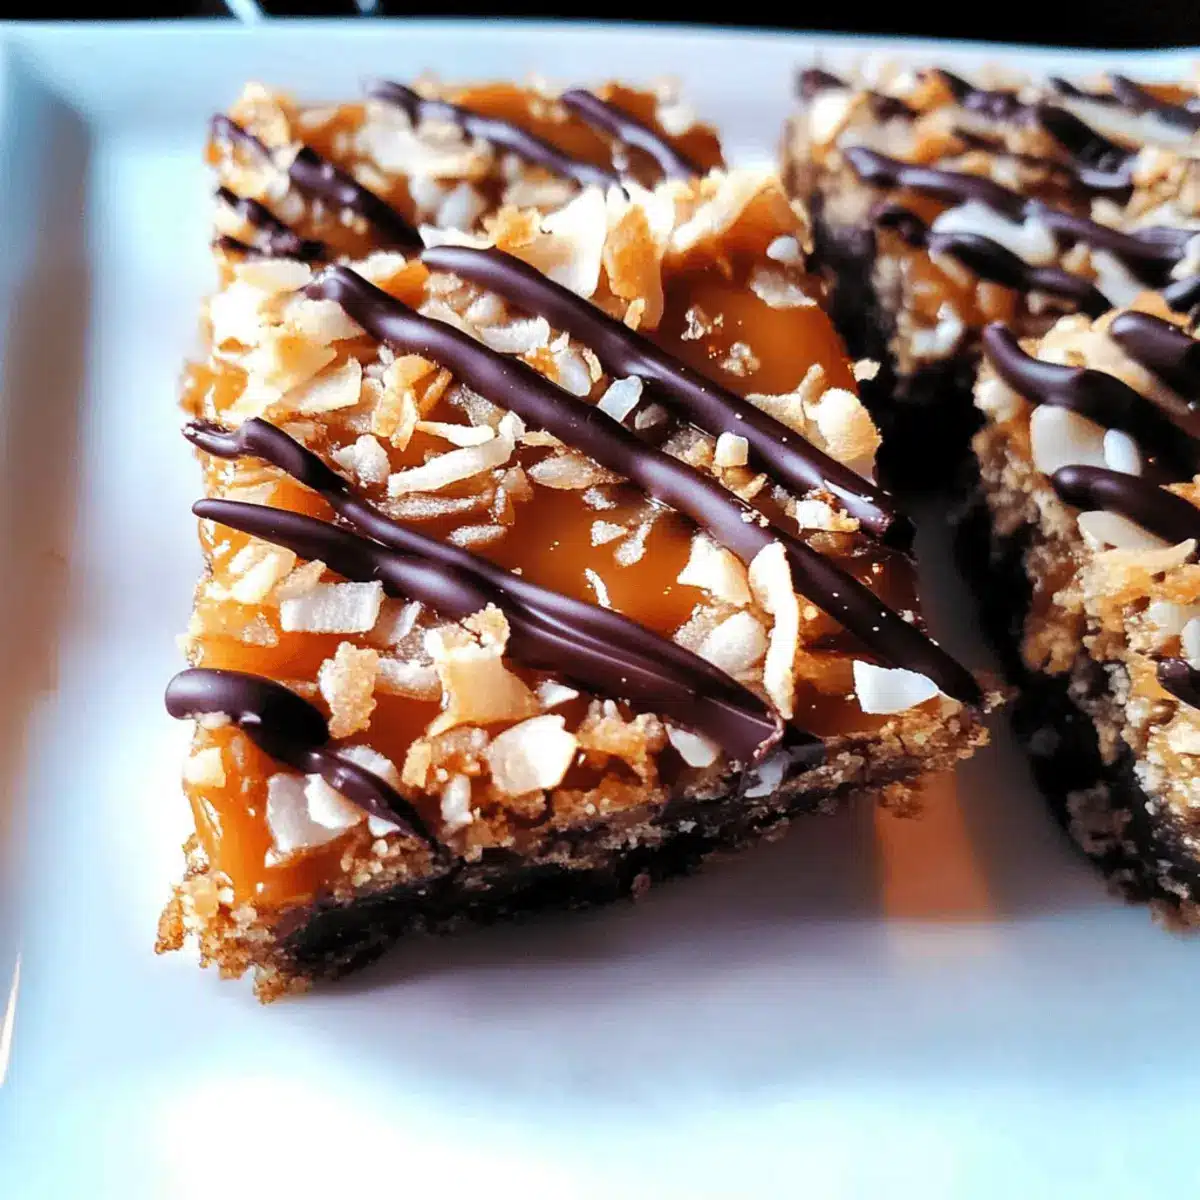
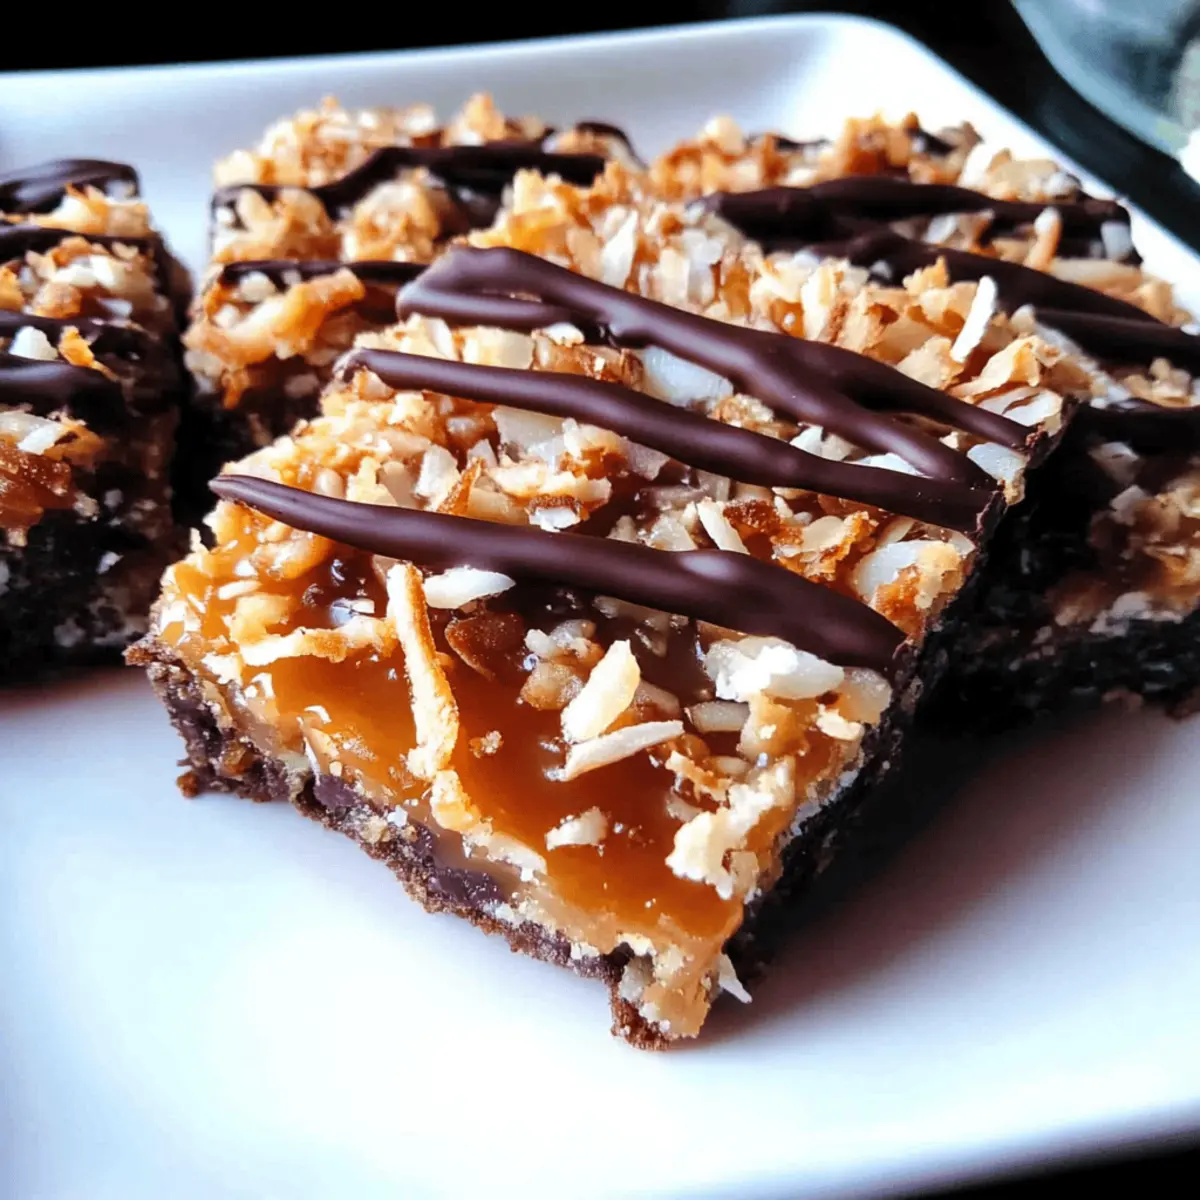
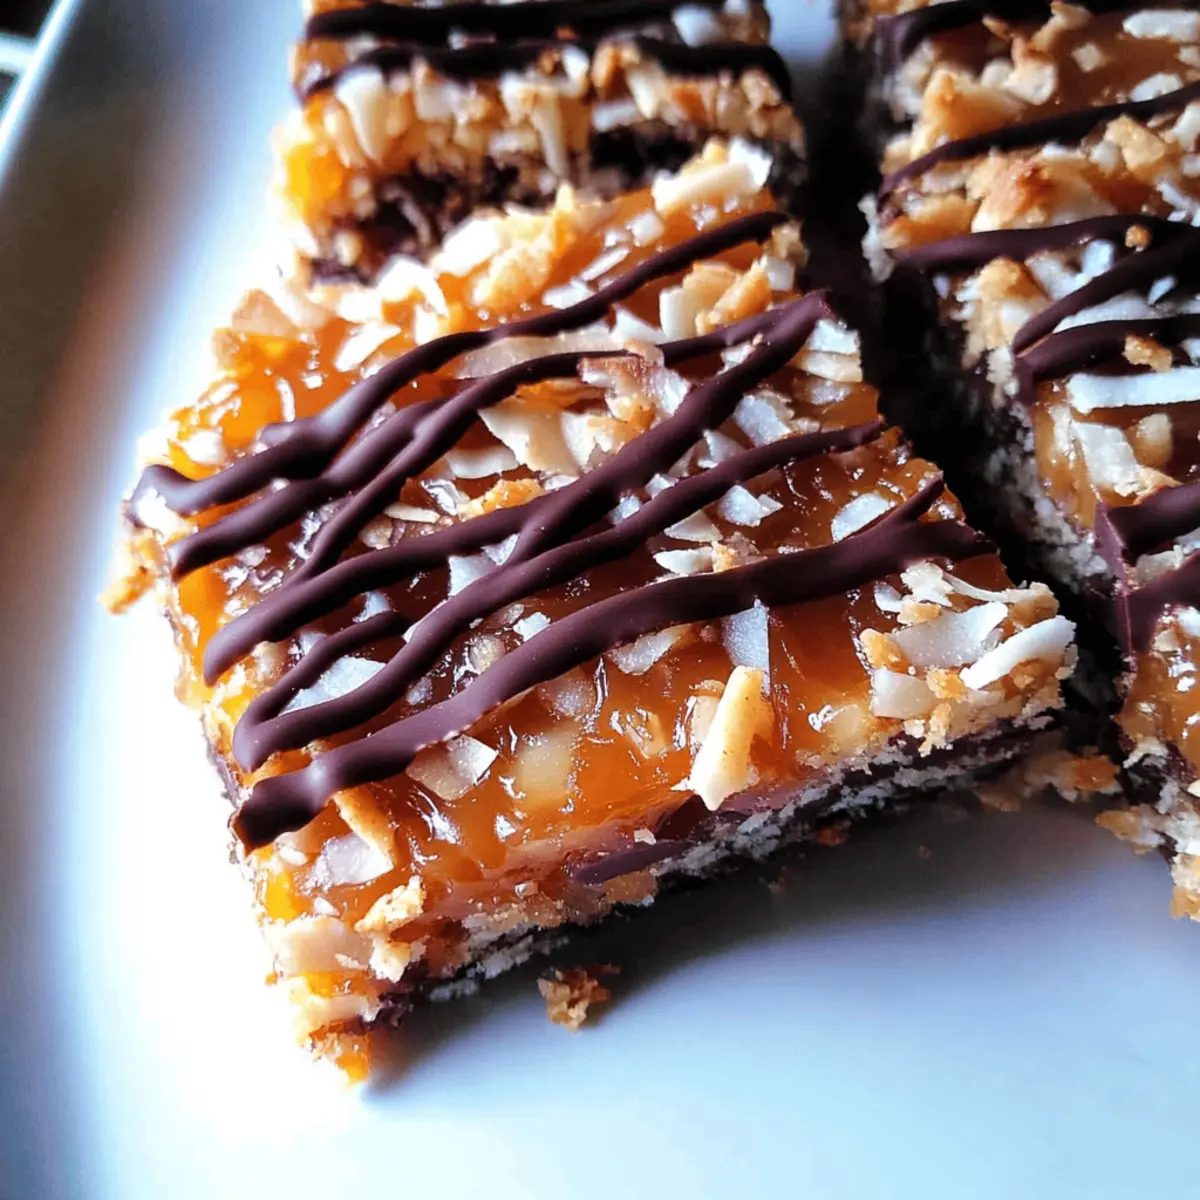
As the sweet aroma of caramel mingles with the inviting scent of coconut, I find myself whisked away to nostalgic memories of summer days and Girl Scout cookie cravings. These Samoa Bars are a delightful homage to those beloved cookies, capturing their flavors in a simple, chewy form that’s perfect for any occasion. With a base of golden shortbread topped with a glossy layer of gooey caramel and toasted coconut, they’re not just heavenly treats; they’re also a crowd-pleaser that can easily be adapted for gluten-free friends. Whether you’re preparing for a gathering or simply treating yourself (because you deserve it!), this recipe is a delicious way to indulge without the hassle of rolling out cookie dough. Ready to dive into a sticky, chocolate-drenched adventure? Let’s get baking!
Why Are Samoa Bars So Irresistible?
Delicious Flavor Fusion: These Samoa Bars combine sweet caramel, toasted coconut, and rich chocolate for an unforgettable taste experience that will have you coming back for more.
Quick to Make: With their straightforward preparation, you can whip these up in no time, making them a perfect last-minute dessert option.
Crowd Favorite: Ideal for parties or family gatherings, everyone will love these chewy treats, reminiscent of the classic Girl Scout cookies.
Customizable Options: Easily modify this recipe—try gluten-free flour or add your favorite nuts for a unique twist!
For more sweet options, check out my Melt Mouth Bars or treat yourself to Low Calorie Frozen delights!
Samoa Bars Ingredients
For the Cookie Base
• Sugar – Sweetness and structure; adjust based on flavor preference.
• Butter (¾ cup, softened) – Provides moisture and richness; vegan butter can be used for a dairy-free option.
• Egg (1 large) – Binds ingredients together and improves texture; consider using a flax egg for a vegan alternative.
• Vanilla Extract (½ tsp) – Enhances the flavor profile; opt for pure vanilla extract for the best results.
• All-Purpose Flour (2 cups) – Base for the cookie layer; substitute with gluten-free flour like Bob’s Red Mill 1-to-1 Baking Flour if needed.
• Salt (¼ tsp) – Balances sweetness.
For the Topping
• Sweetened Shredded Coconut (3 cups) – Adds texture and flavor; unsweetened coconut can be used if preferred.
• Chewy Caramels (12 oz) – Main topping providing a gooey, sweet contrast; homemade caramel adds a gourmet touch.
• Milk (3 tbsp) – Helps melt caramels into a smooth topping.
For the Chocolate Coating
• Dark or Semisweet Chocolate (12 oz, divided) – For coating and drizzling; milk chocolate can be substituted if desired.
Indulge yourself with these Samoa Bars that capture the essence of your favorite Girl Scout cookies!
Step‑by‑Step Instructions for Samoa Bars
Step 1: Preheat the Oven
Begin by preheating your oven to 350°F (175°C). This ensures that your Samoa Bars bake evenly and develop a beautiful golden color. While the oven heats up, prepare your baking pan by greasing a 13 x 9-inch dish or lining it with parchment paper for easy removal later.
Step 2: Cream the Butter and Sugar
In a mixing bowl, use an electric mixer to beat together ¾ cup of softened butter and your desired amount of sugar until the mixture is fluffy and pale, about 2-3 minutes. Next, add in one large egg and ½ teaspoon of vanilla extract, continuing to mix until fully combined. This creamy base is crucial for the texture of your Samoa Bars.
Step 3: Combine Dry Ingredients
Gradually add 2 cups of all-purpose flour and ¼ teaspoon of salt to the butter-sugar mixture. Mix on low speed until the ingredients resemble wet sand, ensuring no dry flour remains. The dough should hold together when gently pressed; this crumbly texture forms the delicious cookie base for your Samoa Bars.
Step 4: Press the Dough into the Pan
Transfer the dough to your prepared baking pan, using your fingers or a spatula to press it evenly across the bottom. Bake in the preheated oven for 20-25 minutes or until the edges turn lightly golden. Once baked, remove from the oven and let the shortbread cool completely in the pan on a wire rack.
Step 5: Toast the Coconut
While the cookie base cools, prepare the coconut topping. In a skillet over medium-high heat, add 3 cups of sweetened shredded coconut. Toast the coconut, stirring frequently, until it turns golden and fragrant, which should take about 3-5 minutes. Remove from heat and allow it to cool, enhancing the flavor of your Samoa Bars.
Step 6: Make the Caramel Topping
In a microwave-safe bowl, combine 12 ounces of chewy caramels and 3 tablespoons of milk along with a pinch of salt. Microwave on high in 30-second intervals, stirring in between, until the mixture is completely melted and smooth, roughly 1-2 minutes. Gently fold in the toasted coconut into the caramel until fully incorporated.
Step 7: Spread the Topping Over the Base
Once the cookie base has cooled, pour the caramel-coconut mixture over the top. Use a spatula to evenly spread it across the shortbread layer, ensuring every bite of your Samoa Bars has that delicious gooeyness. Allow the topping to set at room temperature for about 30 minutes or until it firms up.
Step 8: Melt the Chocolate
Using a double boiler or microwave, melt 10 ounces of dark or semisweet chocolate, stirring until it’s smooth and glossy. Carefully dip the bottom of each cooled Samoa Bar into the melted chocolate, allowing excess to drip off before placing them on a parchment-lined baking sheet.
Step 9: Drizzle with Chocolate
With the remaining melted chocolate, use a fork or a piping bag to drizzle chocolate over the tops of the bars for that decorative touch. Once all bars are drizzled, let the chocolate set at room temperature or refrigerate briefly to firm up before cutting them into squares.
Step 10: Slice and Serve
After the chocolate coating has completely set, use a sharp knife or pizza cutter to cut the bars into squares or rectangles. Serve your delightful Samoa Bars with a glass of milk or coffee, and savor the blissful blend of flavors that will have everyone reaching for more!
Samoa Bars Variations & Substitutions
Feel free to get creative and tailor these Samoa Bars to your preferences and dietary needs!
-
Gluten-Free: Use gluten-free flour such as Bob’s Red Mill 1-to-1 Baking Flour to enjoy these delicious bars without the gluten.
-
Dairy-Free: Substitute the butter with your favorite dairy-free butter or coconut oil for a vegan-friendly option without sacrificing richness.
-
Nutty Twist: Incorporate chopped almonds or pecans in place of coconut for a nutty flavor that adds a delightful crunch; a great way to customize!
-
Flavorful Chocolate: Try using white chocolate or milk chocolate for drizzling instead of dark chocolate, giving your bars a sweeter and creamier finish.
-
Extra Chocolate: Enhance the chocolate layer by mixing in a tablespoon of cocoa powder into the cookie base for a richer flavor experience.
-
Caramel Upgrade: Swap store-bought caramels with homemade caramel for an indulgent, gourmet twist that takes these bars to the next level.
-
Spicy Heat: Add a pinch of cayenne pepper to the caramel mixture for a surprising kick that complements the sweetness beautifully.
-
Coconut Variety: Experiment with unsweetened shredded coconut for a less sugary treat, perfect for those who prefer a more natural coconut flavor.
If you’re looking for other delectable recipes, why not check out my Melt Mouth Bars or refresh yourself with some Low Calorie Frozen treats?
What to Serve with Samoa Bars?
Looking to elevate your Samoa Bars experience? Here are some delightful accompaniments that will create the perfect dessert spread.
-
Creamy Vanilla Ice Cream: The rich creaminess of ice cream melts into the chocolate and caramel, enhancing every bite’s flavor. An irresistible pairing that whispers comfort in every scoop!
-
Fresh Berries: Strawberries or raspberries add a refreshing tartness that contrasts beautifully with the sweetness of the bars, providing a lovely burst of flavor. Their vibrant colors also brighten up your dessert table!
-
Strong Brewed Coffee: The robust notes of coffee complement the sweetness of the Samoa Bars, creating a balanced indulgence that’s perfect for any time of day. Plus, it fuels those cozy conversations as you relax with friends.
-
Coconut Milkshake: Blend up a delicious shake using coconut milk for a tropical twist. The cold, creamy texture pairs beautifully with the chewy bars, making for a refreshing dessert experience.
-
Chocolate Dipped Fruit: Add a touch of elegance with strawberries or banana slices dipped in chocolate. Their fruity freshness balances the rich flavors, turning your dessert into a delightful feast.
-
Nutty Caramel Sauce: Drizzle some homemade caramel sauce over the top for an extra indulgent touch. The nutty flavor brings the dessert to new heights while enhancing that delicious caramel flavor in your Samoa Bars.
-
Almond Milk Latte: Combine the nuttiness of almond milk with a shot of espresso. It perfectly complements the rich chocolatey goodness and brings warmth to your dessert ritual, making it even more delightful!
How to Store and Freeze Samoa Bars
Room Temperature: Keep your Samoa Bars in an airtight container at room temperature for up to 1 week for optimal freshness.
Fridge: For longer storage, refrigerate the bars in an airtight container for up to 2 weeks. This helps maintain their chewy texture.
Freezer: Freeze Samoa Bars in an airtight container for up to 3 months. Place parchment paper between layers to prevent sticking.
Reheating: To enjoy them warm, simply microwave a bar for about 10-15 seconds. Ideal for a cozy treat any time!
Expert Tips for Samoa Bars
• Perfectly Toasted Coconut: Ensure you stir the coconut frequently while toasting; it can burn quickly if left unattended.
• Crispy Base Check: Bake the shortbread until edges are lightly browned for the best texture—underbaking can result in a soggy base.
• Melting Chocolate: Use low heat when melting chocolate to avoid burning; a double boiler works wonderfully for achieving a perfect consistency.
• Cut with Care: Use a pizza cutter for neat slices—this prevents the chocolate from cracking and keeps your Samoa Bars looking beautiful.
• Storage Smart: Keep your Samoa Bars in an airtight container at room temperature to maintain their chewy texture; refrigerate for extended freshness.
Make Ahead Options
These Samoa Bars are perfect for meal prep lovers! You can prepare the cookie base up to 24 hours in advance; simply bake it, let it cool completely, then tightly cover with plastic wrap to keep it fresh. The caramel topping can be prepped and stored in the refrigerator for up to 3 days; just reheat gently in the microwave before spreading it over the shortbread layer. When ready to serve, just assemble by adding the topping and melting the chocolate—this ensures your Samoa Bars are just as delicious as if made fresh! Not only does this save you time, but it also allows you to enjoy your sweet treats with minimal final effort!
Samoa Bars Recipe FAQs
How do I choose ripe ingredients for Samoa Bars?
Absolutely! When selecting your ingredients, opt for butter that is slightly softened for easier creaming, and ensure your egg is fresh for the best binding quality. With chocolate, look for bars that have a glossy surface and a rich aroma—this indicates quality and will enhance the flavor of your bars.
How should I store Samoa Bars, and for how long do they last?
I often keep my Samoa Bars in an airtight container at room temperature, where they’ll stay fresh for about one week. If you prefer a longer shelf life, refrigerate them in the same type of container for up to two weeks. This helps maintain their chewy texture and prevents them from drying out.
Can I freeze Samoa Bars, and how do I do it properly?
Yes, you can freeze Samoa Bars! To do so, place the bars in an airtight container, making sure to layer parchment paper between them to prevent sticking. They can be stored in the freezer for up to 3 months. When you’re ready to enjoy them, simply thaw them in the fridge overnight or microwave them for 10-15 seconds for that fresh-out-of-the-oven warmth!
What if my cookie base seems too crumbly?
Very! If your dough for the cookie base appears crumbly and doesn’t hold together, it could be due to too much flour. Give it a gentle squeeze; it should stick when pressed. If it’s still dry, you can add a teaspoon of milk at a time until it reaches the right consistency.
Are Samoa Bars suitable for those with dietary restrictions, like gluten intolerance?
Absolutely! For gluten-free Samoa Bars, substitute the all-purpose flour with a gluten-free baking blend, such as Bob’s Red Mill Gluten Free 1-to-1 Baking Flour. Additionally, ensure that the chocolate and caramel you choose are gluten-free. Homemade caramels can also tailor to your dietary needs and elevate the flavor.
Can I modify the toppings or flavors?
So many possibilities! You can swap the sweetened shredded coconut with toasted almonds or pecans for a nutty twist. For the chocolate drizzle, consider using white chocolate or flavored chocolate for a unique spin. The more, the merrier when it comes to customizing your Samoa Bars!
Samoa Bars That Taste Just Like Your Favorite Girl Scout Cookies
Ingredients
Equipment
Method
- Preheat your oven to 350°F (175°C) and prepare your baking pan by greasing a 13 x 9-inch dish or lining it with parchment paper.
- In a mixing bowl, cream together the softened butter and sugar until fluffy. Add egg and vanilla, mixing until combined.
- Gradually add the flour and salt, mixing until the dough resembles wet sand.
- Press the dough into the prepared pan and bake for 20-25 minutes until edges are lightly golden. Let cool.
- Toast the shredded coconut in a skillet over medium-high heat until golden and fragrant, about 3-5 minutes.
- Combine caramels, milk, and a pinch of salt in a microwave-safe bowl and melt until smooth, then mix in the toasted coconut.
- Spread the caramel-coconut mixture over the cooled base and let set for about 30 minutes.
- Melt chocolate, then dip the bottom of each bar into the melted chocolate and place on a parchment-lined baking sheet.
- Drizzle remaining melted chocolate over the tops of the bars and let set.
- Cut into squares and serve with a glass of milk or coffee.
Leave a Reply