
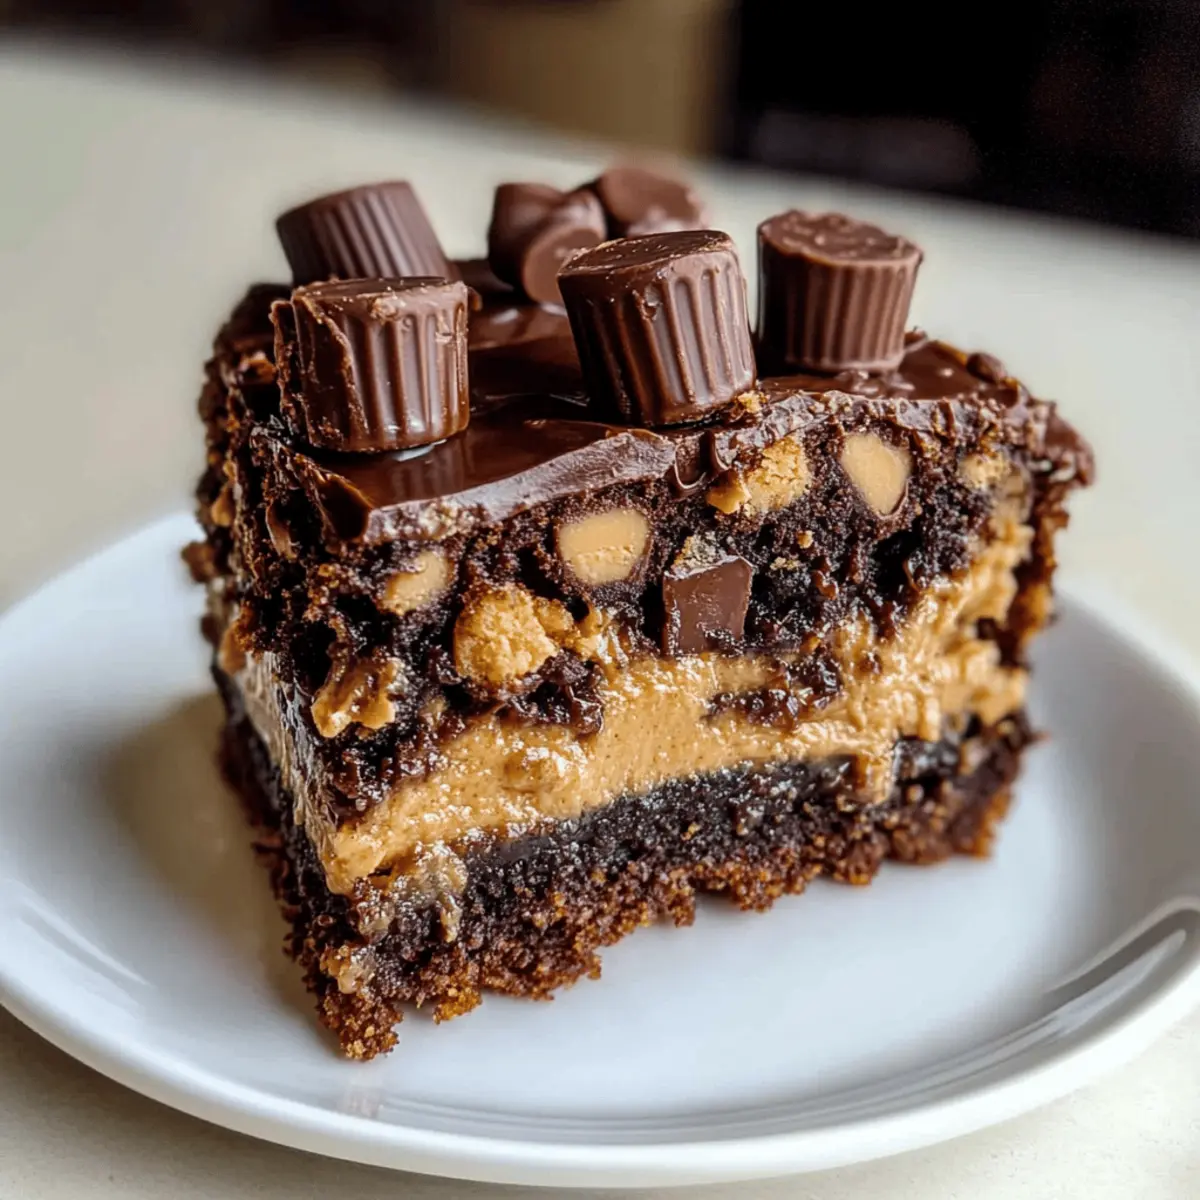
Have you ever felt the excitement of combining two beloved treats into one heavenly creation? With this Peanut Butter Cup Dump Cake, that’s exactly what you get! This quick dessert brings together the irresistible chocolate and peanut butter combo in a way that’s as effortless as it is delightful. Perfect for those weeknights when time is tight, this recipe requires no mixer and delivers mouthwatering flavor with just a few simple steps. It’s incredibly family-friendly, making it a go-to choice for both casual gatherings and special celebrations alike. Ready to dive into a slice of creamy, chocolatey goodness? Let’s uncover the magic of this dump cake together!
Why is this dump cake a must-try?
Simplicity: This recipe comes together in minutes, making it a breeze for even the busiest home cooks.
Irresistible Flavor: The melt-in-your-mouth combination of chocolate and peanut butter is sure to satisfy any sweet tooth.
No Mixer Needed: Just a few basic ingredients and a bit of layering will yield an impressive dessert.
Family-Friendly: Perfect for gatherings, kids and adults alike will go wild for this delightful treat.
Endless Variations: Feel free to mix it up by adding a swirl of caramel or a hint of espresso; the possibilities are endless! Consider pairing it with a scoop of vanilla ice cream for an unforgettable dessert experience. For more delicious dynamic desserts, check out my Peanut Butter Cookies or Gingerbread Cake with Cinnamon Molasses Frosting.
Peanut Butter Cup Dump Cake Ingredients
• This delightful dessert comes together with just a handful of ingredients that pack a punch of flavor!
For the Cake
- Whole Milk – Provides a dreamy cake texture; low-fat can be used for a drier cake.
- Boxed Chocolate Cake Mix – The structure of the cake; store-bought ensures a moist outcome.
- Melted Butter – Binds the ingredients and adds a rich flavor.
For the Layers
- Peanut Butter – The base layer adding irresistible richness; almond butter works as a tasty substitute.
- Mini Peanut Butter Cups – Melts into delightful pockets of goodness; use smaller sizes for the best consistency.
- Chocolate Chips – Adds extra chocolatey goodness; save some for sprinkling on top as a treat.
The Peanut Butter Cup Dump Cake comes together like an artistic masterpiece—simple yet delicious!
Step‑by‑Step Instructions for Peanut Butter Cup Dump Cake
Step 1: Preheat and Prep
Start by preheating your oven to 350°F (175°C). While it warms up, thoroughly grease a 9×13 inch baking dish to ensure easy removal of your Peanut Butter Cup Dump Cake. A non-stick spray or a light coating of butter works wonders here, creating a perfect base for our delicious layers.
Step 2: Spread the Peanut Butter
Once your dish is ready, take your peanut butter and spread it evenly across the bottom. This layer will serve as a rich, gooey foundation for your dump cake. Use a spatula for easy spreading, ensuring every inch is covered so that each bite is loaded with that delightful peanut butter goodness.
Step 3: Add the Cake Mix
Next, grab your boxed chocolate cake mix and carefully dump it over the peanut butter without mixing. This is a crucial step for achieving the signature dump cake texture. The dry mix will form a tasty layer that bakes into a light and fluffy cake, setting the stage for all that melted chocolate and peanut butter deliciousness.
Step 4: Pour the Liquids
Pour the melted butter and whole milk evenly over the cake mix layer. It’s important to distribute the liquids evenly; do not stir. This will allow the dry cake mix to absorb the moisture as it bakes, giving your Peanut Butter Cup Dump Cake its delightful texture.
Step 5: Add the Chocolate Treats
Now it’s time for the fun part! Sprinkle the mini peanut butter cups and chocolate chips generously over the top. Make sure they’re scattered well so that each slice of the cake is filled with melty chocolatey goodness. This topping will create beautiful pockets of flavor as it bakes and melts into the cake.
Step 6: Bake to Perfection
Place the dish in the preheated oven and bake for 35-40 minutes. You’ll know the cake is done when the top is golden brown and a toothpick inserted in the center comes out with moist crumbs, not wet batter. This ensures that the Peanut Butter Cup Dump Cake has a crisp exterior and a gooey interior.
Step 7: Cool Before Serving
Once baked, remove the cake from the oven and let it cool for at least 15 minutes. This cooling step allows the flavors to set and makes it easier to serve. If you want to enhance the indulgence, consider serving it warm with a scoop of ice cream for a truly delightful treat.
Peanut Butter Cup Dump Cake Variations
Feel free to customize this delightful dump cake to suit your taste and dietary preferences!
-
Dairy-Free: Substitute almond milk and coconut oil for milk and melted butter for a dairy-free version that still packs plenty of flavor.
For an extra touch, try using dairy-free chocolate chips, ensuring every bite remains just as indulgent. -
Nut-Free: Use sunflower seed butter instead of peanut butter to keep it nut-free, but retain that creamy richness.
This swap keeps the texture intact while inviting those with nut allergies to enjoy this delicious dessert. -
Gluten-Free: Swap the boxed chocolate cake mix for a gluten-free version to cater to those with gluten sensitivities.
Most gluten-free cake mixes work wonderfully, making it easy to bake this treat without sacrificing taste. -
Extra Chocolatey: Add a handful of chocolate chips to the cake mix and sprinkle even more on top for an intense chocolate flavor.
This twist will make every slice a chocolate lover’s dream, perfect for special occasions or just because! -
Salted Caramel: Drizzle caramel sauce over the top before baking for a sweet contrast to the rich peanut butter.
The melding of flavors creates a truly decadent dessert that will have everyone coming back for seconds and thirds. -
Spicy Kick: Sprinkle a hint of cayenne pepper into the cake mix for a surprising zesty twist on flavor.
This subtle heat complements the sweetness beautifully, making your dessert memorable and exciting. -
Fruit Upgrade: Toss in some chopped bananas or sliced strawberries before baking for a fruity touch.
The added freshness balances the richness, making it a delightful treat for summer gatherings.
Combine these variations with a scoop of vanilla ice cream, and you have a truly unique dessert experience. For more fun dessert ideas, browse through my delightful Gingerbread Cake with Cinnamon Molasses Frosting or the classic flavors found in my Peanut Butter Cookies. Enjoy mixing things up!
Make Ahead Options
These Peanut Butter Cup Dump Cakes are perfect for busy weeknights when you need a sweet treat without the time commitment! You can prepare the base layers (peanut butter, cake mix, and even the melted butter and milk mixture) up to 24 hours in advance. Simply spread the peanut butter in the baking dish, layer on the dry cake mix, and refrigerate these components tightly covered. When you’re ready to bake, pour the melted butter and milk over the layers, sprinkle with mini peanut butter cups and chocolate chips, and bake as directed. This method not only saves time but also ensures your cake is just as delicious, with gooey pockets of chocolate and peanut butter waiting to be savored!
Expert Tips for Peanut Butter Cup Dump Cake
-
Parchment Paper: Line the bottom of your baking dish with parchment for easy removal, ensuring perfect slices every time.
-
Even Liquid Distribution: When pouring the milk and butter, aim for even coverage to prevent the cake mix from sinking.
-
Watch Your Bake Time: Keep an eye on baking time; overbaking can lead to a dry cake. Use a toothpick for testing moisture—look for moist crumbs, not wet batter.
-
Serve Warm: For the ultimate experience, serve your Peanut Butter Cup Dump Cake warm with a scoop of ice cream to enhance the flavors and texture.
-
Storage Tips: Store leftovers at room temperature for two days or refrigerate for a week. You can freeze portions for up to a month.
Storage Tips for Peanut Butter Cup Dump Cake
-
Room Temperature: Enjoy your Peanut Butter Cup Dump Cake at room temperature for up to 2 days. Keep it in an airtight container to maintain freshness.
-
Fridge: If you want to extend its life, store the cake in the refrigerator for up to 5 days. Cover it well to prevent it from drying out.
-
Freezer: For longer storage, wrap individual portions tightly in plastic wrap and then in foil. The cake can be frozen for up to 1 month.
-
Reheating: To enjoy the cake warm, simply microwave slices for 20-30 seconds. Add a scoop of ice cream on top for an extra treat!
What to Serve with Peanut Butter Cup Dump Cake
Indulging in a slice of this warm, gooey delight opens the door to endless meal possibilities.
-
Creamy Vanilla Ice Cream: The ultimate pairing! A scoop of vanilla ice cream beautifully complements the rich flavors of chocolate and peanut butter, creating an irresistible combination.
-
Whipped Cream: Light and fluffy, whipped cream adds a delicate texture that balances the richness of the cake. A dollop on top makes each bite feel even more luxurious.
-
Fresh Berries: Juicy strawberries or raspberries provide a tart contrast, enhancing the sweetness of the dump cake. Their freshness adds a refreshing element anyone will love.
-
Chocolate Sauce Drizzle: Elevate your dessert to new heights by drizzling melted chocolate over the top. That extra layer of decadent chocolate is perfect for the ultimate chocolate craving.
-
Nutty Trail Mix: For a fun twist, serve a side of crunchy nutty trail mix. The different textures and earthy flavors will make the sweet indulgence even more exciting.
-
Coffee or Espresso: Nothing pairs better with dessert than a cup of rich coffee or espresso. The bitter notes of coffee enhance the sweeter components while creating a harmonious balance.
Imagine the joy of serving these alongside your Peanut Butter Cup Dump Cake, turning a simple dessert into a delightful experience!
Peanut Butter Cup Dump Cake Recipe FAQs
What type of peanut butter is best for this recipe?
I recommend using creamy peanut butter for a smooth, rich layer in your Peanut Butter Cup Dump Cake. Crunchy peanut butter can also be used for added texture, but it might affect the cake’s consistency slightly. If you or someone you know has nut allergies, sunflower seed butter is a great alternative that can offer a similar creaminess.
How should I store leftovers of the Peanut Butter Cup Dump Cake?
Store your Peanut Butter Cup Dump Cake in an airtight container at room temperature for up to 2 days. If you want it to last longer, refrigerate it for up to 5 days. Make sure to cover it well—this keeps it moist and delicious while preventing it from drying out!
Can I freeze Peanut Butter Cup Dump Cake?
Absolutely! To freeze your Peanut Butter Cup Dump Cake, wrap individual portions tightly in plastic wrap and then in foil. This simple step ensures they stay fresh and delicious. You can freeze it for up to 1 month. When you’re ready to enjoy a slice, just thaw it in the refrigerator overnight and reheat in the microwave for 20-30 seconds to get that delightful warm texture back!
What if my cake sinks in the middle after baking?
If your Peanut Butter Cup Dump Cake sinks in the middle, there may have been too much liquid added to the cake mix or it wasn’t baked long enough. To prevent this, ensure you are distributing the melted butter and milk evenly over the cake mix without stirring. Additionally, always test the cake with a toothpick—look for moist crumbs, which means it’s ready, rather than a wet batter.
Can this recipe be adapted for different dietary needs?
Yes, you can absolutely adapt the Peanut Butter Cup Dump Cake for different dietary preferences! For a gluten-free version, swap the boxed chocolate cake mix for a gluten-free alternative. If you’re looking for a lower sugar option, consider using a sugar substitute that works for baking. Also, please note that mini peanut butter cups may contain gluten or nuts, so always check labels for allergens if you’re serving guests with dietary restrictions.
How do I enhance the flavor of my dump cake?
For an extra flavor boost, consider adding a teaspoon of instant espresso powder to the cake mix before layering. This enhances the chocolate flavor beautifully! You could also experiment with swirling in caramel instead of chocolate chips for a delightful twist. Whatever you choose, the key is to have fun and make this cake your own!
Decadent Peanut Butter Cup Dump Cake Everyone Will Love
Ingredients
Equipment
Method
- Preheat your oven to 350°F (175°C). Grease a 9x13 inch baking dish.
- Spread the peanut butter evenly across the bottom of the prepared baking dish.
- Dump the boxed chocolate cake mix over the peanut butter layer without mixing.
- Pour the melted butter and whole milk evenly over the cake mix layer.
- Sprinkle mini peanut butter cups and chocolate chips generously over the top.
- Bake in the preheated oven for 35-40 minutes until golden brown and a toothpick comes out with moist crumbs.
- Let the cake cool for at least 15 minutes before serving.
Leave a Reply