
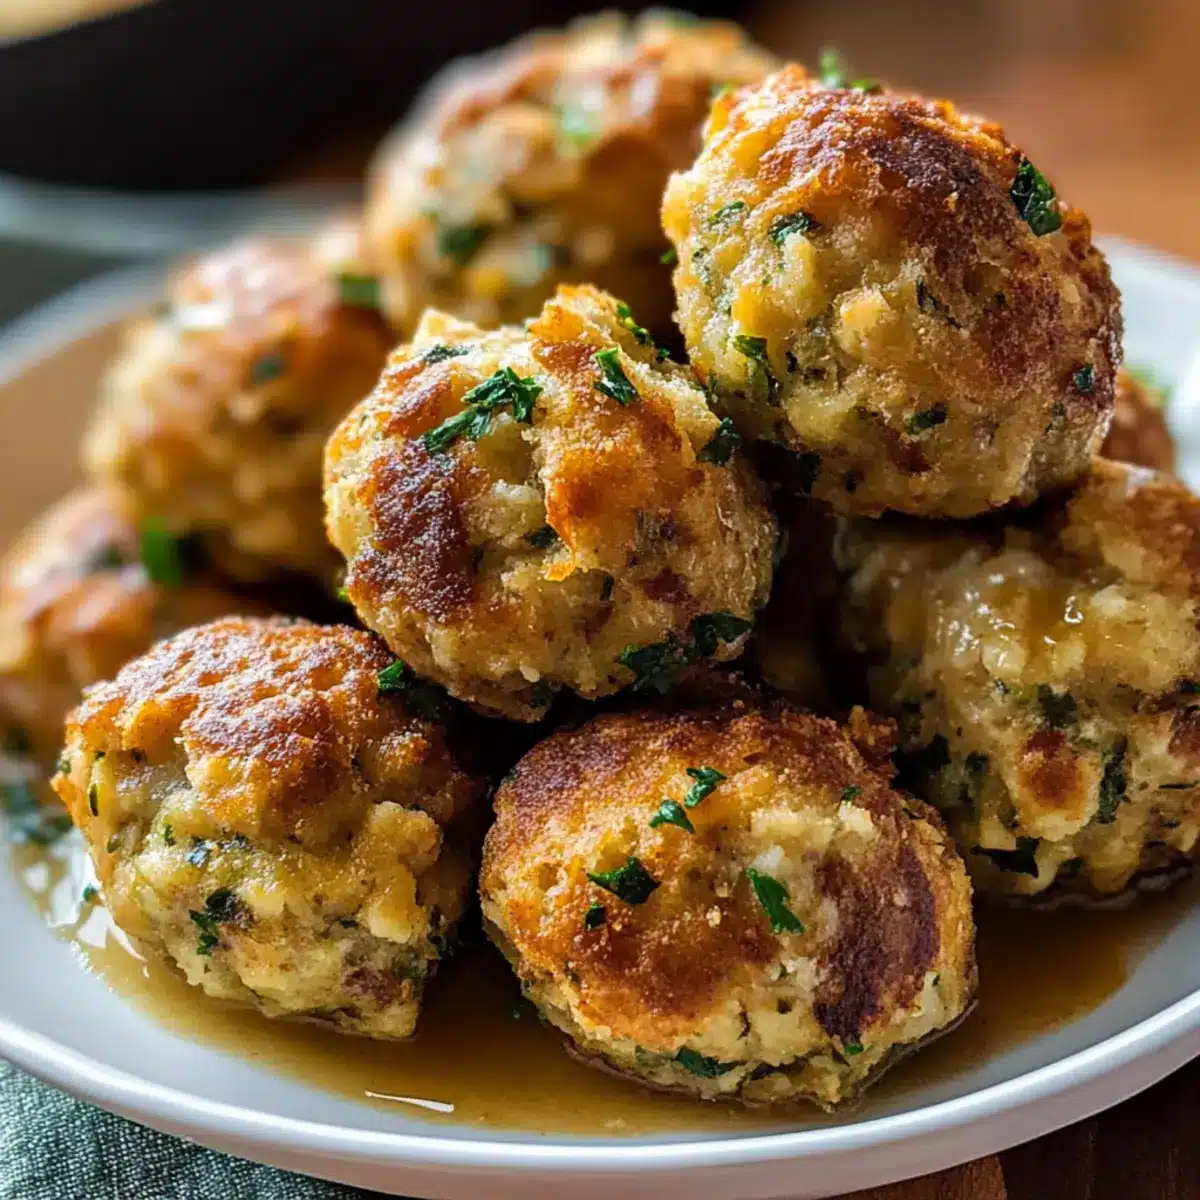
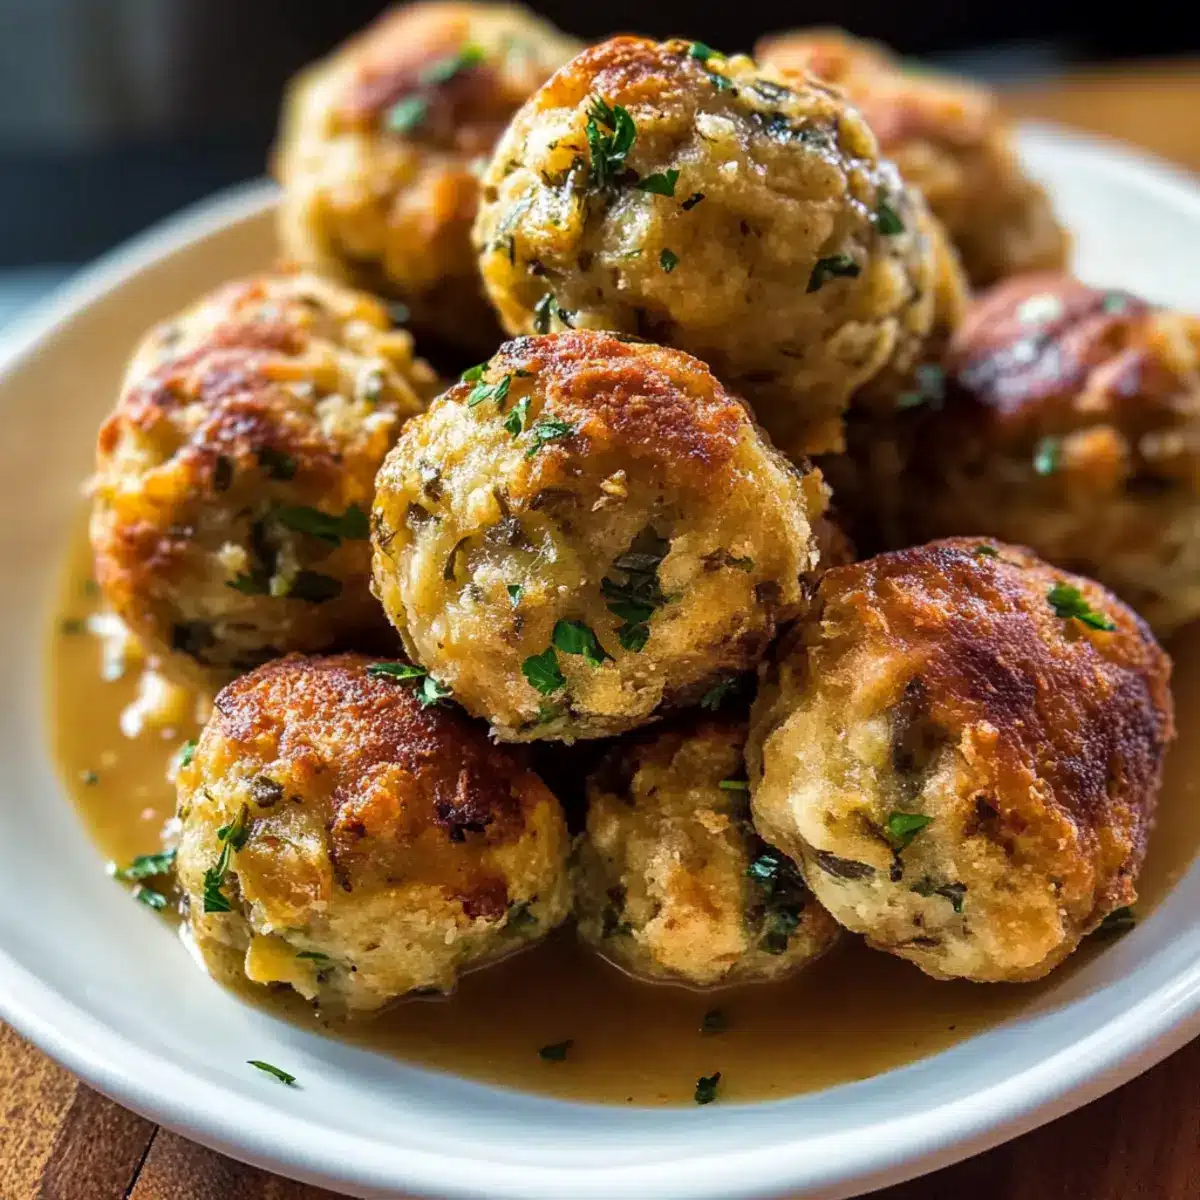
“Wow, these are amazing!” I overheard a friend exclaim as she reached for another bite of those golden morsels. Grandma Dot’s Stuffing Balls are more than just a side dish; they’re a bridge to cherished family memories and warm gatherings, making them the perfect addition to your holiday table. With their delightful balance of crispy exteriors and tender interiors, these comforting bites are not only a family-friendly treat but also make-ahead friendly—ideal for busy cooks who want to save time without sacrificing flavor. Whether you enjoy them with gravy at Thanksgiving or as an everyday side, these stuffing balls are sure to steal the show. Curious to find out how to make these delightful bites come to life in your kitchen? Let’s dive in!
Why are Grandma Dot’s Stuffing Balls irresistible?
**Unforgettable *flavor*: These stuffing balls pack a punch with a delightful medley of herbs and spices.
*Versatile*: Perfect for any occasion, you can switch it up with ingredients like sausage or cheese to suit your taste.
*Make-ahead magic*: Prepare them in advance to ease your holiday cooking stress! Simply refrigerate or freeze, and bake when ready.
*Crowd-pleaser*: Guests will rave about these unique bites that combine the beloved flavors of classic stuffing in a fun, individual form.
*Quick and easy*: With a straightforward recipe, you can whip these up in no time—ideal for busy weeknights or festive gatherings.
Pair them with dishes like Rotel Cream Balls for a delicious spread!
Grandma Dot’s Stuffing Balls Ingredients
• For the Filling
- Bread Cubes – Use day-old bread for the best texture; a mix of white and wheat adds depth of flavor.
- Unsalted Butter – Provides richness; can be substituted with oil for a dairy-free option.
- Onion – Finely chopped for even cooking, it adds that classic stuffing flavor.
- Celery – Adds a delightful crunch and flavor; chop it to match the onion’s size for uniformity.
- Fresh Parsley – Optional but recommended to brighten up the dish.
- Poultry Seasoning – Key for traditional flavor, combining sage, thyme, marjoram, and rosemary.
- Eggs – Essential to bind everything together into perfectly shaped balls.
- Chicken or Turkey Broth – Adds moisture and flavor; substitute with vegetable broth for a vegetarian version.
- Salt & Pepper – Don’t forget to season to taste for the best flavor experience!
• For Variation Ideas
- Sausage – Mix in browned Italian sausage for a heartier bite.
- Cheese – Adding shredded cheddar or parmesan can elevate the flavor.
- Cranberries – For a sweet twist, toss in some dried cranberries.
- Mushrooms – Sautéed diced mushrooms bring an earthy flavor to the stuffing.
- Gluten-Free Bread – Easily make this dish gluten-free by using appropriate substitutes.
These Grandma Dot’s Stuffing Balls are not just a treat; they are a warm embrace of memories. Enjoy experimenting with the variations, but rest assured, the classic version holds a special place in many hearts!
Step‑by‑Step Instructions for Grandma Dot’s Stuffing Balls
Step 1: Preheat the Oven
Begin by preheating your oven to 375°F (190°C). While the oven warms up, prepare a baking sheet by greasing it lightly with cooking spray or lining it with parchment paper. This step is crucial for ensuring that the Grandma Dot’s Stuffing Balls have a perfectly crisp exterior once baked.
Step 2: Sauté Vegetables
In a large skillet, melt 4 tablespoons of unsalted butter over medium heat. Once the butter is bubbly, add 1 finely chopped onion and 2 finely chopped celery stalks to the skillet. Sauté the vegetables for about 5-7 minutes, or until they become soft and translucent, releasing their wonderful aroma. Stir in fresh parsley and poultry seasoning for an extra layer of flavor.
Step 3: Mix Base
In a large mixing bowl, combine your day-old bread cubes with the sautéed vegetables and seasonings. Gently toss everything together to ensure the bread is evenly coated with the savory mixture. This mixture forms the backbone of Grandma Dot’s Stuffing Balls, so be sure it’s well combined.
Step 4: Bind Mixture
In another bowl, whisk together 2 eggs and gradually incorporate ½ to 1 cup of chicken or turkey broth, aiming for a consistency that holds together when squeezed, but is not soggy. Pour this egg and broth mixture over the bread and vegetables, mixing thoroughly to ensure the stuffing binds well and can be formed into balls.
Step 5: Shape Balls
With your hands slightly moistened to prevent sticking, scoop about ½ cup of the stuffing mixture and roll it into a golf-ball-sized shape. Place each formed ball onto the prepared baking sheet, spacing them about an inch apart to allow for even cooking and browning.
Step 6: Bake
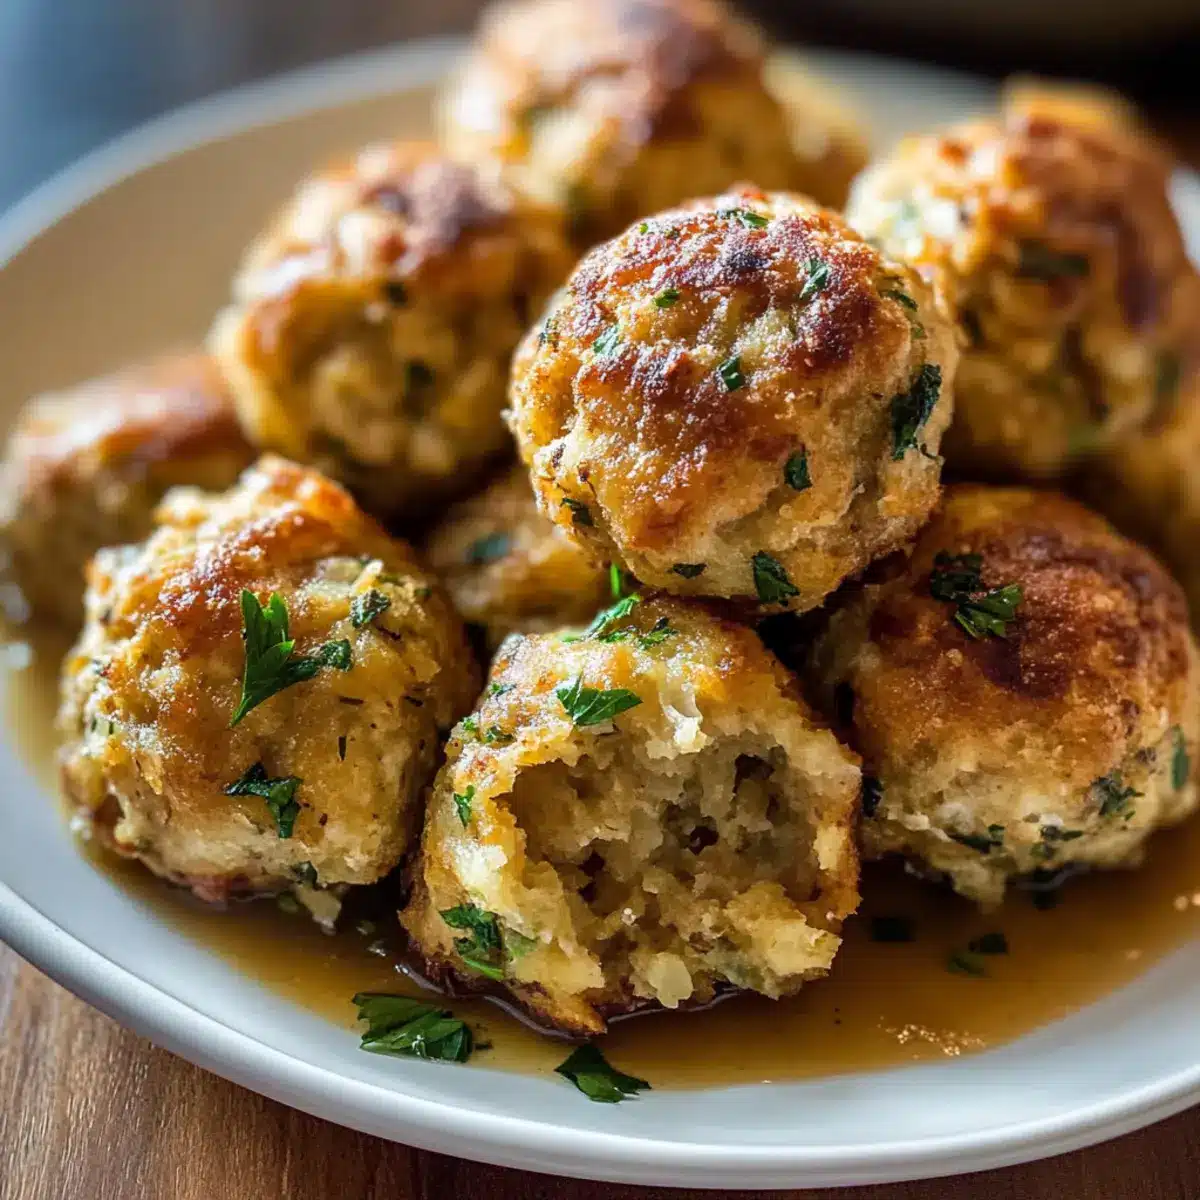
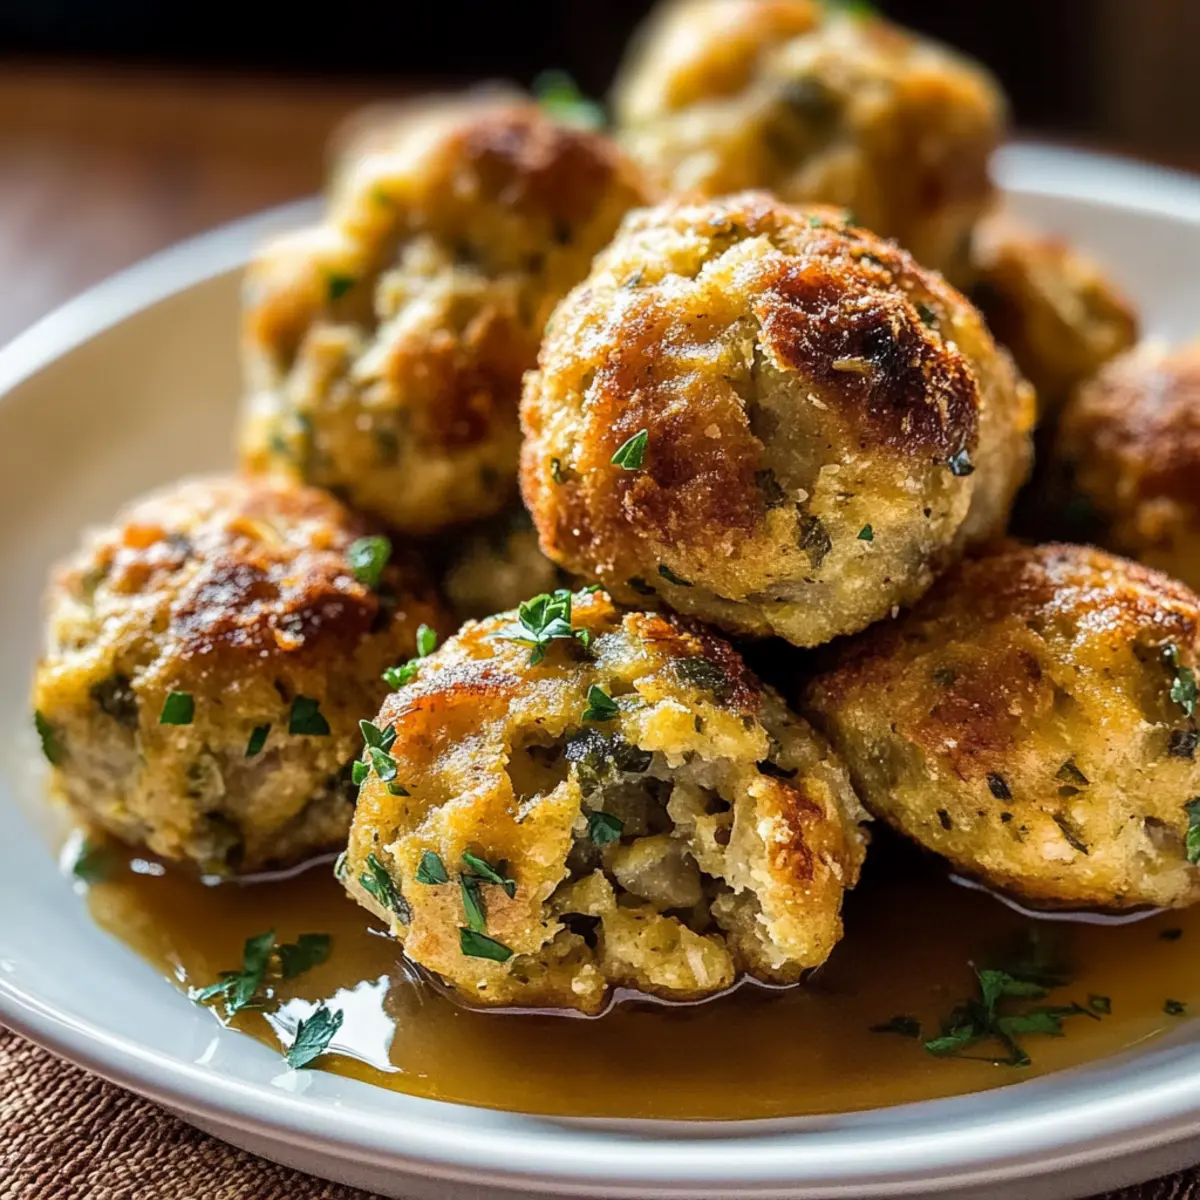
Slide the baking sheet into your preheated oven and bake the Grandma Dot’s Stuffing Balls for 25-30 minutes. Halfway through the baking time, gently flip the balls using tongs to ensure an even golden-brown crispness on all sides. They’re done when they’re a beautiful deep golden color.
Step 7: Serve Warm
Once out of the oven, let the stuffing balls cool slightly before serving. These delicious bites can be enjoyed warm on their own or with your favorite gravy. Grandma Dot’s Stuffing Balls make a delightful side dish for any festive gathering or comforting meal, bringing a taste of home to your table.
Storage Tips for Grandma Dot’s Stuffing Balls
Fridge: Store your cooked stuffing balls in an airtight container for up to 4 days. This ensures they stay flavorful and moist while awaiting your next meal.
Freezer: These versatile stuffing balls can be frozen for up to 2 months, either baked or unbaked. This allows you to enjoy Grandma Dot’s stuffing balls whenever the craving strikes!
Reheating: To restore their delightful crispiness, reheat baked balls in a preheated oven at 350°F (175°C) for about 10 minutes. Avoid using the microwave, as it may make them soggy.
Make-Ahead Option: If you’re short on time, shape the stuffing balls and refrigerate for up to 24 hours, making them a perfect make-ahead dish for busy holiday preparation!
What to Serve with Grandma Dot’s Stuffing Balls
Elevate your meal with delightful pairings that capture the warmth and nostalgia of holiday gatherings.
- Savory Gravy: A rich turkey or chicken gravy adds moisture and depth, perfect for drizzling over these crispy bites.
- Roast Turkey: The classic centerpiece of a holiday table, tender roast turkey harmonizes beautifully with the comforting flavors of the stuffing balls.
- Cranberry Sauce: The tartness of cranberry sauce creates a delightful contrast with the savory stuffing, adding a fresh note to each bite.
- Sautéed Green Beans: Crisp-tender green beans bring a pop of color and a healthy crunch, creating balance on your plate.
- Creamy Mashed Potatoes: Velvety mashed potatoes provide a comforting side that complements the stuffing balls’ delightful texture. They’ll soak up all the gravy too!
- Buttered Corn: Sweet, buttery corn adds a touch of sweetness that contrasts nicely with the stuffing balls’ flavors, making each bite an enjoyable experience.
- Warm Apple Crisp: For dessert, warm apple crisp is an inviting end to your meal, with its sweet and spiced flavors perfectly capping off the savory journey.
- Mulled Wine: A cozy glass of mulled wine enhances the comforting atmosphere of your gathering, infusing your meal with warm spices and fruity notes.
- Pumpkin Soup: Start your meal with a creamy pumpkin soup for a seasonal touch and a nice contrast to the stuffing balls’ texture.
Expert Tips for Grandma Dot’s Stuffing Balls
-
Prep Ahead: You can shape and refrigerate the stuffing balls up to 24 hours ahead. Alternatively, freeze unbaked balls and cook directly from frozen, adding 10 extra minutes to the baking time.
-
Avoid Crumbling: If your stuffing balls fall apart, the mixture may need more binder. Gradually add extra egg or broth to ensure a cohesive texture.
-
Perfect Baking: For the best results, flip the balls halfway through baking to achieve an even golden color and crispy exterior on your Grandma Dot’s Stuffing Balls.
-
Flavor Additions: Don’t hesitate to experiment with flavors! Adding sautéed mushrooms or cheese can elevate these stuffing balls, making them unique to your taste.
-
Reheating Technique: To preserve texture when reheating, use the oven instead of the microwave. Warm them in a 350°F (175°C) oven for about 10 minutes for crispy perfection.
Grandma Dot’s Stuffing Balls Variations
Create your own delicious twist on these classic stuffing balls with these fun and flavorful ideas!
-
Sausage Stuffing Balls: Incorporate browned Italian sausage for a hearty flavor boost. This variation adds a savory kick that makes each bite even more satisfying.
-
Cheesy Stuffing Balls: Add shredded cheddar or parmesan to enhance the flavor. The melted cheese creates a rich, gooey surprise that cheese lovers will adore!
-
Cranberry Twist: Mix in dried cranberries for a sweet and tangy contrast. This unexpected ingredient balances the savory elements beautifully and adds a pop of color.
-
Mushroom Lovers’ Version: Sauté diced mushrooms with onions and celery for an earthy depth. The mushrooms provide a lovely umami flavor, making the stuffing balls even more comforting.
-
Gluten-Free Option: Replace traditional bread with gluten-free bread cubes and use gluten-free broth. This ensures everyone can enjoy the flavors of Grandma Dot’s recipe!
-
Herb Variation: Experiment by adding fresh herbs like rosemary or thyme for a fragrant twist. These herbs bring a fresh brightness that elevates the overall taste profile.
-
Spicy Kick: Include chopped jalapeños or a dash of cayenne pepper for those who enjoy a bit of heat. This variation adds a warming spice that can liven up any meal.
-
Mediterranean Style: Mix in feta cheese, sun-dried tomatoes, and black olives for a Mediterranean flair. This twist takes the stuffing balls on a delicious journey to the sunny Mediterranean coast!
Don’t be afraid to get creative! Each variation offers a unique take on Grandma Dot’s beloved recipe. And while you’re at it, why not try pairing these stuffing balls with the delightful flavors of Rotel Cream Balls or tuck them into your family meal alongside some Chicken Meatballs Roasted? Enjoy your culinary journey!
Make Ahead Options
These Grandma Dot’s Stuffing Balls are perfect for meal prep enthusiasts! You can shape the stuffing balls and refrigerate them for up to 24 hours, allowing the flavors to meld beautifully. Alternatively, for longer storage, freeze the unbaked stuffing balls for up to 2 months—cook them directly from frozen, adding an extra 10 minutes to the baking time. Just make sure to place them on a baking sheet lined with parchment to prevent sticking. When you’re ready to serve, simply bake them until golden brown, and you’ll have delicious, comforting bites ready with minimal last-minute effort! Enjoy hassle-free festivities while keeping that nostalgic taste alive!
Grandma Dot’s Stuffing Balls Recipe FAQs
What type of bread is best for Grandma Dot’s Stuffing Balls?
Day-old bread is the best choice, as it provides the perfect texture for stuffing. A mix of white and wheat bread adds flavorful depth. If you need to use fresh bread, let it sit out for a few hours or toast it slightly to dry it out before using.
How long can I store cooked Grandma Dot’s Stuffing Balls in the refrigerator?
You can store your cooked stuffing balls in an airtight container in the refrigerator for up to 4 days. Just remember to let them cool completely before sealing to prevent moisture buildup.
Can I freeze Grandma Dot’s Stuffing Balls, and if so, how?
Absolutely! You can freeze both baked and unbaked stuffing balls. For unbaked, shape them and place them in a single layer on a baking sheet to freeze until solid, then transfer them to a freezer bag for up to 2 months. When ready to bake, simply cook them from frozen, adding an extra 10 minutes to the baking time.
What should I do if my stuffing balls fall apart?
If your stuffing balls crumble or fall apart during baking, don’t worry! This typically happens when there isn’t enough binder in the mixture. Gradually add more egg or chicken broth, mixing until the stuffing holds together better. Aim for a moist but not soggy consistency.
Can I customize Grandma Dot’s Stuffing Balls to accommodate dietary restrictions?
Absolutely, Grandma Dot’s Stuffing Balls can be easily customized! For a gluten-free version, simply use gluten-free bread and ensure your broth is gluten-free. If you’re looking for a dairy-free option, replace the unsalted butter with a neutral oil. Plus, you can add different ingredients to suit your taste or dietary needs, like turkey sausage for extra heartiness!
How do I reheat leftover Grandma Dot’s Stuffing Balls?
To revive the crispy texture of your stuffing balls, preheat your oven to 350°F (175°C) and place the stuffed balls on a baking sheet. Reheat them for about 10 minutes, until warm and crispy. I recommend avoiding the microwave, as it may result in a soggy texture.
Grandma Dot's Stuffing Balls - Crispy Bites of Nostalgia
Ingredients
Equipment
Method
- Preheat your oven to 375°F (190°C) and prepare a baking sheet by greasing it lightly or lining with parchment paper.
- Melt 4 tablespoons of unsalted butter in a skillet over medium heat; add the onion and celery, and sauté for 5-7 minutes until soft.
- In a large mixing bowl, combine the bread cubes with the sautéed vegetables and seasonings; toss to coat evenly.
- In another bowl, whisk together the eggs and incorporate the chicken or turkey broth until the mixture holds together when squeezed.
- Scoop about ½ cup of the stuffing mixture and roll into golf-ball shapes; place on the prepared baking sheet.
- Bake for 25-30 minutes, flipping halfway to ensure even browning; they should be deep golden when finished.
- Allow to cool slightly before serving warm, optionally with gravy.
Leave a Reply