
As I stood in my kitchen, the intoxicating aroma of warm cookies wafted through the air, instantly lifting my spirits. Today, I’m sharing my favorite recipe for 4-Ingredient Chocolate Oat Cookies, which never fails to impress with its simplicity and scrumptiousness. These cookies are not only a breeze to whip up but also deliver a delightful chewy texture packed with rich chocolate flavor. Whether you’re in need of a quick snack for yourself or a sweet treat to share at gatherings, these cookies have got you covered. Plus, they’re naturally gluten-free, making them a wonderful option for everyone! What variations will you add to make them your own?
Why Choose Chocolate Oat Cookies?
Simplicity: With just four ingredients, you can whip up these delicious cookies in no time, perfect for both novice and experienced bakers.
Nutritious Snacking: Made with gluten-free oats and nut butter, they offer a healthier alternative to traditional cookies, satisfying your sweet tooth without all the guilt.
Endless Variations: Feel free to get creative! Use almond or peanut butter, sprinkle in your favorite nuts, or swap chocolate chips for cacao nibs to customize your cookies.
Crowd Pleaser: Whether serving at a party or enjoying them as a family snack, these cookies are sure to impress everyone around the table.
Time-Saving Treat: Quick to prepare and bake, you’ll have yummy snacks ready before you know it! Plus, if you’re also interested in easy recipes, check out these Jam Muffins Melt or Flourless Pumpkin Muffins for more delightful baking ideas.
Chocolate Oat Cookie Ingredients
Curiosity Tip: All it takes is just four ingredients to make these scrumptious bites!
For the Base
• Rolled Oats – Provides structure and chewy goodness; make sure to use gluten-free oats for a gluten-free version.
• Nut Butter – Acts as a binder and adds richness; almond or peanut butter works beautifully in this recipe.
• Honey or Maple Syrup – Sweetens the cookies to perfection; you can swap it with agave syrup for a vegan alternative.
• Chocolate Chips – Adds delectable bursts of chocolate; use dairy-free chocolate chips if you want a vegan cookie.
Feel free to venture into variations or explore other delightful recipes, and enjoy your baking journey with these delightful treats!
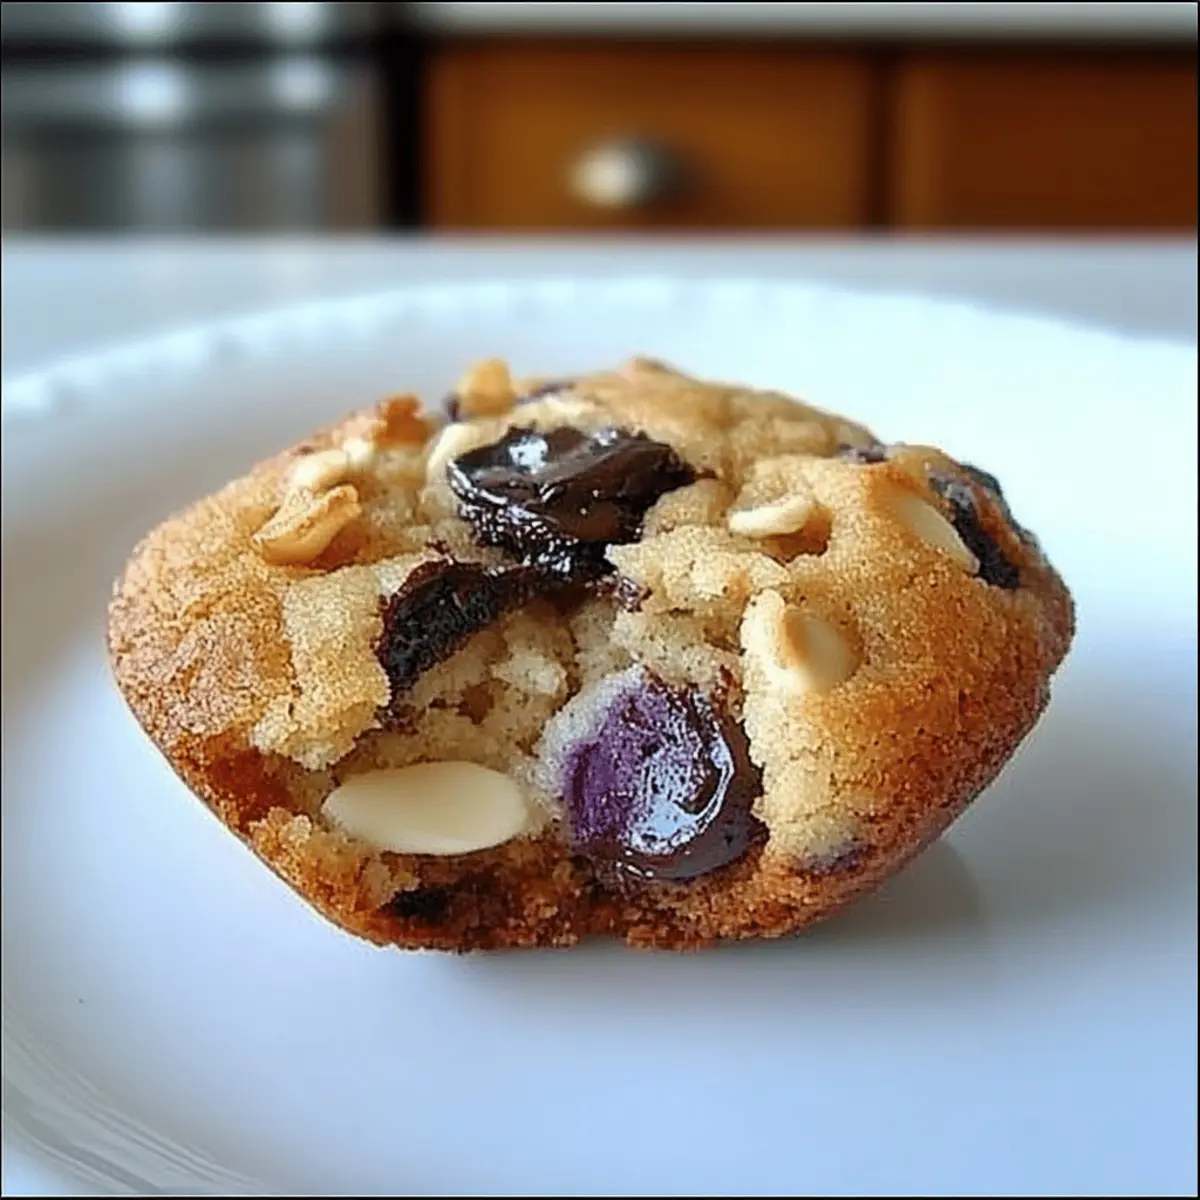
Step‑by‑Step Instructions for Blueberry Muffins made w/ Evil Ingredients
Step 1: Preheat the Oven
Begin by preheating your oven to 350°F (175°C). This step is crucial to ensure your Blueberry Muffins made w/ Evil Ingredients bake evenly and rise beautifully. While your oven warms up, prepare a muffin tin by greasing it lightly or lining it with muffin liners for easy removal.
Step 2: Mix Dry Ingredients
In a large mixing bowl, combine your dry ingredients: flour, baking powder, and a pinch of salt. Whisk together until they are well combined. This ensures that the leavening agent spreads evenly throughout the batter, resulting in light and fluffy muffins. Set this mixture aside while you prepare the wet ingredients.
Step 3: Prepare Wet Ingredients
In another bowl, mash ripe bananas with a fork until smooth. Add in melted butter, sugar, and eggs, mixing well until all the ingredients are blended into a creamy consistency. This sweet and rich mixture forms the base of your Blueberry Muffins made w/ Evil Ingredients, adding moisture and flavor to the batter.
Step 4: Combine Mixtures
Gradually pour the wet mixture into the dry ingredients, stirring gently until just combined. Be careful not to overmix; a few lumps are perfectly fine. This step is vital for achieving that delightful muffin texture. Fold in blueberries gently, allowing them to distribute evenly without breaking.
Step 5: Scoop the Batter
Using a spoon or ice cream scoop, portion the batter into your prepared muffin tin, filling each cup about two-thirds full. This allows room for the muffins to rise while baking. You’ll already smell the sweet aroma of your Blueberry Muffins made w/ Evil Ingredients as you place the tin in the oven.
Step 6: Bake the Muffins
Bake in your preheated oven for 20-25 minutes or until the tops are golden brown and a toothpick inserted into the center comes out clean. Keep an eye on them during the last few minutes; you want the tops to be perfect and slightly domed.
Step 7: Cool and Serve
Once baked, remove the muffin tin from the oven and let it sit for about 5 minutes. Then gently transfer the muffins to a wire rack to cool completely. This cooling step enhances their texture, making them soft and fluffy—enjoy your warm Blueberry Muffins made w/ Evil Ingredients fresh from the oven!
How to Store and Freeze Chocolate Oat Cookies
Room Temperature: Store your cookies in an airtight container at room temperature for up to 5 days for optimal freshness.
Fridge: For extended freshness, refrigerate the cookies in an airtight container for up to 1 week. This keeps them chewy and delicious!
Freezer: Freeze your Chocolate Oat Cookies for up to 2 months. Place them in a single layer on a baking sheet to freeze, then transfer to a freezer-safe bag or container.
Reheating: To enjoy cookies warm, simply pop them in the microwave for about 10-15 seconds or warm them in the oven at 350°F (175°C) for 5 minutes.
Make Ahead Options
These 4-Ingredient Chocolate Oat Cookies are perfect for meal prep enthusiasts! You can mix the dough and refrigerate it up to 24 hours in advance, keeping the flavors fresh and the texture intact. For even more convenience, shape the cookie dough into individual mounds on a lined baking sheet and freeze them for up to 3 months. When you’re ready to bake, simply place the frozen dough on a baking sheet and add an extra minute or two to the baking time. This method not only saves you time but ensures you can enjoy fresh, chewy cookies at a moment’s notice. Enjoy restaurant-quality results without the fuss, making these cookies a delightful option for busy weeknights!
Expert Tips for Chocolate Oat Cookies
Mix Thoroughly: Ensure the oats and nut butter are well combined for even texture. This helps avoid dry clumps in your cookies.
Don’t Overbake: Remove the cookies when they’re slightly soft in the center. Overbaking can lead to a dry texture instead of that perfect chewy bite.
Experiment Boldly: Add nuts or dried fruits to enhance flavor and create your own twist on these Chocolate Oat Cookies. The possibilities are endless!
Quality Ingredients: Use pure maple syrup for a rich flavor. Avoid processed sweeteners as they can alter the taste and texture you desire.
Cooling Matters: Allow cookies to cool on the baking sheet for a few minutes before transferring to a wire rack. This helps them firm up nicely!
What to Serve with 4-Ingredient Chocolate Oat Cookies
These delightful cookies not only satisfy your sweet cravings but also pair wonderfully with several ingredients to create a memorable meal experience.
- Creamy Yogurt: Offers a refreshing contrast to the rich cookies, making for a delightful snack or breakfast option.
- Fresh Berries: The tartness of berries like raspberries or strawberries complements the sweetness of the cookies perfectly.
- Nutty Granola: Adds a crunchy texture that balances the soft, chewy cookie, enhancing the overall flavor blend.
- Chocolate Milk: Enjoy a glass of cold chocolate milk for a nostalgic treat that pairs beautifully with chocolate flavors.
- Fruit Smoothie: A luscious fruit smoothie adds a burst of freshness, making it a balanced pairing for your snack time.
- Ice Cream: Scoop some vanilla or chocolate ice cream atop your warm cookies for an indulgent dessert experience.
- Coffee: The robust flavor of coffee can enhance the sweetness of the cookies, making it a perfect afternoon treat.
- Chopped Nuts: Serve a sprinkle of chopped nuts alongside the cookies for a contrasting crunch and nutty taste.
- Homemade Jam: A dollop of homemade jam can add an exciting layer of flavor that complements the chocolatey goodness.
Variations & Substitutions for Chocolate Oat Cookies
Feel free to let your creativity shine and customize these delightful cookies to suit your personal taste!
-
Peanut Butter: Swap almond butter for creamy peanut butter to give your cookies a classic twist. The familiar nuttiness will evoke warm memories from childhood treats.
-
Cacao Nibs: Use cacao nibs instead of chocolate chips for a less sweet, more intense chocolate experience. They add a satisfying crunch and a rich chocolate flavor that’s truly addicting.
-
Add Fruits: Toss in some dried fruits like cranberries or raisins for a delightful burst of sweetness and a chewy texture. This variation makes your cookies even more enjoyable and colorful!
-
Spiced Up: Add a dash of cinnamon or nutmeg for a warm and cozy flavor. This little spice journey will awaken your senses and transform your cookie experience into a comforting delight.
-
Nut Variations: Substitute your nut butter with sunflower seed butter for a nut-free option that remains delicious and satisfying. It’s a great choice for kids’ lunchboxes or gatherings.
-
Flour Alternative: If you’re looking for a gluten-free twist, substitute ceremonial oats for oat flour, giving you a different texture but keeping that familiar oat flavor.
-
Savor the Heat: Want to spice things up? Mix in a pinch of cayenne pepper for a surprising kick! This fiery twist adds depth and excitement, making your cookies truly unforgettable.
-
Nutty Toppings: Top your cookies with a sprinkle of chopped nuts just before baking. This extra crunch brings a delightful finish to your treats.
Explore these variants and let each batch of Chocolate Oat Cookies tell a new story. If you’re searching for even more fun ideas in the kitchen, check out these Jam Muffins Melt and Flourless Pumpkin Muffins for additional tasty inspiration!
Chocolate Oat Cookies Recipe FAQs
What type of rolled oats should I use for Chocolate Oat Cookies?
Absolutely! For a gluten-free option, make sure to choose certified gluten-free rolled oats. They not only provide the necessary structure and chewiness to your cookies but also ensure that everyone can indulge safely!
How should I store Chocolate Oat Cookies after baking?
To maintain their freshness, store your cookies in an airtight container at room temperature for up to 5 days. If you want them to stay soft and chewy even longer, I recommend refrigerating them for up to 1 week.
Can I freeze Chocolate Oat Cookies? How?
Yes, you can freeze your cookies! To do this, place them in a single layer on a baking sheet and freeze until solid. Then, transfer them to a freezer-safe bag or container. They’ll keep well for up to 2 months. When you’re ready to enjoy, just thaw at room temperature or pop in the microwave for about 10-15 seconds!
What should I do if the cookie dough is too dry?
If you find that your cookie dough is too dry, it may be due to the type of nut butter used or not enough moisture. I recommend adding a small splash of milk or an extra teaspoon of honey or maple syrup to help bring the dough together. Mix well until the desired consistency is achieved!
Are Chocolate Oat Cookies safe for people with nut allergies?
Great question! These cookies contain nut butter, which may not be suitable for those with nut allergies. However, you can easily substitute the nut butter with sunflower seed butter for a nut-free alternative. Just ensure that any chocolate chips used are also nut-free!
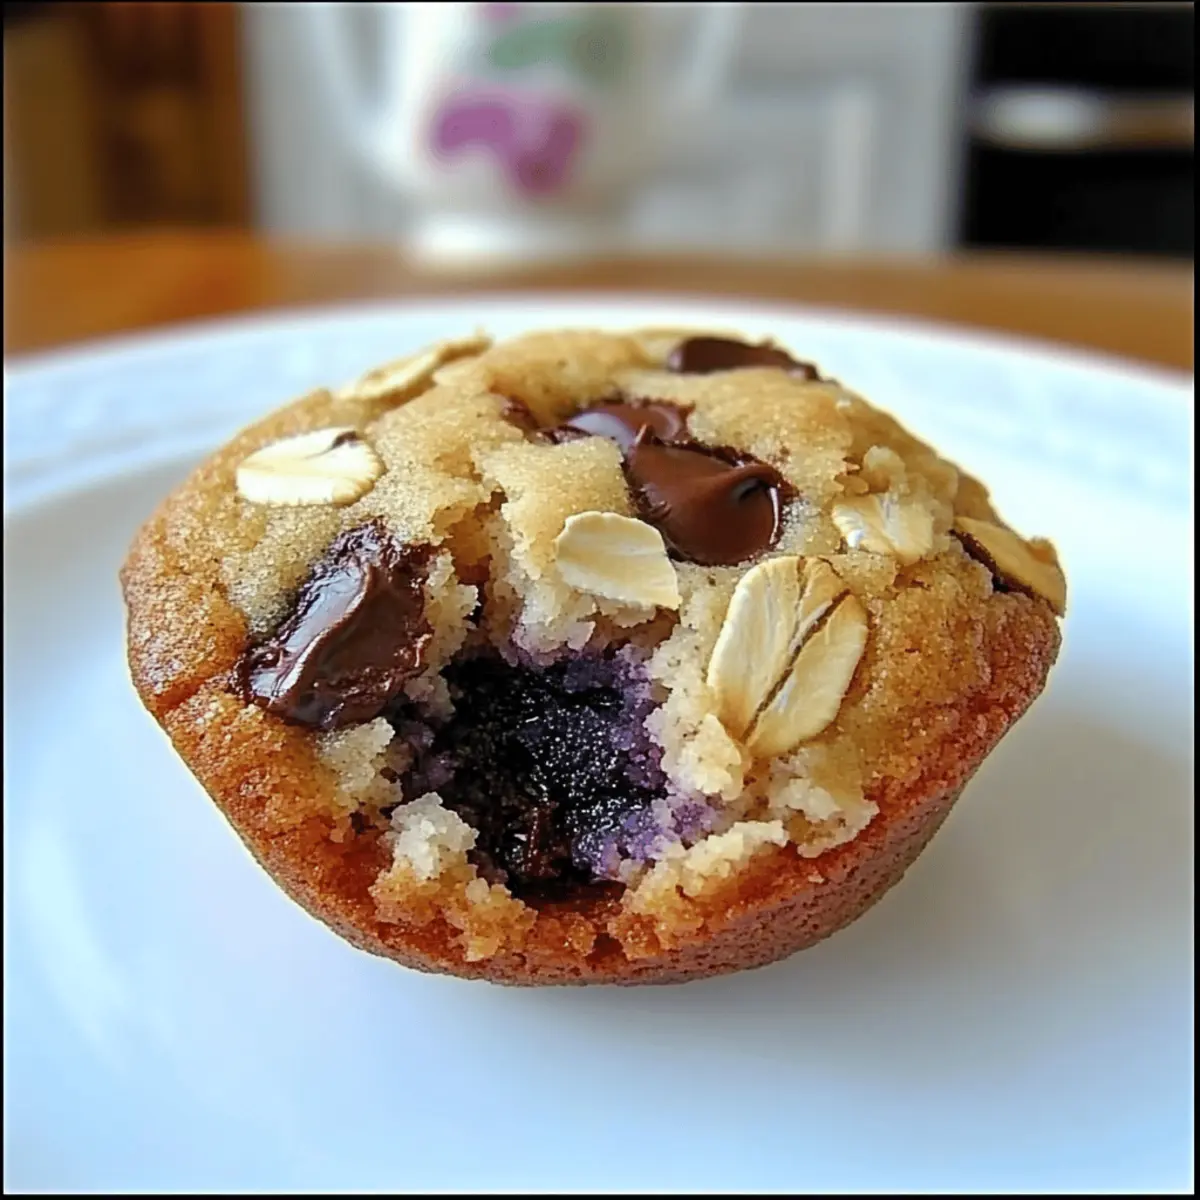
Delicious Blueberry Muffins Made with Evil Ingredients
Ingredients
Equipment
Method
- Preheat the oven to 350°F (175°C).
- In a mixing bowl, combine flour, baking powder, and salt.
- In another bowl, mash the bananas, then mix in melted butter, sugar, and eggs.
- Combine wet and dry mixtures, then fold in blueberries.
- Scoop the batter into greased muffin tin, filling each cup about two-thirds full.
- Bake for 20-25 minutes until golden brown.
- Cool for 5 minutes before transferring to a wire rack to cool completely.
Leave a Reply