
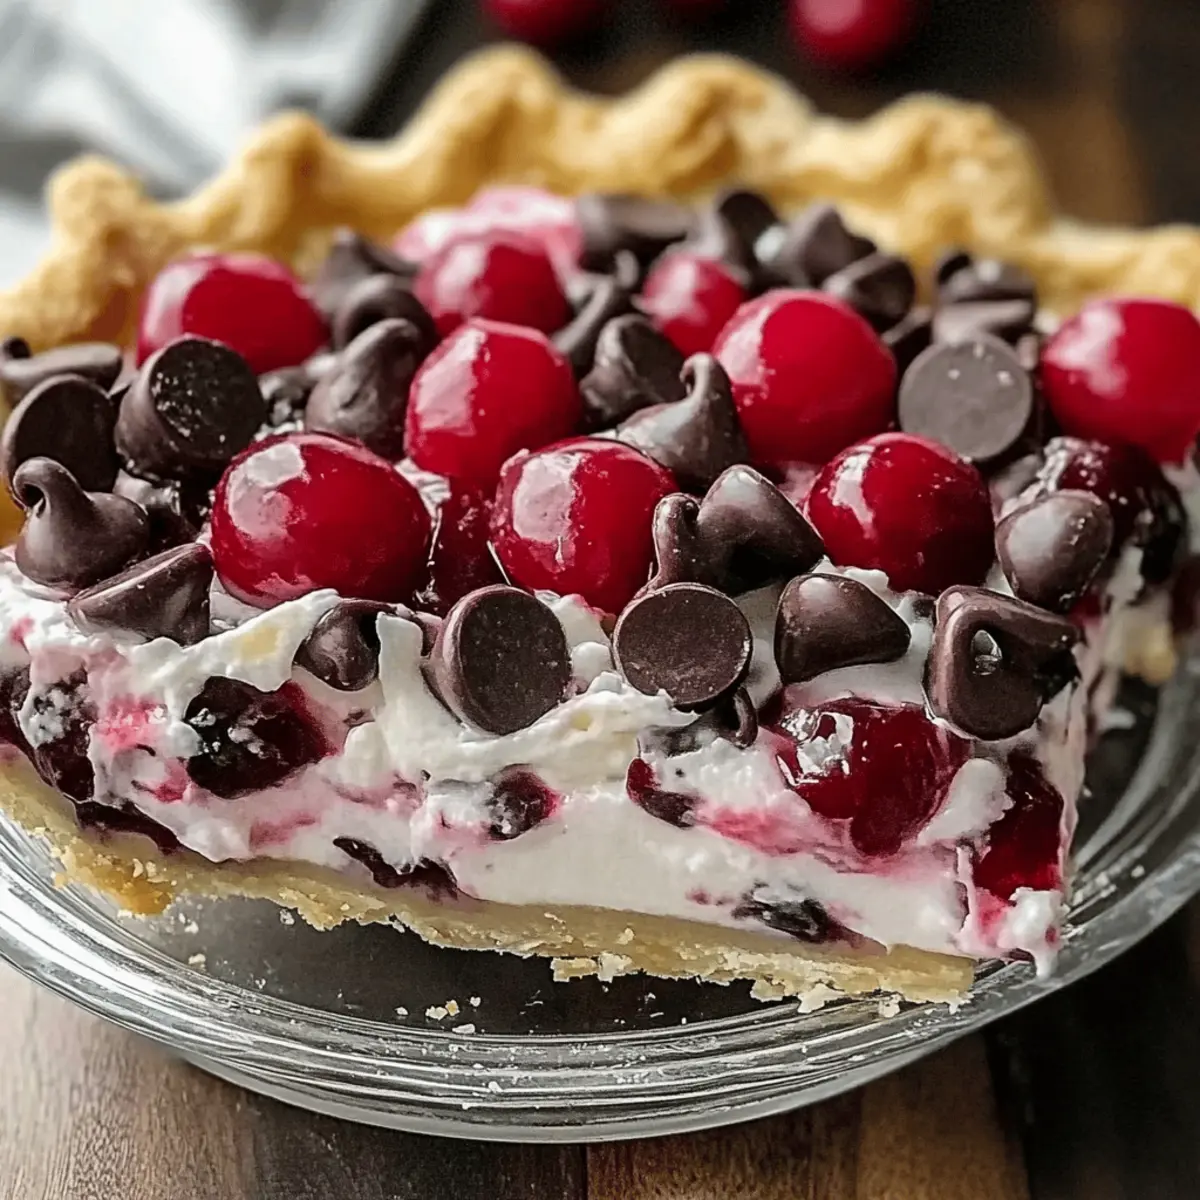
As I rummaged through my kitchen, I stumbled upon a can of cherry pie filling and a sense of nostalgia washed over me. Inspired by childhood gatherings filled with sweet treats, I decided to create a Cherry Chocolate Chip Pie that captures the essence of dessert joy. This easy no-bake delight combines creamy, tangy cream cheese with rich semisweet chocolate chips, all enveloped in a chocolate cookie crust, striking the perfect balance between indulgence and simplicity. Not only is it a breeze to whip up, but it’s a guaranteed showstopper at any gathering, making it an ideal choice for everyone looking to sweeten up their celebrations. Ready to dive into this delightful flavor adventure? Let’s get baking (or, rather, no-baking)!
Why is this Cherry Chocolate Chip Pie special?
Simplicity at Its Best: This Cherry Chocolate Chip Pie is a no-bake wonder, requiring minimal effort yet delivering maximum flavor.
Indulgent Layers: The creamy filling pairs perfectly with semisweet chocolate chips and a chocolate cookie crust, creating a delightful balance of sweetness and richness.
Crowd-Pleasing Treat: Whether for family gatherings or dinner parties, this pie is sure to impress and satisfy everyone’s sweet tooth.
Versatile Variations: Feeling adventurous? Try a Cherry Almond Chocolate Chip Pie or even a Cherry Chocolate Chip Ice Cream Pie for a fresh twist.
Make Ahead Convenience: Prep it a day in advance, letting the flavors meld for an even more decadent experience! You can also check out my Mint Chocolate Chip for a delightful variation.
Elevate your dessert game with this easy, delicious option that will have everyone coming back for seconds!
Cherry Chocolate Chip Pie Ingredients
• Get ready to create a mouthwatering dessert!
For the Crust
- Chocolate Cookie Pie Crust – Adds a rich, chocolatey base; feel free to swap for a graham cracker or Oreo crust for a different flavor profile.
For the Filling
- Cream Cheese – Contributes a creamy, tangy element; consider using low-fat cream cheese to lighten the dessert.
- Powdered Sugar – Sweetens the filling to perfection; granulated sugar works in a pinch if powder isn’t on hand.
- Cool Whip – Brings lightness and creaminess to the mix; you can use homemade whipped cream made from heavy cream and a touch of sugar as a nice alternative.
- Semisweet Mini Chocolate Chips – Infuse rich chocolate flavor throughout; dark chocolate chips will enhance that decadent experience.
- Cherry Pie Filling – The star ingredient for this pie, giving it that signature cherry flavor; fresh cherries can also be cooked down as a lovely and fresh substitute.
This Cherry Chocolate Chip Pie is a delightful no-bake dessert that will elevate your sweet offerings in any gathering!
Step‑by‑Step Instructions for Cherry Chocolate Chip Pie
Step 1: Prepare the Filling
Begin by softening 8 ounces of cream cheese in a mixing bowl until it reaches a workable texture, about 15 minutes at room temperature. Using a hand mixer on medium speed, blend the cream cheese with 1 cup of powdered sugar for 1-2 minutes or until the mixture is smooth and creamy, ensuring there are no lumps.
Step 2: Combine Ingredients
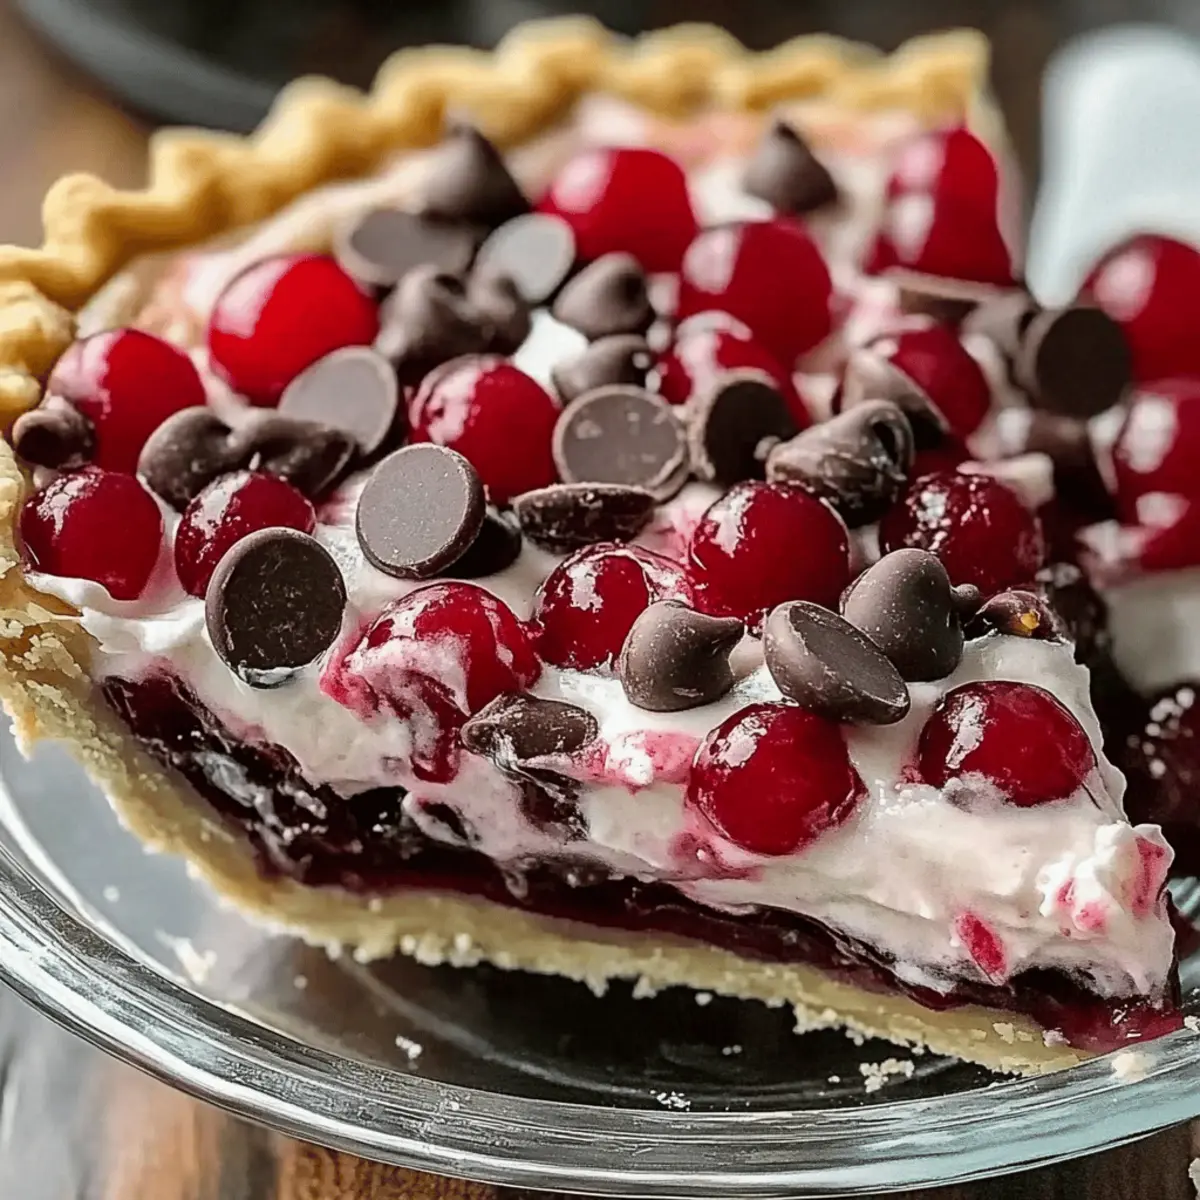
Gently fold in 2 cups of Cool Whip and one can of cherry pie filling into the cream cheese mixture, using a spatula to incorporate without deflating the whipped cream. Continue mixing until the colors are well blended, and the filling presents a lovely pink hue, indicating an even distribution of cherries.
Step 3: Add Chocolate Chips
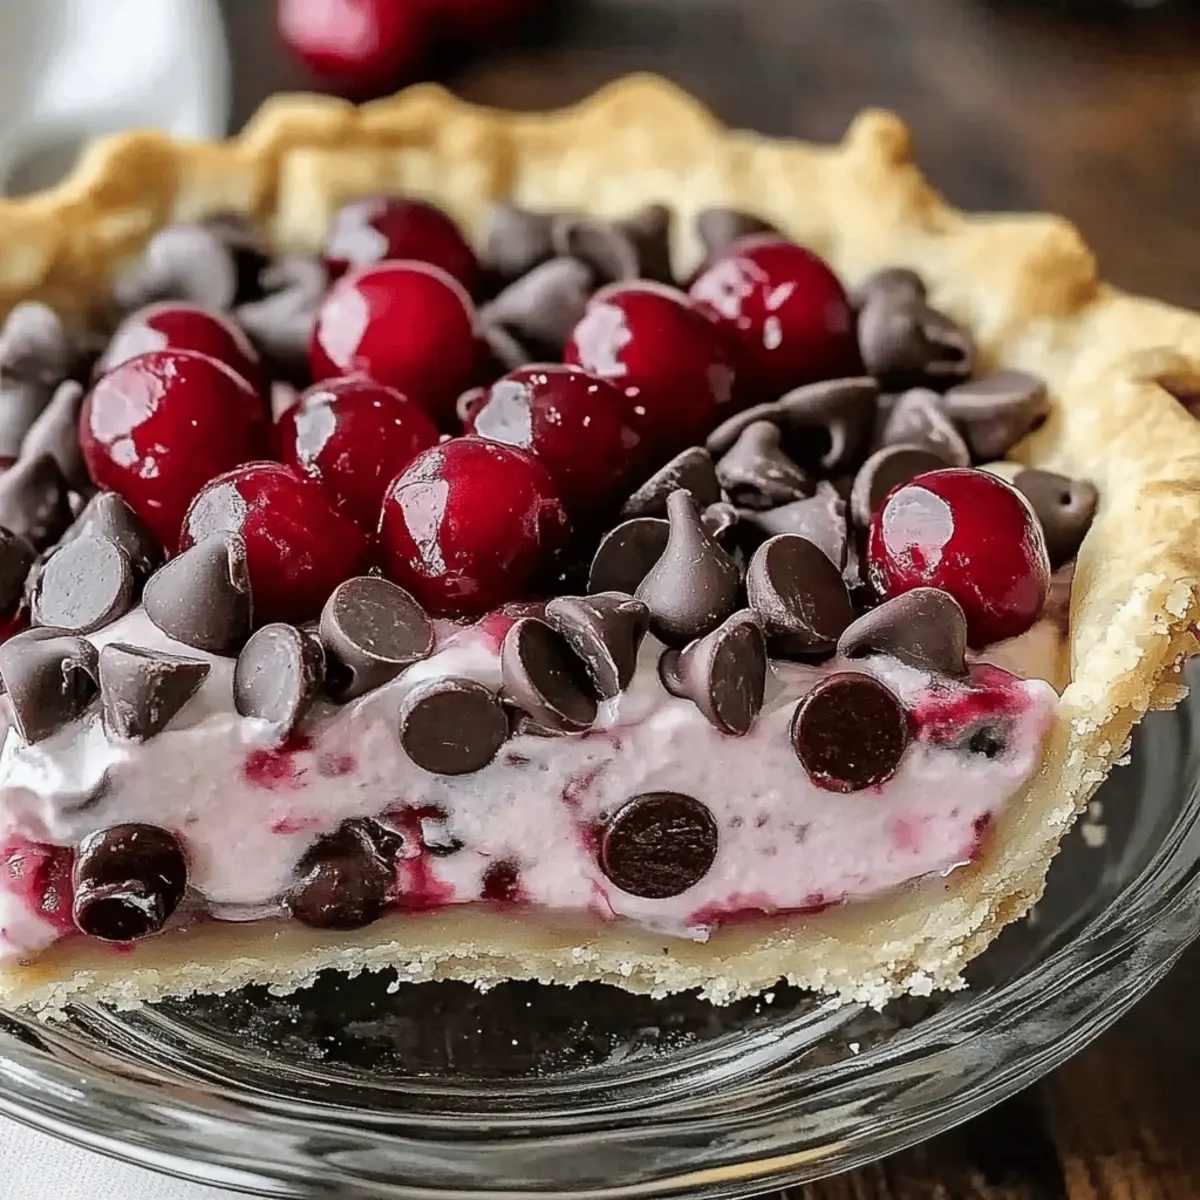
Stir in one cup of semisweet mini chocolate chips, reserving 1/4 cup for the topping. Mix until the chips are evenly dispersed throughout the creamy filling, adding depth of flavor to your Cherry Chocolate Chip Pie. The filling should feel thick yet airy, ready for the crust.
Step 4: Assemble Pie
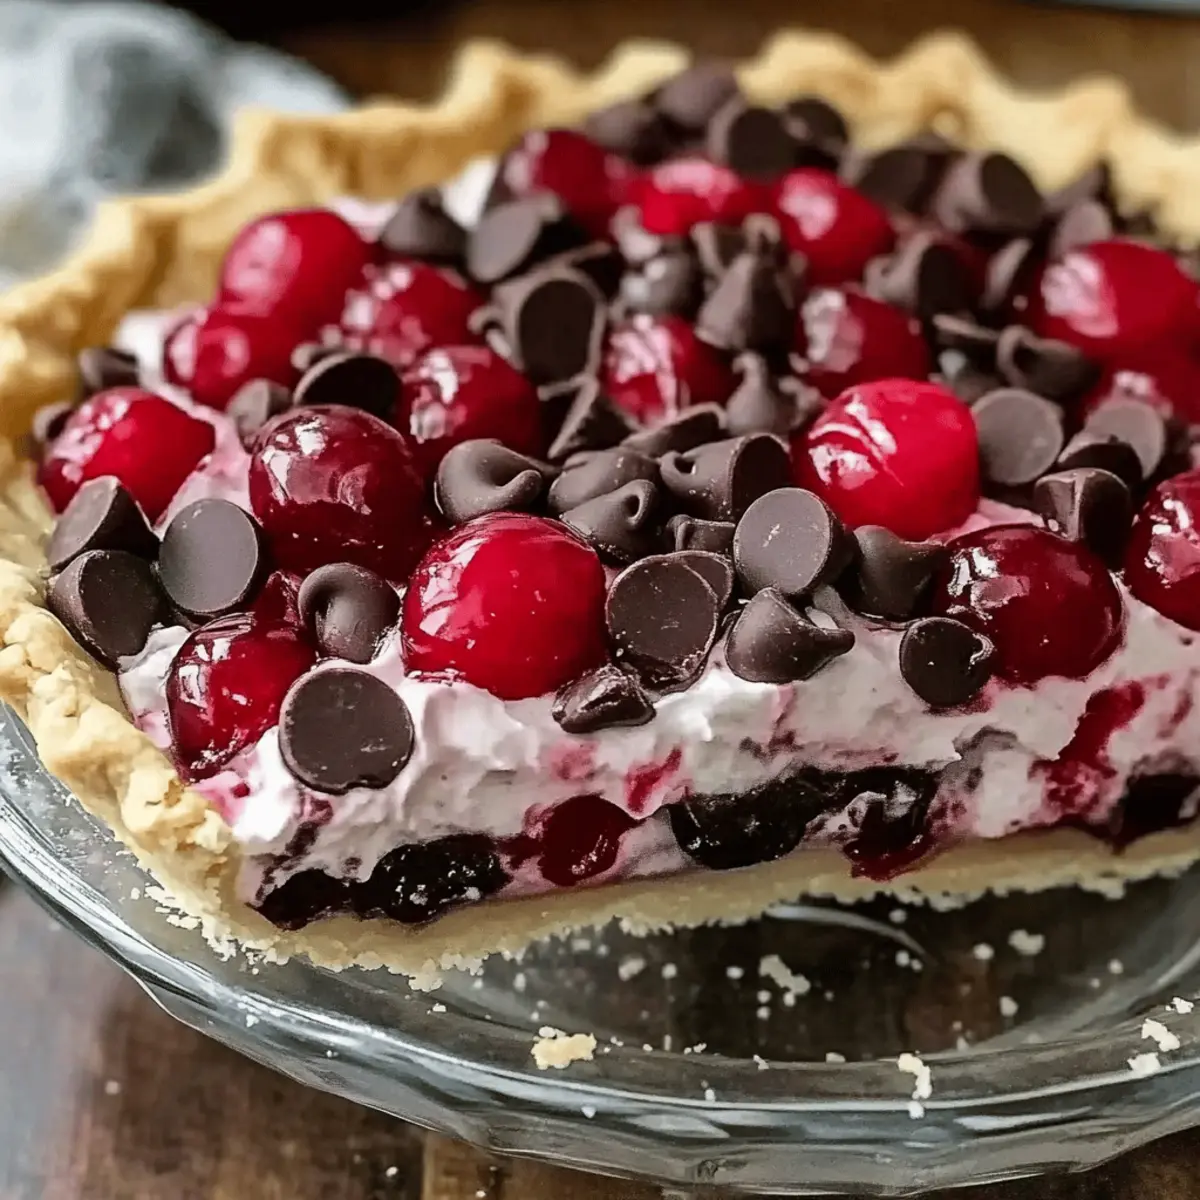
Pour the cherry chocolate chip filling into your pre-made chocolate cookie pie crust. Using a spatula, spread it evenly, smoothing out the top. Sprinkle the reserved chocolate chips over the filling, creating a decorative touch that hints at the delicious chocolate flavor in every bite.
Step 5: Refrigerate
Cover the assembled Cherry Chocolate Chip Pie with plastic wrap or aluminum foil. Refrigerate for at least 4 hours, allowing the filling to set properly and develop rich flavors. When ready to serve, the pie should feel firm to the touch yet still have a creamy texture that promises delightful indulgence.
Cherry Chocolate Chip Pie Variations
Feel free to explore these exciting twists on your Cherry Chocolate Chip Pie that will surely tickle your taste buds!
-
Cherry Almond Chocolate Chip Pie: Substitute chocolate chips with chopped almonds and stir in almond extract for added depth. The nuttiness beautifully complements the cherries, enhancing the overall flavor experience.
-
Dark Chocolate Cherry Pie: Opt for dark chocolate chips for a richer flavor that elevates this pie to gourmet status. Drizzling melted dark chocolate on top adds a luxurious finish that will impress any chocolate lover.
-
White Chocolate Cherry Pie: Incorporate creamy white chocolate chips for a sweeter and more decadent version of this classic. The sweetness of white chocolate pairs wonderfully with the tart cherries, creating a delightful balance.
-
Cherry Cheesecake Brownie Pie: Replace the cookie crust with a rich, fudgy brownie base for a truly indulgent treat. This unexpected twist will surprise and delight your guests, reminiscent of a cheesecake but with a chocolate lover’s flair.
-
Cherry Chocolate Chip Ice Cream Pie: Mix softened vanilla ice cream into the filling for a refreshing and creamy summer dessert. This luscious version is perfect for warm days and will be a hit at summer gatherings.
-
Substitute with Other Fruits: Swap cherry pie filling for raspberry or blueberry filling to create a berry medley pie. This fruity variation offers a different flavor profile that is just as delicious, perfect for those who enjoy exploring new tastes.
If you’re inspired by other flavors, you can also try making a batch of my Gluten Free Chips to serve alongside your pie, adding another delightful element to your dessert spread. Let your creativity shine!
Make Ahead Options
These Cherry Chocolate Chip Pies are perfect for meal prep enthusiasts! You can prepare the filling up to 24 hours in advance and store it in an airtight container in the refrigerator to maintain its creamy texture. Simply follow the steps for mixing the cream cheese, powdered sugar, Cool Whip, and cherry pie filling, and chill without spreading it into the crust yet. When you’re ready to serve, pour the prepared filling into the chocolate cookie pie crust and sprinkle with reserved chocolate chips. With this make-ahead option, your pie will be just as delicious, saving you time on the day of your gathering while still delivering a showstopper dessert!
What to Serve with Cherry Chocolate Chip Pie
Elevate your dessert experience with these delightful pairings that will complement each bite of your rich and creamy pie.
-
Fresh Whipped Cream: Topping with fluffy whipped cream adds a light, airy texture, balancing the richness of the pie.
-
Vanilla Ice Cream: A scoop of vanilla ice cream perfectly contrasts the pie’s flavors, creating a delightful temperature and texture combination.
-
Chocolate Sauce Drizzle: A drizzle of warm chocolate sauce enhances the chocolatey richness, making every slice even more indulgent.
-
Coffee or Espresso: A cup of coffee elevates the experience, bringing a comforting warmth that balances the sweetness of the dessert.
-
Mint Sprigs: Fresh mint leaves as a garnish add a refreshing element, cutting through the richness while visually enhancing the pie.
-
Berries: Serve alongside a mix of fresh berries, like strawberries or raspberries, to provide a tart contrast that brightens each bite.
Each of these pairings adds a unique twist, creating a perfect dining experience that complements the luscious Cherry Chocolate Chip Pie.
Expert Tips for Cherry Chocolate Chip Pie
-
Soften Cream Cheese: Ensure your cream cheese is softened at room temperature; this prevents lumps and ensures easy mixing for your filling.
-
Mixing Technique: Gently fold in the Cool Whip and cherry pie filling to maintain a light, airy texture in the filling; avoid vigorous mixing.
-
Layer Beautifully: For a stunning presentation, reserve crushed chocolate cookies or a sprinkle of chocolate chips to decorate the top of the pie.
-
Chill Time Matters: Don’t rush the refrigeration—allow at least 4 hours for the flavors to meld and the filling to firm up, making every slice a delight.
-
Storage Tips: Store leftovers in the refrigerator for up to 3-4 days, but avoid freezing the pie, as it can compromise the creamy texture of the cherry chocolate chip pie.
How to Store and Freeze Cherry Chocolate Chip Pie
-
Fridge: Store leftovers in an airtight container or covered with plastic wrap for up to 3-4 days to maintain freshness without drying out.
-
Freezer: Avoid freezing the pie, as the texture of the creamy filling can be negatively affected, leading to a less enjoyable dessert experience.
-
Reheating: This dessert is best served chilled; simply slice it straight from the fridge and enjoy the delightful flavors of the Cherry Chocolate Chip Pie.
-
Make-Ahead: You can prepare this pie a day in advance; just store it in the fridge to let the flavors meld perfectly before serving.
Cherry Chocolate Chip Pie Recipe FAQs
How do I select ripe cherries for my Cherry Chocolate Chip Pie?
Choose cherries that are firm, plump, and have a deep red color for optimal sweetness and flavor. Avoid any with dark spots or blemishes, which can indicate overripeness.
How should I store leftover Cherry Chocolate Chip Pie?
Store any leftovers in the refrigerator, covered with plastic wrap or in an airtight container, for up to 3-4 days. This will keep the pie fresh and tasty without drying it out.
Can I freeze Cherry Chocolate Chip Pie for later?
It’s best to avoid freezing this pie, as the creamy filling can change texture, becoming watery or grainy. Instead, enjoy it freshly made or store it in the fridge to preserve its delightful creaminess.
What if my cream cheese is lumpy when making the filling?
If your cream cheese isn’t perfectly smooth, it’s likely too cold. Always ensure it’s softened before mixing—a good tip is to leave it out at room temperature for at least 15 minutes. If lumps persist, use a mixer for a few more seconds until the mixture becomes creamy.
Are there any dietary considerations for this pie?
For those with allergies, be cautious of ingredients like cream cheese and Cool Whip. Consider using non-dairy alternatives or adjusting the recipe based on dietary needs, like gluten-free crust options or sugar substitutes.
Can I make this pie ahead of time?
Absolutely! You can prepare the Cherry Chocolate Chip Pie a day in advance. Simply follow all the steps until it’s assembled, then cover and refrigerate. This allows the flavors to meld beautifully and ensures a delightful dessert for your gathering.
Irresistible Cherry Chocolate Chip Pie: A No-Bake Dream
Ingredients
Equipment
Method
- Soften cream cheese in a mixing bowl until workable, about 15 minutes.
- Blend the cream cheese with powdered sugar for 1-2 minutes until smooth.
- Gently fold in Cool Whip and cherry pie filling, mixing until well blended.
- Stir in semisweet mini chocolate chips, then pour filling into pie crust.
- Smooth the top and sprinkle reserved chocolate chips.
- Cover with plastic wrap and refrigerate for at least 4 hours.
Leave a Reply