
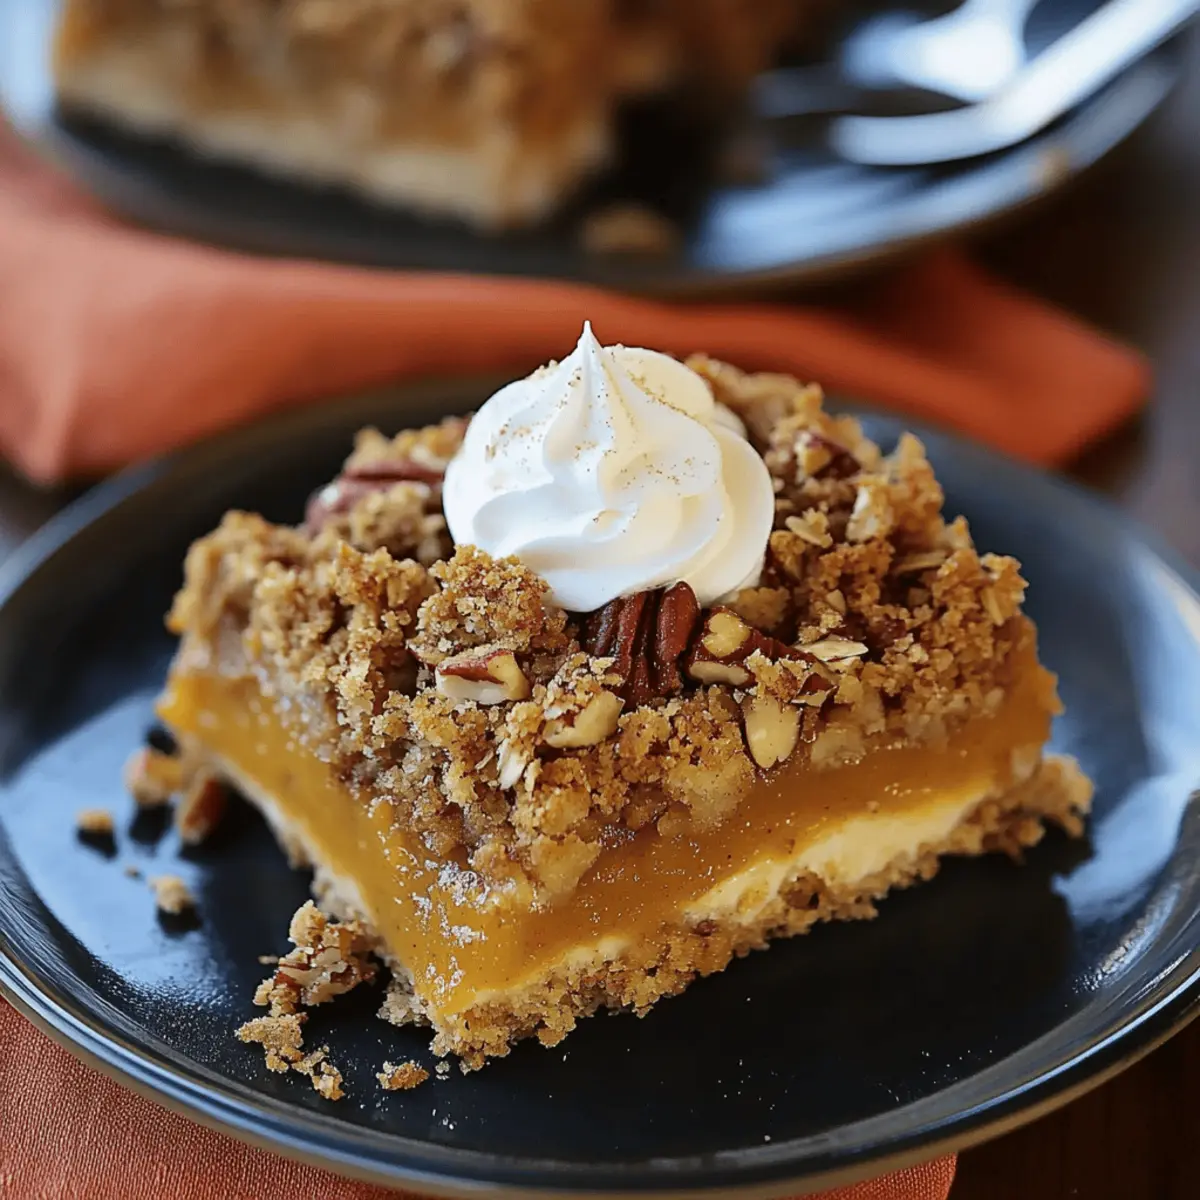
As the leaves turn and the air gets crisp, there’s something truly magical about a warm dessert that wraps you in nostalgia. Enter my delicious Pumpkin Crisp, an easy-to-make Thanksgiving dessert that’s destined to steal the spotlight at your fall gatherings. With a buttery ginger shortbread crust and a creamy pumpkin layer nestled under a crunchy oatmeal pecan topping, this delightful treat is perfect for both seasoned hosts and those new to baking. Plus, it’s gluten-free adaptable, ensuring everyone at your table can enjoy a slice of joy. So, why not indulge in the cozy flavors of autumn with a dessert that promises to be a crowd-pleaser? What’s your favorite way to celebrate the harvest season?
Why is Pumpkin Crisp a Must-Try?
Simplicity: This recipe is perfect for all skill levels, requiring minimal effort with maximum flavor.
Comforting Flavors: The warm combination of pumpkin, ginger, and cinnamon will transport you straight to autumn bliss.
Texture Delight: Experience a luscious, creamy filling supported by a crunchy, buttery topping that keeps you coming back for more.
Versatile Options: Easily adapt it for gluten-free diets, or switch up the nuts to satisfy different palates. If you love pumpkin desserts, pair it with Flourless Pumpkin Muffins for a delightful spread!
Crowd Appeal: Perfect for Thanksgiving gatherings, it’s a treat that everyone will be asking for seconds!
Pumpkin Crisp Ingredients
For the Crust
- All-Purpose Flour – Provides structure for the shortbread crust; use a gluten-free blend for a gluten-free option.
- Granulated Sugar – Adds sweetness to the crust and filling; consider brown sugar for deeper flavor.
- Ground Cinnamon & Ground Ginger – Essential for warmth and spice, or swap with pumpkin pie spice for convenience.
- Cold Butter – Use cubed cold butter to ensure a flakey crust; never use softened butter for this layer.
For the Pumpkin Filling
- Pumpkin Puree – The star ingredient that gives the Pumpkin Crisp its signature flavor; opt for canned for ease.
- Eggs – Provide richness and binding; make sure they’re at room temperature for better mixing.
- Sweetened Condensed Milk – Offers creaminess; substitute evaporated milk for a lighter sweetness.
- Brown Sugar (light or dark) – Enhances the sweet profile and creates a delicious caramel flavor in the filling.
For the Crumble Topping
- Rolled Oats – Contributes a delightful crunch in the topping; use more oats if you prefer a nut-free version.
- Chopped Pecans – Introduces a nutty richness; feel free to use walnuts or almonds as substitutes.
- Baking Powder – Ensures a light texture to the crumble topping, allowing it to bake beautifully.
- Vanilla Extract – Enhances the overall flavor profile; use pure extract for the best taste.
Now, gather these ingredients and get ready to create an irresistible Pumpkin Crisp that’ll wow your Thanksgiving guests!
Step‑by‑Step Instructions for Pumpkin Crisp
Step 1: Prepare Shortbread Crust
In a mixing bowl, combine 1 ½ cups of all-purpose flour, ½ cup of granulated sugar, 1 teaspoon of ground cinnamon, and ½ teaspoon of ground ginger. Cut in ½ cup of cubed cold butter until the mixture resembles coarse crumbs. Press this crumbly mixture evenly into the bottom of an ungreased 13×9 inch baking pan to form a solid crust.
Step 2: Make Pumpkin Filling
Preheat your oven to 425°F (220°C). In a separate bowl, whisk together 2 large eggs until well combined. Mix ½ cup of sugar with 2 teaspoons of cinnamon and ½ teaspoon of ginger before adding this to the eggs along with 1 can of pumpkin puree. Gradually whisk in 1 can of sweetened condensed milk, then pour this smooth pumpkin filling over the prepared crust. Bake for 15 minutes.
Step 3: Lower Temperature and Finish Baking
After 15 minutes, carefully reduce the oven temperature to 350°F (175°C) without opening the door. Continue baking the Pumpkin Crisp for an additional 30-35 minutes, or until the filling is mostly set and a bit jiggly in the center. During this time, the edges will begin to pull away slightly from the pan, indicating it’s ready for the next step.
Step 4: Prepare Crumble Topping
While the pumpkin filling is baking, make the crumble topping. In a bowl, combine 1 cup of rolled oats, 1 cup of all-purpose flour, ½ cup of brown sugar, and 1 teaspoon of baking powder. Mix in ½ cup of chopped pecans, then add 1 whisked egg and ¼ cup of melted butter, stirring until the mixture is crumbly and well combined.
Step 5: Add Topping and Final Bake
Preheat your oven to 400°F (200°C) for the final bake. Evenly spread the crumble topping over the set pumpkin filling, gently pressing down to adhere. Drizzle 2 tablespoons of melted butter over the topping. Bake for an additional 20 minutes, or until the topping is golden brown and fragrant, adding an irresistible crunch to your Pumpkin Crisp.
Step 6: Cool and Serve
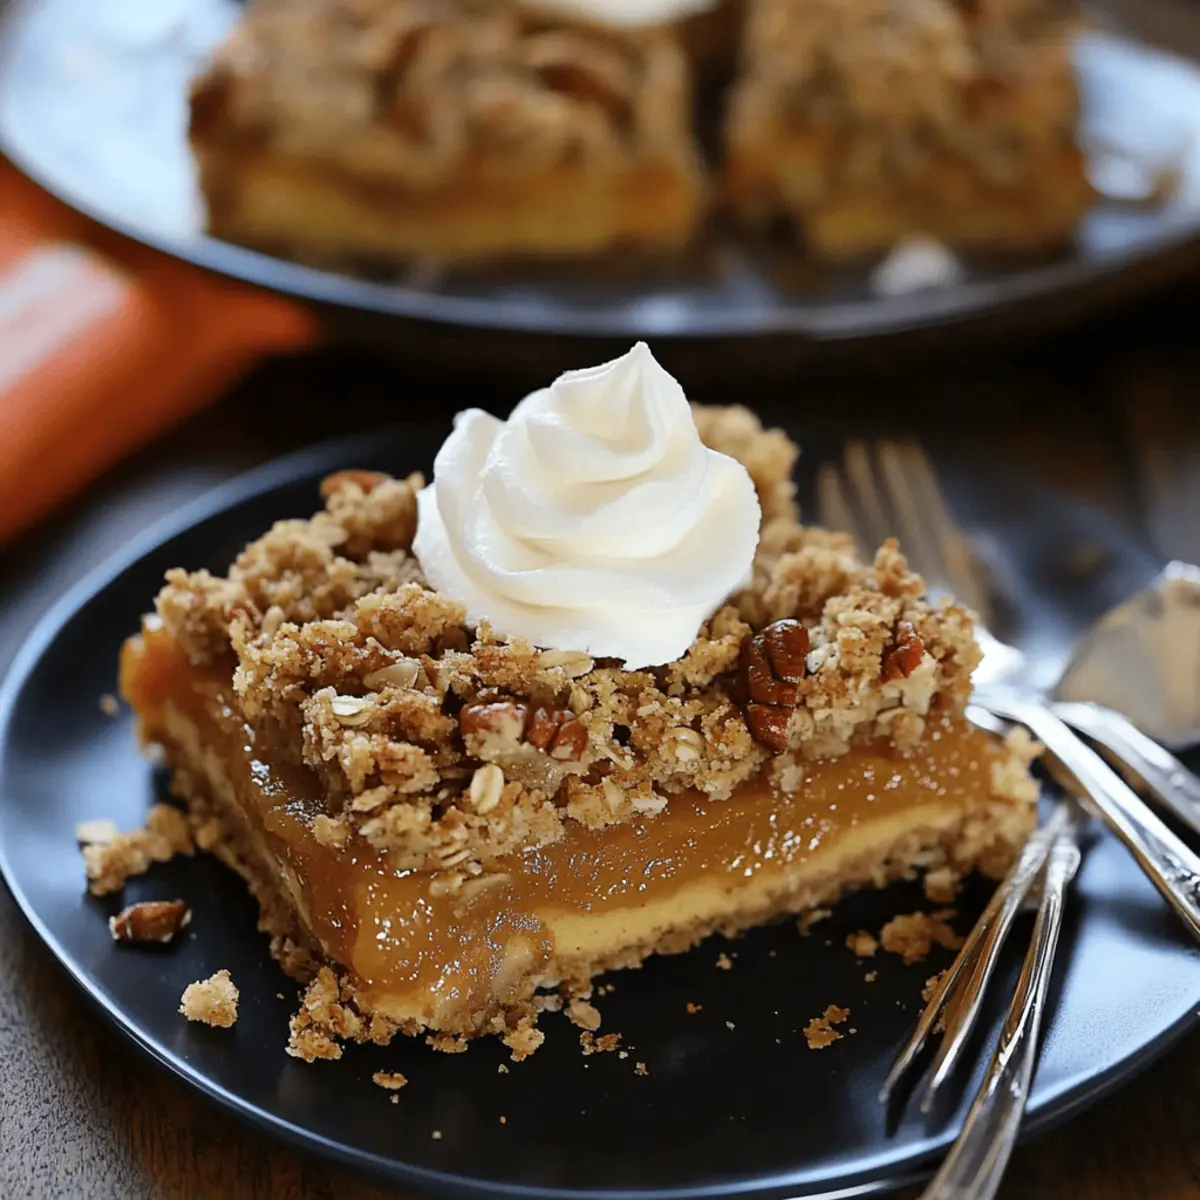
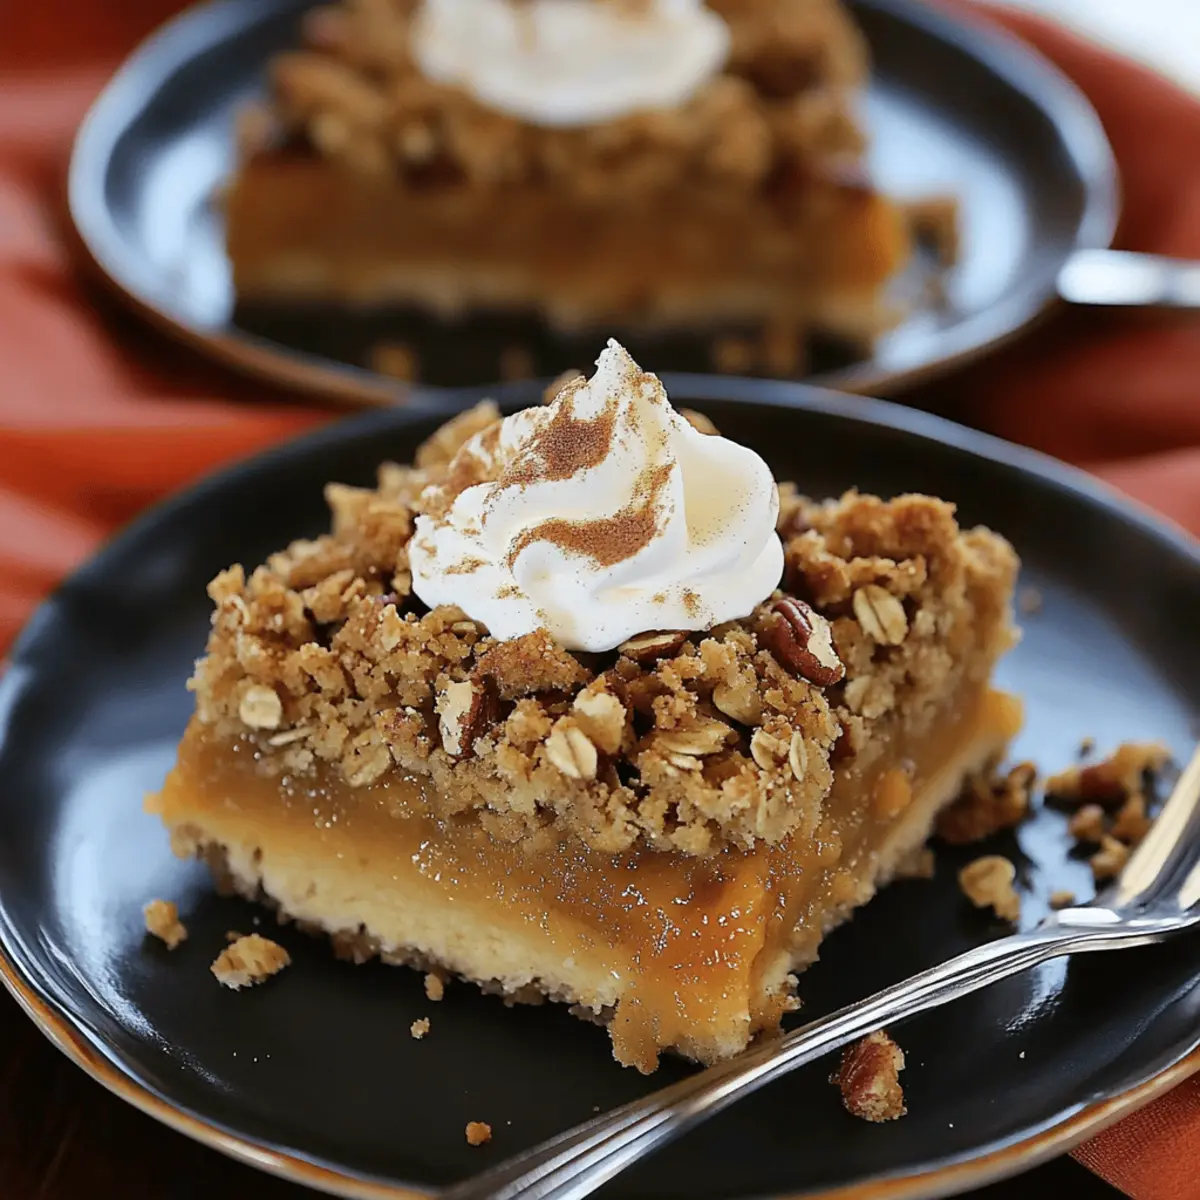
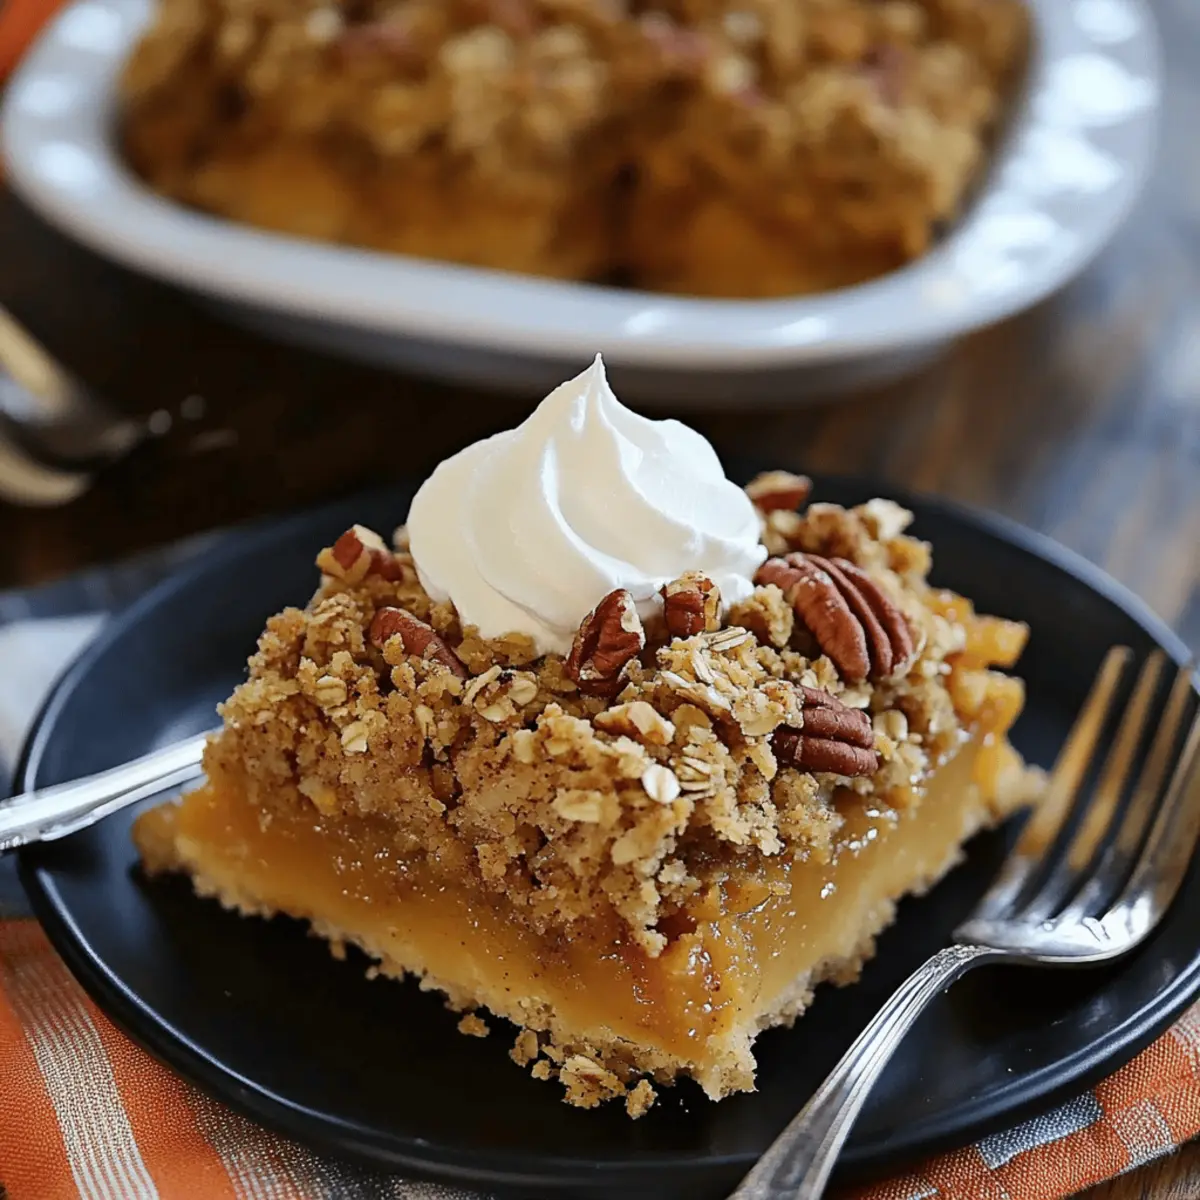
Once baked, remove the Pumpkin Crisp from the oven and allow it to cool completely in the pan. This cooling time will help the layers to set beautifully. Cut into squares and serve warm or chilled, topped with whipped cream or vanilla ice cream if desired, for an extra special touch!
How to Store and Freeze Pumpkin Crisp
Fridge: Store leftover Pumpkin Crisp tightly covered in the refrigerator for up to 3 days to maintain freshness and flavor.
Freezer: Wrap individual portions of Pumpkin Crisp in plastic wrap and aluminum foil, then freeze for up to 3 months; thaw overnight in the fridge before serving.
Reheating: To reheat, warm slices in the oven at 350°F (175°C) for about 10-15 minutes, or until heated through, to restore that delightful crunch.
Make-Ahead: Feel free to bake your Pumpkin Crisp a day in advance; simply cover it after cooling and refrigerate for an easy dessert ready to impress!
Make Ahead Options
Preparing your Pumpkin Crisp ahead of time is a brilliant way to save precious moments on busy weeknights or before your Thanksgiving gathering! You can make the crust and pumpkin filling up to 24 hours in advance; just be sure to refrigerate them separately. To maintain the crust’s delightful texture, store it tightly wrapped, and leave the filling in its bowl, covered. You can also prepare the topping and store it in an airtight container for up to 3 days. When you’re ready to serve, bake the assembled Pumpkin Crisp straightforwardly and enjoy the same delicious, comforting flavors with minimal effort—a true crowd-pleaser ready in no time!
Pumpkin Crisp Variations & Substitutions
Feel free to get creative and tailor this delightful Pumpkin Crisp to suit your tastes and dietary needs!
-
Nut-Free: Skip the pecans entirely or replace them with extra rolled oats for a nut-free variation that still delivers a satisfying crunch.
Oats add a beautiful texture while keeping the flavor perfectly comforting. -
Dairy-Free: Swap the sweetened condensed milk with sweetened condensed coconut milk for a creamy delight without the dairy.
The coconut adds a subtle tropical hint that complements the pumpkin beautifully! -
Spice It Up: Instead of ground cinnamon and ginger, try a tablespoon of your favorite pumpkin pie spice blend for a convenient twist.
You’ll enjoy the same comforting warmth in just a few quick steps. -
Brown Sugar Boost: Use brown sugar in the crust for deep caramel notes, making each bite richer and more satisfying.
It’s a simple change that packs a big flavor punch. -
Fresh Pumpkins: If you have the time, substituting canned pumpkin with fresh roasted or pureed pumpkin brings an unbeatable homemade touch.
The freshness will shine through in every layer of your crisp! -
Sweetness Control: For a lighter dessert, switch sweetened condensed milk with evaporated milk and reduce the sugar a touch, adjusting to taste.
This way, you can enjoy the flavors without feeling overwhelmed by sweetness. -
Fruit Twist: Add a layer of sliced apples or pears under the pumpkin filling for a delightful surprise that enhances texture and flavor.
This fruity addition brings a wonderful juiciness that pairs beautifully with the pumpkin! -
Choco-Infusion: Try adding chocolate chips to the crumble topping for a rich chocolaty contrast that pairs surprisingly well with the pumpkin.
It’s an indulgent addition that chocolate lovers will appreciate!
Remember to explore your preferences, and if you want to try different autumn treats, consider making some Chai Pumpkin Scones as a delightful breakfast option or pairing your Pumpkin Crisp with some delicious Slow Cooker Pumpkin Butter on toast!
Expert Tips for Perfect Pumpkin Crisp
-
Cold Butter is Key: Always ensure your butter is cold to achieve a flaky, tender shortbread crust. If it’s softened, your crust may turn out dense.
-
Avoid Overmixing: When preparing your pumpkin filling, mix gently. Overmixing can lead to a watery filling rather than the smooth, creamy texture you desire in your Pumpkin Crisp.
-
Bake at Correct Temperatures: Follow oven temperature instructions precisely—bake at high temperatures initially, then lower them for perfect consistency.
-
Cool Before Serving: Allow your Pumpkin Crisp to cool completely before serving. This helps the layers set for cleaner slices and enhances flavors.
-
Make-Ahead Magic: Preparing the Pumpkin Crisp a day in advance allows the flavors to meld beautifully. Store it covered in the refrigerator, then enjoy!
-
Customize Your Toppings: Feel free to substitute pecans with walnuts or omit nuts for nut-free options; make this dessert your own and cater to all your guests’ needs!
What to Serve with Pumpkin Crisp?
As the aroma of pumpkin lingers in the air, pair your delectable dessert with these delightful accompaniments that will elevate your fall feast.
-
Creamy Whipped Cream: A dollop adds lusciousness, perfectly balancing the crunchy topping and rich pumpkin filling.
-
Vanilla Ice Cream: Serve warm Pumpkin Crisp with a scoop of ice cream. The melty goodness contrasts beautifully with the warm crisp.
-
Spiced Apple Cider: A cozy, warm drink, apple cider enhances the fall flavors and brings a festive touch to your table.
-
Caramel Sauce: Drizzle this sweet sauce over each slice for an indulgent experience that complements the pumpkin’s warmth.
-
Nutty Granola: For an extra crunch, offer a side of granola; its texture enhances the crisp while adding delightful flavor complexity.
-
Autumn Salad: Pair with a fresh salad of mixed greens, apples, and pecans for a refreshing contrast to the rich dessert.
-
Pumpkin Spice Latte: Include this iconic fall beverage as an inviting option, creating the ultimate autumn-inspired dining experience.
When these pairings meet your Pumpkin Crisp, you create a festive atmosphere that celebrates the heartwarming flavors of the season.
Pumpkin Crisp Recipe FAQs
How do I choose the right pumpkin puree?
Absolutely! For the best flavor and convenience, I recommend using canned pumpkin puree as it’s already cooked and super easy to work with. If you prefer fresh pumpkin, look for small pumpkins like Sugar or Pie pumpkins, which are sweeter than larger varieties. Make sure they’re firm and free of dark spots—this will ensure the best flavor for your Pumpkin Crisp!
What’s the best way to store Pumpkin Crisp leftovers?
The more the merrier! To keep your Pumpkin Crisp fresh, store it in the refrigerator, tightly covered, for up to 3 days. This will help maintain its delicious flavor and texture. If you decide to keep it at room temperature for a short period, it can be left out overnight, but be sure to refrigerate any leftovers afterward.
Can I freeze Pumpkin Crisp, and how should I do it?
Absolutely! To freeze your Pumpkin Crisp, first allow it to cool completely. Then, wrap individual portions in plastic wrap, followed by aluminum foil to prevent freezer burn. Place them in an airtight container or freezer bag. It can be frozen for up to 3 months. When you’re ready to enjoy, just thaw overnight in the fridge and reheat in the oven at 350°F for about 10-15 minutes to bring back that lovely crunch!
What can I do if my pumpkin filling is too watery?
Very! If you notice your filling is too watery before baking, you can gently strain it through a fine mesh sieve to remove excess moisture. Also, make sure you’re not overmixing the pumpkin mixture when adding the eggs and sweetened condensed milk, as this can trap air and lead to a watery texture. Once baked, a perfectly set filling should slightly jiggle but not appear liquidy.
Can I make this Pumpkin Crisp dairy-free or gluten-free?
Absolutely! You can easily adapt the Pumpkin Crisp. For a gluten-free version, swap the all-purpose flour for a gluten-free flour blend. To make it dairy-free, substitute sweetened condensed milk with sweetened condensed coconut milk and use plant-based butter for the crust and crumble topping. These adjustments will still yield a delicious dessert that everyone can enjoy!
Is this dessert safe for my pet?
Not at all! You should avoid giving your pets any pumpkin dessert made for humans. While plain pumpkin puree is safe for dogs in small amounts, ingredients like sugar, butter, and spices can be harmful. Always consult your veterinarian before introducing new foods to your pet’s diet.
Irresistible Pumpkin Crisp That'll Wow Your Thanksgiving Guests
Ingredients
Equipment
Method
- In a mixing bowl, combine 1 ½ cups of all-purpose flour, ½ cup of granulated sugar, 1 teaspoon of ground cinnamon, and ½ teaspoon of ground ginger. Cut in ½ cup of cubed cold butter until the mixture resembles coarse crumbs. Press this crumbly mixture evenly into the bottom of an ungreased 13x9 inch baking pan to form a solid crust.
- Preheat your oven to 425°F (220°C). In a separate bowl, whisk together 2 large eggs until well combined. Mix ½ cup of sugar with 2 teaspoons of cinnamon and ½ teaspoon of ginger before adding this to the eggs along with 1 can of pumpkin puree. Gradually whisk in 1 can of sweetened condensed milk, then pour this smooth pumpkin filling over the prepared crust. Bake for 15 minutes.
- After 15 minutes, carefully reduce the oven temperature to 350°F (175°C) without opening the door. Continue baking the Pumpkin Crisp for an additional 30-35 minutes, or until the filling is mostly set and a bit jiggly in the center.
- While the pumpkin filling is baking, make the crumble topping. In a bowl, combine 1 cup of rolled oats, 1 cup of all-purpose flour, ½ cup of brown sugar, and 1 teaspoon of baking powder. Mix in ½ cup of chopped pecans, then add 1 whisked egg and ¼ cup of melted butter, stirring until the mixture is crumbly and well combined.
- Preheat your oven to 400°F (200°C) for the final bake. Evenly spread the crumble topping over the set pumpkin filling, gently pressing down to adhere. Drizzle 2 tablespoons of melted butter over the topping. Bake for an additional 20 minutes, or until the topping is golden brown and fragrant.
- Once baked, remove the Pumpkin Crisp from the oven and allow it to cool completely in the pan. Cut into squares and serve warm or chilled.
Leave a Reply