
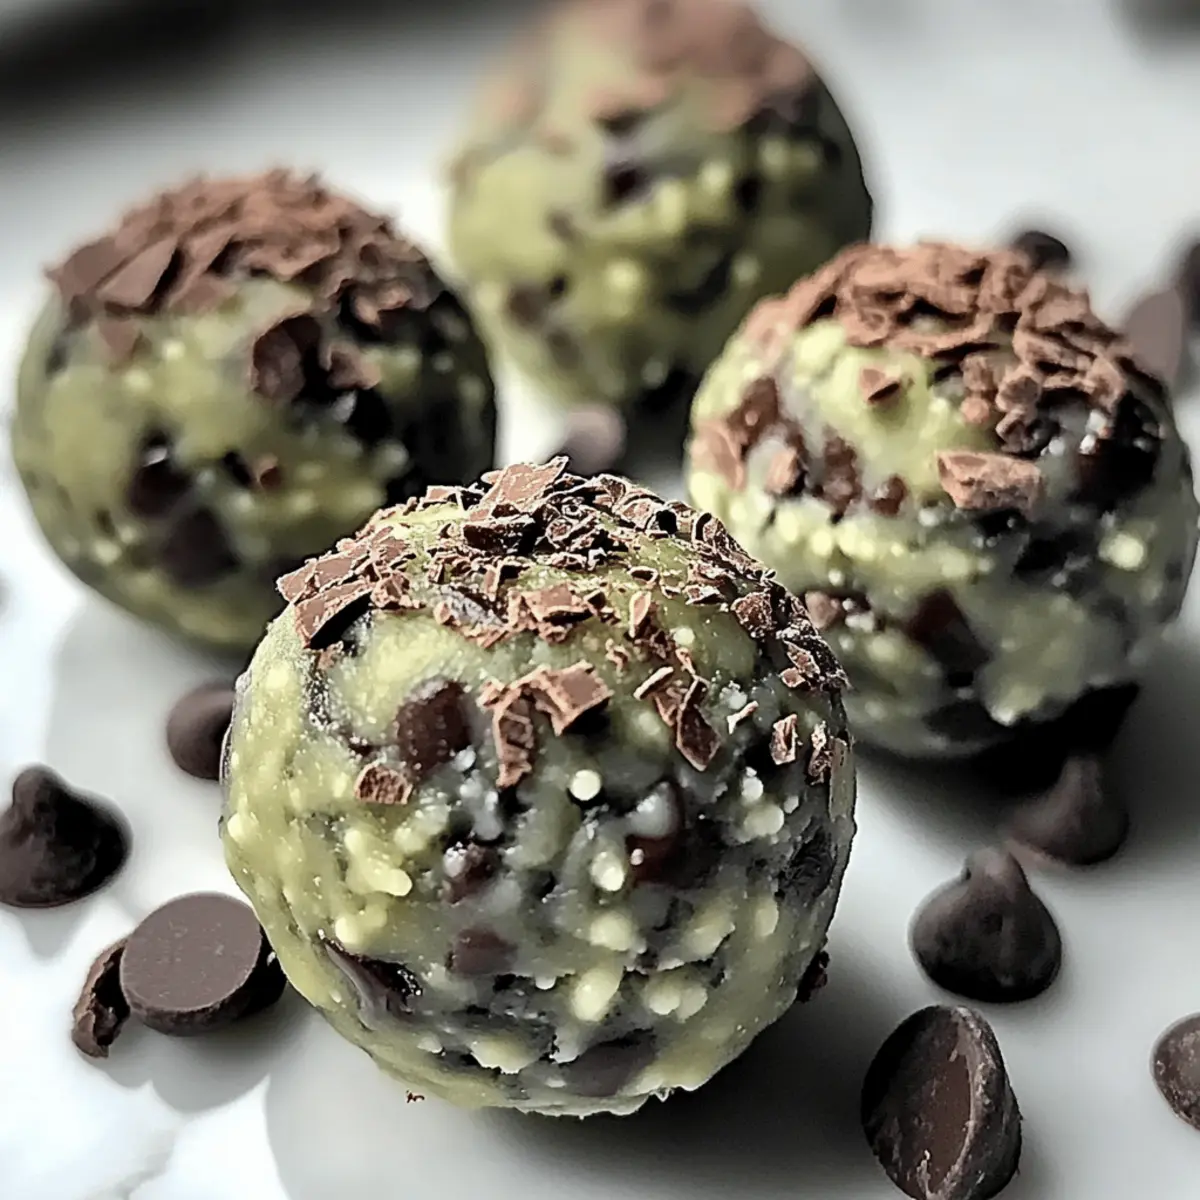
As I stood in my kitchen, the aroma of mint wafting through the air reminded me of warm summer days and sweet indulgences. Today, I’m excited to share my Easy No-Bake Mint Chocolate Chip Protein Balls, a delightful and healthy treat that combines the refreshing essence of mint with the rich, satisfying bite of chocolate. These little powerhouses are not only gluten-free but also a quick snack option perfect for your busy mornings or post-workout cravings. Just a few minutes of preparation, and you’ve got a guilt-free snack ready to boost your energy levels. Curious about how to make these minty morsels and customize them to your liking? Let’s dive in!
Why Make These Protein Balls?
Satisfying, these Mint Chocolate Chip Protein Balls pack a delicious punch without the guilt. No-bake simplicity ensures you can whip them up in minutes, making them perfect for busy days. Customizable fun lets you switch nut butters and add mix-ins to suit your taste. Gluten-free goodness means everyone can enjoy them, and they are a great healthy snack option for a quick energy boost or post-workout treat. Plus, if you’re looking for more nutritious recipes, don’t miss my Gluten Free Chips or delve into the nostalgic world of Spaghetti Meatballs Nostalgic.
Mint Chocolate Chip Protein Balls Ingredients
• Prepare to create a delightful, guilt-free snack!
For the Base
- Rolled Oats – Provide structure and a chewy texture; choose certified gluten-free oats if necessary.
- Almond Butter – Acts as a binding agent while adding protein and creaminess; substitute with any nut or seed butter to fit your diet.
- Honey – Adds sweetness and helps bind ingredients together; maple syrup can be used for a vegan alternative.
- Vanilla Protein Powder – Increases protein content; feel free to use any type of protein powder, but adjustments may be needed for consistency.
For the Flavor
- Peppermint Extract – Delivers a refreshing mint flavor to complement the chocolate; adjust based on your preferred intensity of mint.
- Mini Dark Chocolate Chips – Adds a touch of sweetness and decadence; you can substitute with dark chocolate or carob chips according to dietary needs.
To Adjust Consistency
- Unsweetened Almond Milk – Used to achieve the desired mixture consistency if it’s too dry; any non-dairy or regular milk works as a substitute.
Whip up these Mint Chocolate Chip Protein Balls to enjoy a wholesome snack that’s both delicious and energizing!
Step‑by‑Step Instructions for Mint Chocolate Chip Protein Balls
Step 1: Combine Ingredients
In a large mixing bowl, add rolled oats, almond butter, honey, vanilla protein powder, and peppermint extract. Mix thoroughly using a spatula or wooden spoon until all ingredients are fully combined, creating a uniform mixture that’s thick and sticky in texture. This initial step sets the foundation for your Mint Chocolate Chip Protein Balls.
Step 2: Adjust Consistency
If the mixture appears too dry and crumbly, gradually add unsweetened almond milk one tablespoon at a time. Mix well after each addition until you reach a dough-like consistency that holds together when pressed. Aim for a slightly tacky feel that still maintains a firm structure, which is crucial for shaping the protein balls.
Step 3: Fold in Chocolate Chips
Once your mixture is well-combined and at the right consistency, gently fold in the mini dark chocolate chips. Use a spatula to incorporate them evenly without breaking the chocolate chips too much. This step enhances your Mint Chocolate Chip Protein Balls with delicious bursts of chocolate as you bite into them.
Step 4: Form the Balls
Scoop out approximately one tablespoon of the mixture and roll it into a ball using your hands. Ensure each ball is compact and holds its shape well. Continue this process until you have formed all the mixture into balls, creating a delightful batch of Mint Chocolate Chip Protein Balls ready for chilling.
Step 5: Chill the Protein Balls
Line a baking sheet with parchment paper and place the formed protein balls on it, leaving space between each one. Transfer the tray to the refrigerator and chill for at least 20 minutes. This cooling period allows the Mint Chocolate Chip Protein Balls to firm up, making them easier to enjoy and enhancing their chewy texture.
Step 6: Store or Serve
After chilling, your Mint Chocolate Chip Protein Balls are ready to be enjoyed! Store them in an airtight container in the refrigerator for up to a week, ensuring they stay fresh and tasty. You can also freeze them for longer storage, perfect for making these energizing bites accessible anytime you need a quick snack.
How to Store and Freeze Mint Chocolate Chip Protein Balls
Fridge: Store your Mint Chocolate Chip Protein Balls in an airtight container for up to 1 week to keep them fresh and tasty.
Freezer: For longer storage, freeze the protein balls in a single layer on a baking sheet, then transfer to a zip-top bag for up to 2 months.
Defrosting: When ready to enjoy, thaw the frozen Mint Chocolate Chip Protein Balls in the fridge overnight for a convenient snack anytime.
On-the-Go: Pack individual servings in small containers or snack bags for a quick and healthy treat when you’re out and about!
What to Serve with Mint Chocolate Chip Protein Balls
These delightful bites are the perfect addition to your healthy lifestyle, complementing a variety of dishes and drinks.
-
Fresh Fruit Salad: A bowl of vibrant fruit adds a refreshing contrast to the protein balls, enhancing the overall flavor experience. The natural sweetness of fruits like berries and citrus balances the minty richness beautifully.
-
Greek Yogurt Parfait: Creamy yogurt topped with granola and fresh berries makes for a satisfying breakfast or snack. The tanginess of yogurt pairs perfectly with the sweetness of the protein balls, creating a delicious combination.
-
Nutty Granola: Sprinkle some crunchy granola on top of a smoothie bowl or yogurt. Its texture and nutty flavors complement the chewy protein balls, making for a delightful treat.
-
Herbal Tea: A warm cup of peppermint or chamomile tea serves as a soothing beverage alongside the protein balls. The gentle flavors in the tea enhance the mint taste, creating a refreshing experience.
-
Smoothie Bowl: Blend your favorite fruits with spinach and a splash of almond milk, and top it with Mint Chocolate Chip Protein Balls. This makes for a visually appealing and nutritious breakfast option.
-
Dark Chocolate Drizzle: For an extra indulgence, thinly drizzle some melted dark chocolate over the protein balls or yogurt. This decadence enhances the chocolate flavor while remaining guilt-free.
-
Almond Milkshake: Blend almond milk with a banana and a scoop of protein powder for a deliciously creamy shake. It’s the ideal drink to complement the protein-rich bites and keeps you fueled throughout the day.
Make Ahead Options
These Mint Chocolate Chip Protein Balls are ideal for meal prep enthusiasts! You can prepare the mixture up to 24 hours in advance to save time on busy days. Simply follow the first three steps—combine your ingredients, adjust the consistency with almond milk, and fold in the chocolate chips. After shaping them into balls, place them on a parchment-lined baking sheet and refrigerate for at least 20 minutes. Once firm, store them in an airtight container in the fridge for up to a week. If you freeze them, they’ll stay delicious for months! When you’re ready to indulge, simply take out the desired amount and enjoy just as you would fresh-made Mint Chocolate Chip Protein Balls.
Expert Tips for Mint Chocolate Chip Protein Balls
- Ingredient Freshness: Always use fresh ingredients, especially nut butter, to ensure optimal taste and texture. Stale ingredients can lead to lackluster results.
- Adjusting Consistency: Be cautious when adding almond milk; add it gradually to avoid an overly wet mixture which can make the Mint Chocolate Chip Protein Balls fall apart.
- Experiment with Flavors: Don’t hesitate to customize your protein balls! Swap almond butter for peanut butter or add your favorite dried fruits for a unique twist.
- Chill Time: Allowing the balls to chill for at least 20 minutes is crucial for achieving that delightful chewy texture. Patience pays off!
- Batch Preparation: Make a larger batch, especially if you’re freezing them—these healthy snacks make busy days a lot easier! Store them in individual servings for grab-and-go convenience.
Mint Chocolate Chip Protein Balls Variations
Customize these Mint Chocolate Chip Protein Balls to create delightful variations that will excite your taste buds!
- Peanut Butter: Swap almond butter for peanut butter for a nutty twist. The creamy texture and flavor will delight any peanut lover!
- Vegan Delight: Replace honey with maple syrup for a fully vegan treat. Enjoy the same sweetness without compromising your dietary preferences.
- Dark Chocolate Boost: Use dark chocolate chunks instead of mini chips for an extra rich chocolate flavor. You’ll love the melty goodness they add!
- Mint Lovers: Increase the peppermint extract for a more intense mint flavor. Perfect for those who crave that refreshing zing in every bite.
- Texture Twists: Add chopped nuts or seeds for a satisfying crunch. The added texture will enrich your protein balls, making each bite even more enjoyable.
- Fruity Surprise: Toss in dried fruits like cranberries or apricots for a sweet and chewy surprise. It adds a burst of flavor that complements the mint perfectly.
- Spice it Up: A pinch of cinnamon can enhance the flavor profile beautifully. It’s a subtle yet delightful twist that brings warmth and depth.
- Protein Variants: Experiment with different protein powders such as chocolate or vanilla to change the flavor direction. Each choice will create a unique tasting experience!
With these variations, the possibilities are endless! Feel free to also try our Gluten Free Chips or enjoy a taste of nostalgia with Spaghetti Meatballs Nostalgic.
Mint Chocolate Chip Protein Balls Recipe FAQs
What kind of oats should I use for the Mint Chocolate Chip Protein Balls?
I recommend using rolled oats for the best texture, but if you need them gluten-free, make sure to choose certified gluten-free oats. They provide a great structure and a chewy bite, enhancing your protein balls’ overall flavor.
How long can I store Mint Chocolate Chip Protein Balls in the fridge?
These delightful treats can be stored in an airtight container in the refrigerator for up to a week. They’ll stay fresh and maintain their chewy texture, ready for you to grab anytime you need a quick snack!
Can I freeze Mint Chocolate Chip Protein Balls?
Absolutely! To freeze, arrange the protein balls in a single layer on a baking sheet and place them in the freezer until firm. Once frozen, transfer them to a zip-top bag and store for up to 3 months. Just be sure to label the bag with the date for easy reference!
What should I do if my protein ball mixture is too dry?
If your Mint Chocolate Chip Protein Balls mixture seems too dry and crumbly, gradually add unsweetened almond milk, one tablespoon at a time. Mix well after each addition until you achieve a dough-like consistency that holds together nicely when pressed. This step is crucial for ensuring your balls maintain their shape!
Can I use different types of nut butter in this recipe?
Yes, absolutely! You can swap almond butter for any nut or seed butter you prefer, such as peanut butter or sunflower seed butter. Just keep in mind that different nut butters might slightly alter the flavor and texture, but they will still be delicious!
Are these protein balls safe for those with nut allergies?
Since this recipe contains nut butter, it’s not suitable for individuals with nut allergies. However, you can substitute the almond butter with sun butter or another seed-based alternative to ensure everyone can enjoy these Mint Chocolate Chip Protein Balls safely.
Mint Chocolate Chip Protein Balls for Guilt-Free Indulgence
Ingredients
Equipment
Method
- In a large mixing bowl, add rolled oats, almond butter, honey, vanilla protein powder, and peppermint extract. Mix thoroughly until all ingredients are fully combined.
- If the mixture appears too dry, gradually add unsweetened almond milk one tablespoon at a time until you reach a dough-like consistency.
- Gently fold in the mini dark chocolate chips using a spatula until evenly incorporated.
- Scoop out approximately one tablespoon of the mixture and roll it into a ball. Repeat until all the mixture is formed into balls.
- Line a baking sheet with parchment paper and place the protein balls on it, leaving space between each one. Chill in the refrigerator for at least 20 minutes.
- Store the chilled protein balls in an airtight container in the refrigerator for up to a week or freeze for longer storage.
Leave a Reply