
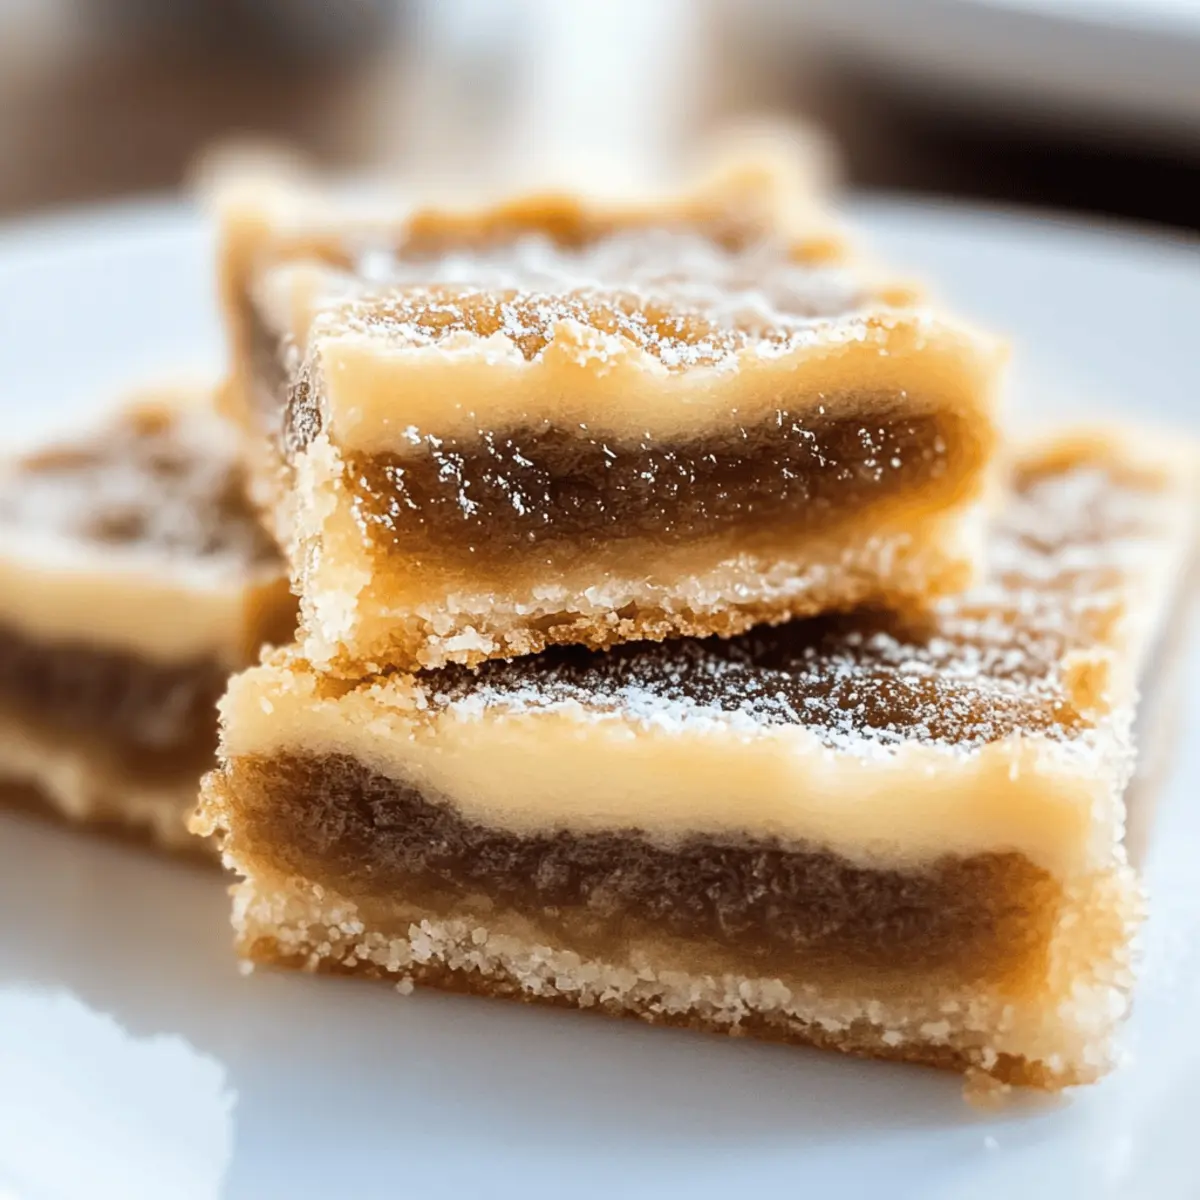
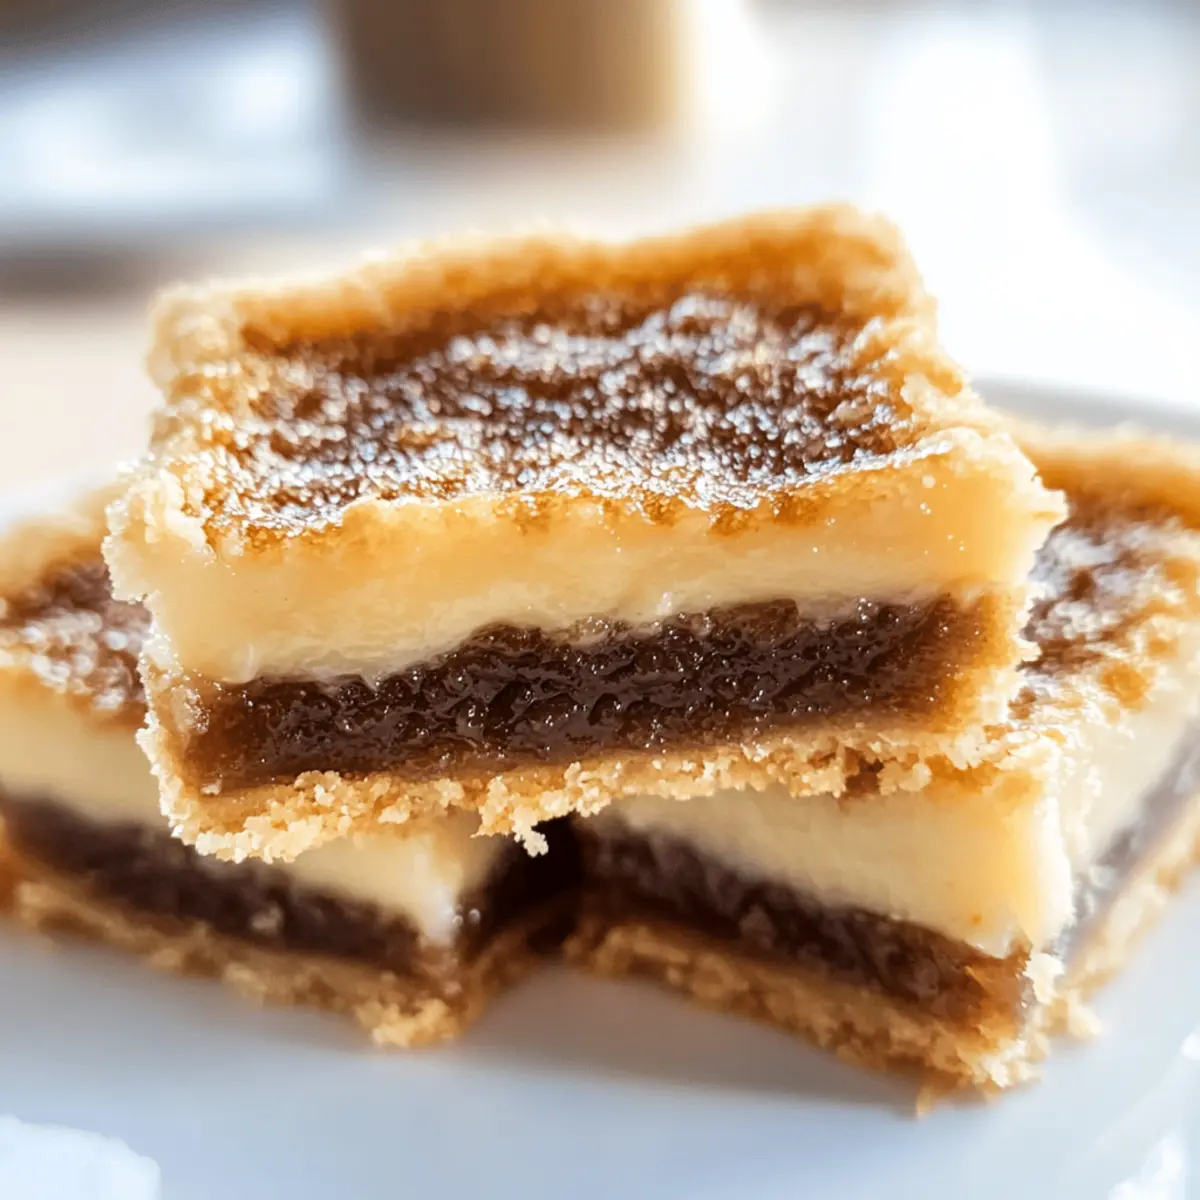
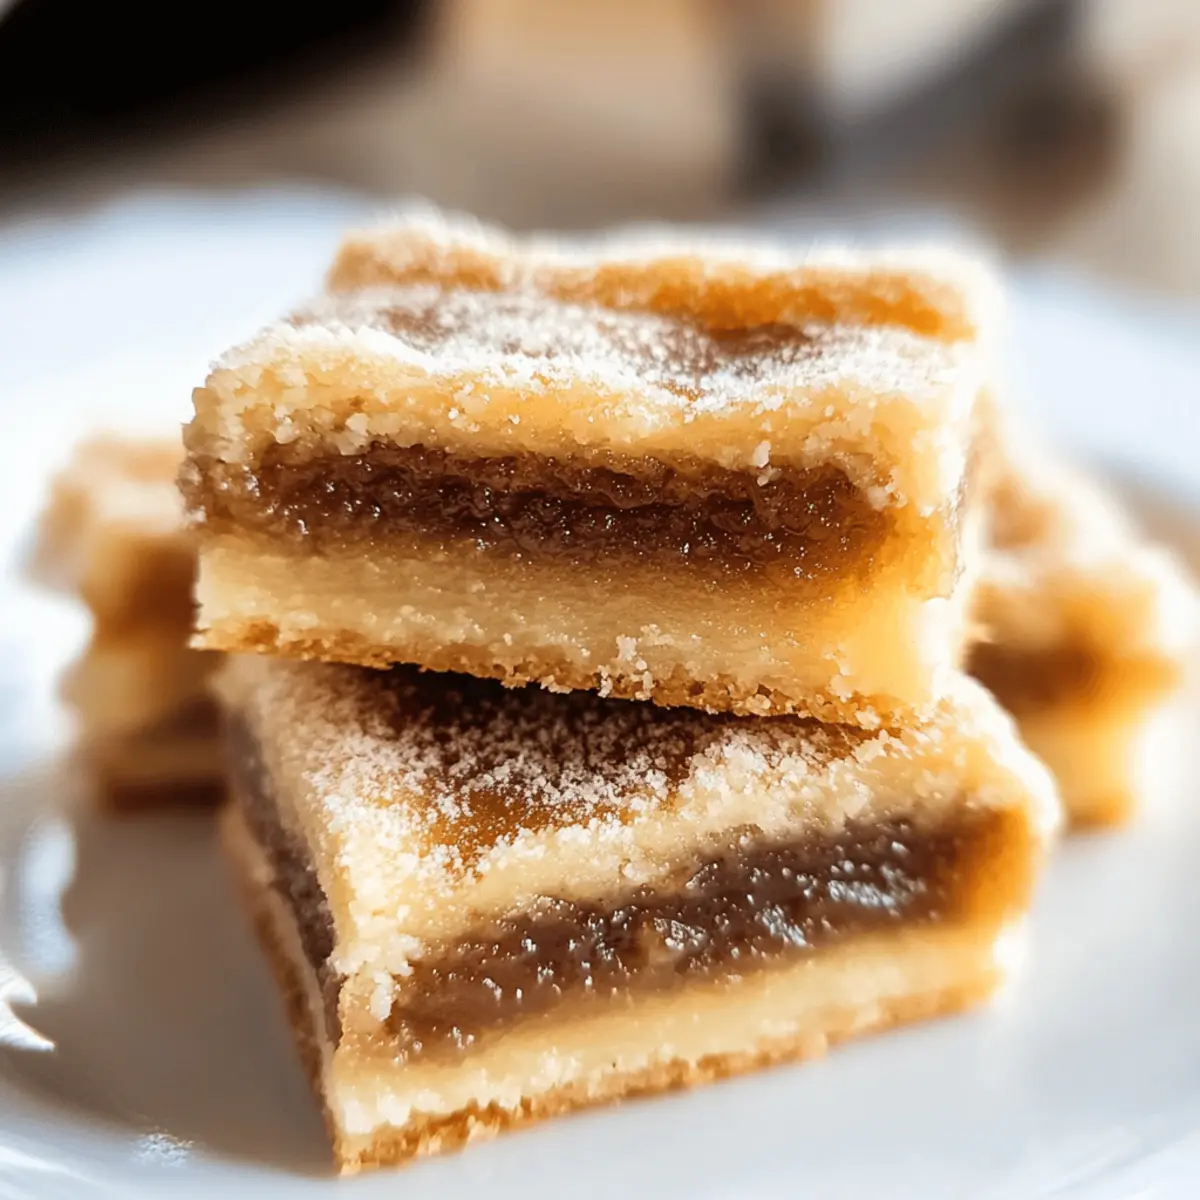
As I took my first bite of these Classic Butter Tart Squares, my taste buds were greeted with a warm embrace of richness and sweetness that took me back to family gatherings. These squares bring all the beloved flavors of traditional butter tarts into a mess-free, sliceable form, making them perfect for any occasion. Not only are Butter Tart Squares incredibly easy to prepare, but they also allow you to get creative by swapping in your favorite add-ins like chocolate chips or nuts. They’re a true crowd-pleaser, whether you’re treating yourself during a quiet evening or sharing with loved ones at a gathering. Curious about making these delightful squares your new go-to dessert? Let’s dive in!
Why are Butter Tart Squares so irresistible?
Indulgent, warm flavors: Each bite delivers a rich buttery texture that’s both gooey and sweet, reminiscent of classic butter tarts.
Easily customizable: With options like Chocolate Chip Butter Tart Squares or Pecan Butter Tart Squares, you can adapt the recipe to suit any palate.
Family-friendly fun: Kids and adults alike will enjoy making these squares together, making it a fun kitchen project.
Quick preparation: With minimal effort and a short baking time, you can whip these up quickly, perfect for unexpected guests or sweet cravings.
Mess-free delight: Enjoy all the flavors of traditional butter tarts without the fuss of pastry; simply slice and serve!
Give these delightful squares a try, and don’t forget to pair them with a cup of coffee just like you would with our Ham Cheese Butter Swim Biscuits for a wonderful treat!
Butter Tart Squares Ingredients
For the Crust
- All-Purpose Flour – Provides a tender base that holds everything together beautifully.
- Butter – Melted and slightly cooled for rich flavor and a crumbly texture.
- Brown Sugar – Adds sweetness and moisture; maple syrup can be used for a twist.
- Salt – Enhances the flavors; only if using unsalted butter.
For the Filling
- Eggs – Binds the ingredients, ensuring the filling is firm and gooey.
- White Vinegar – Balances sweetness with a slight tang; can be replaced with lemon juice.
- Vanilla Extract – Adds warmth and depth to the filling’s flavor.
Optional Add-ins
- Nuts (Pecans or Walnuts) – Introduce crunch and enhance the flavor profile of your Butter Tart Squares.
- Chocolate Chips – Perfect for a sweet twist; melt into the filling for extra indulgence.
- Raisins – A classic addition that brings a chewy texture and bursts of sweetness.
- Coconut – Adds a tropical flair and delightful chewiness to the filling.
Add your favorite combination to create your signature Butter Tart Squares!
Step‑by‑Step Instructions for Butter Tart Squares
Step 1: Prepare the Crust
Begin by preheating your oven to 350°F (175°C). In a mixing bowl, combine all-purpose flour, melted butter, brown sugar, and a pinch of salt until the mixture resembles coarse crumbs. You can use a pastry cutter or your hands for this task. Once mixed, press the crumbly mixture evenly into the bottom of a greased 9×9-inch baking pan, creating a solid crust layer.
Step 2: Bake the Crust
Place the pressed crust in the preheated oven and bake for about 15 minutes, or until it turns a light golden brown. Keep an eye on it to avoid over-baking, as you want the crust to be firm yet soft. Once it’s done, remove the crust from the oven and allow it to cool slightly while you prepare the filling for your Butter Tart Squares.
Step 3: Whisk the Filling
In a large bowl, whisk together the eggs, brown sugar, white vinegar, and vanilla extract until smooth and fully combined. If you’re adding optional ingredients like nuts or chocolate chips, fold them in gently at this stage. The mixture should be thick but pourable, ready to bring sweetness and richness to the Butter Tart Squares.
Step 4: Assemble the Squares
Carefully pour the luscious filling over the pre-baked crust, ensuring an even distribution across the surface. Once poured, gently tap the pan on the counter to eliminate any air bubbles. This allows the filling to settle properly and cooks evenly, resulting in perfectly gooey Butter Tart Squares.
Step 5: Bake the Squares
Return the pan to the oven and bake for an additional 25-30 minutes. You’ll know they’re done when the filling is set around the edges but slightly jiggly in the center. The top should develop a beautiful golden hue—this is when the delightful aroma fills your kitchen, signaling that the Butter Tart Squares are almost ready.
Step 6: Cool and Chill
Once baked, remove the pan from the oven and let the Butter Tart Squares cool at room temperature for approximately 30 minutes. Then, cover the pan and refrigerate for 2-3 hours. Chilling the squares will make them easier to cut and enhance their texture, resulting in the perfect final treat that is smooth and rich.
Step 7: Cut and Serve
After chilling, take your Butter Tart Squares out of the refrigerator and use a sharp knife to cut them into even squares. Wipe the knife between cuts to ensure clean edges for a beautiful presentation. Serve them as a delightful dessert or a sweet snack that everyone will love!
Butter Tart Squares Variations
Feel free to make these Butter Tart Squares even more delightful with creative twists that tickle the taste buds!
-
Chocolate Chip: Swap some of the filling for semi-sweet chocolate chips for a creamy, indulgent surprise. Perfect for chocolate lovers!
-
Pecan: Stir in toasted pecans for a nutty crunch that complements the sweet, gooey filling beautifully. They add a comforting, rustic touch.
-
Coconut: Fold in sweetened shredded coconut for a tropical flair, making each bite chewy and rich. It’s a fun twist that transports you to paradise!
-
Maple: Substitute brown sugar with maple syrup to deepen the flavor profile—this adds complexity and hints of rich Canadian tradition.
-
Fruit Topped: After baking, top with fresh raspberries or blueberries for a burst of fresh flavor and a vibrant, fruity finish that adds a pop of color.
-
Spiced Up: Add a sprinkle of cinnamon or nutmeg to the filling for a warm, cozy flavor that evokes the heart of autumn. Spice can elevate these squares to a new level.
-
Nut-Free: Omit nuts entirely and instead mix in seeds like sunflower or pumpkin seeds for a delightful crunch without allergens. This keeps it safe for everyone!
Just like my cherished Classic Peanut Butter Cookies and Vanilla Bean Brown Butter Cheesecake, these variations keep the essence of home-baked warmth while offering a touch of personalization. Enjoy experimenting, and find your perfect blend!
Make Ahead Options
Butter Tart Squares are a fantastic dessert for meal prep enthusiasts! You can prepare the crust up to 24 hours in advance by mixing the ingredients and pressing them into your baking pan, then storing it in the fridge covered tightly. Additionally, whisk together the filling ingredients and refrigerate it for up to 3 days. When you’re ready to bake, simply pour the chilled filling over the prepped crust and pop it in the oven. This method not only helps save precious time on busy days but also ensures your Butter Tart Squares are just as delicious and gooey, with an optimal crust-to-filling ratio. Enjoy the effortless charm of this delightful dessert that can easily fit into your schedule!
Expert Tips for Butter Tart Squares
- Chill Before Cutting: Allow the squares to cool in the fridge before slicing for cleaner edges—warm filling can be too soft.
- Use Room Temperature Eggs: This helps to incorporate them smoothly into the filling, ensuring even texture in the Butter Tart Squares.
- Watch the Baking Time: Over-baking can lead to a tough filling; ensure it’s slightly jiggly in the center when done.
- Experiment with Flavors: Swap in add-ins like nuts or chocolate chips to customize your Butter Tart Squares and surprise your guests!
- Measure Carefully: Accurate ingredient measurements, especially for the crust, will ensure the right consistency and flavor balance.
Storage Tips for Butter Tart Squares
Room Temperature: Store Butter Tart Squares in an airtight container at room temperature for up to 3 days to enjoy their fresh taste.
Fridge: If you have leftovers, refrigerate your Butter Tart Squares in an airtight container for up to 5 days; this will keep them moist and delicious.
Freezer: For longer storage, freeze Butter Tart Squares wrapped tightly in plastic wrap and in a freezer-safe container for up to 2 months. Thaw in the fridge before serving.
Reheating: When ready to enjoy, warm individual squares in the microwave for about 10-15 seconds to rejuvenate their rich, buttery filling and enhance the sweet experience.
What to Serve with Classic Butter Tart Squares
Butter Tart Squares are the delightful finish to any meal, perfect for sweetening up your gatherings and inviting cozy moments.
-
Fresh Berries: Juicy raspberries or blueberries add a fresh, tangy contrast to the rich sweetness of the squares. They create a stunning presentation that also brightens the palate.
-
Coffee or Tea: A warm cup complements the buttery richness beautifully, making for a delightful afternoon treat. Consider a medium roast coffee or a soothing herbal tea for a comforting pairing.
-
Vanilla Ice Cream: A scoop of creamy vanilla ice cream melts into the warm squares, creating a luxurious combination of warm and cold that everyone loves.
-
Whipped Cream: A dollop of light, airy whipped cream enhances the texture and offers a creamy balance to the gooey filling. It’s a simple yet elegant addition.
-
Chocolate Sauce Drizzle: Elevate your Butter Tart Squares by drizzling rich chocolate sauce on top, adding an indulgent layer of flavor that chocolate lovers will adore.
-
Nutty Granola: A sprinkle of crunchy granola introduces exciting texture and a nutty flavor that contrasts beautifully with the softness of the squares. A perfect breakfast twist!
-
Hot Apple Cider: Serve a steaming mug of spiced apple cider alongside for a warm, comforting duo during cooler months. The flavors marry perfectly, making every bite enchanting.
-
Milk: Especially for kids, a glass of cold milk brings out the sweetness of the squares, making it a classic duo that never disappoints.
Embrace these pairings and let your Classic Butter Tart Squares shine at your next gathering!
Butter Tart Squares Recipe FAQs
What should I look for when selecting ingredients?
When selecting ingredients for your Butter Tart Squares, the ripeness of eggs is not a concern, but freshness is key! Use fresh eggs, as they bind the filling beautifully. For nuts or chocolate chips, choose high-quality brands for the best flavor. If using butter, make sure it’s slightly softened but still cool to retain the right texture when mixed into the crust.
How should I store my Butter Tart Squares?
Store your Butter Tart Squares in an airtight container at room temperature for up to 3 days to maintain their delightful softness. If you prefer them chilled, you can keep them in the fridge for up to 5 days. Just be sure to allow them to come to room temperature before serving for the best flavor experience!
Can I freeze Butter Tart Squares for later enjoyment?
Absolutely! To freeze your Butter Tart Squares, wrap them tightly in plastic wrap or aluminum foil, and place them in a freezer-safe container. They can be frozen for up to 2 months. When you’re ready for a sweet treat, simply thaw them in the refrigerator overnight or at room temperature for a few hours before serving.
What if my Butter Tart Squares are too gooey after baking?
If your Butter Tart Squares come out too gooey, it might be because they were underbaked or haven’t cooled completely before slicing. They should be slightly jiggly in the center when taken out of the oven—this is normal! Make sure to let them chill in the fridge for at least 2-3 hours. If they remain too soft, they might require a few more baking minutes next time.
Are Butter Tart Squares safe for pets or those with allergies?
Butter Tart Squares contain ingredients like butter and sugar that are not suitable for pets, especially dogs, so it’s best to keep these delicious treats away from them. If someone in your household has allergies, always check the labels of your ingredients—for instance, nuts and eggs are common allergens. You can opt for alternatives, like using nut-free chocolate chips and ensuring all ingredients are safe for everyone!

Decadent Butter Tart Squares for Sweet Snacking Bliss
Ingredients
Equipment
Method
- Preheat your oven to 350°F (175°C). In a mixing bowl, combine flour, melted butter, brown sugar, and salt until crumbly. Press the mixture into a greased 9x9-inch baking pan.
- Bake the crust for about 15 minutes until light golden brown. Allow to cool slightly.
- Whisk together eggs, brown sugar, white vinegar, and vanilla extract until smooth. Fold in optional ingredients if using.
- Pour the filling over the pre-baked crust and tap the pan to eliminate air bubbles.
- Bake for an additional 25-30 minutes until the edges are set but the center is jiggly. The top should be golden.
- Let the squares cool at room temperature for 30 minutes, then refrigerate for 2-3 hours before cutting.
- Cut into squares and serve. Wipe the knife between cuts for clean edges.
Leave a Reply